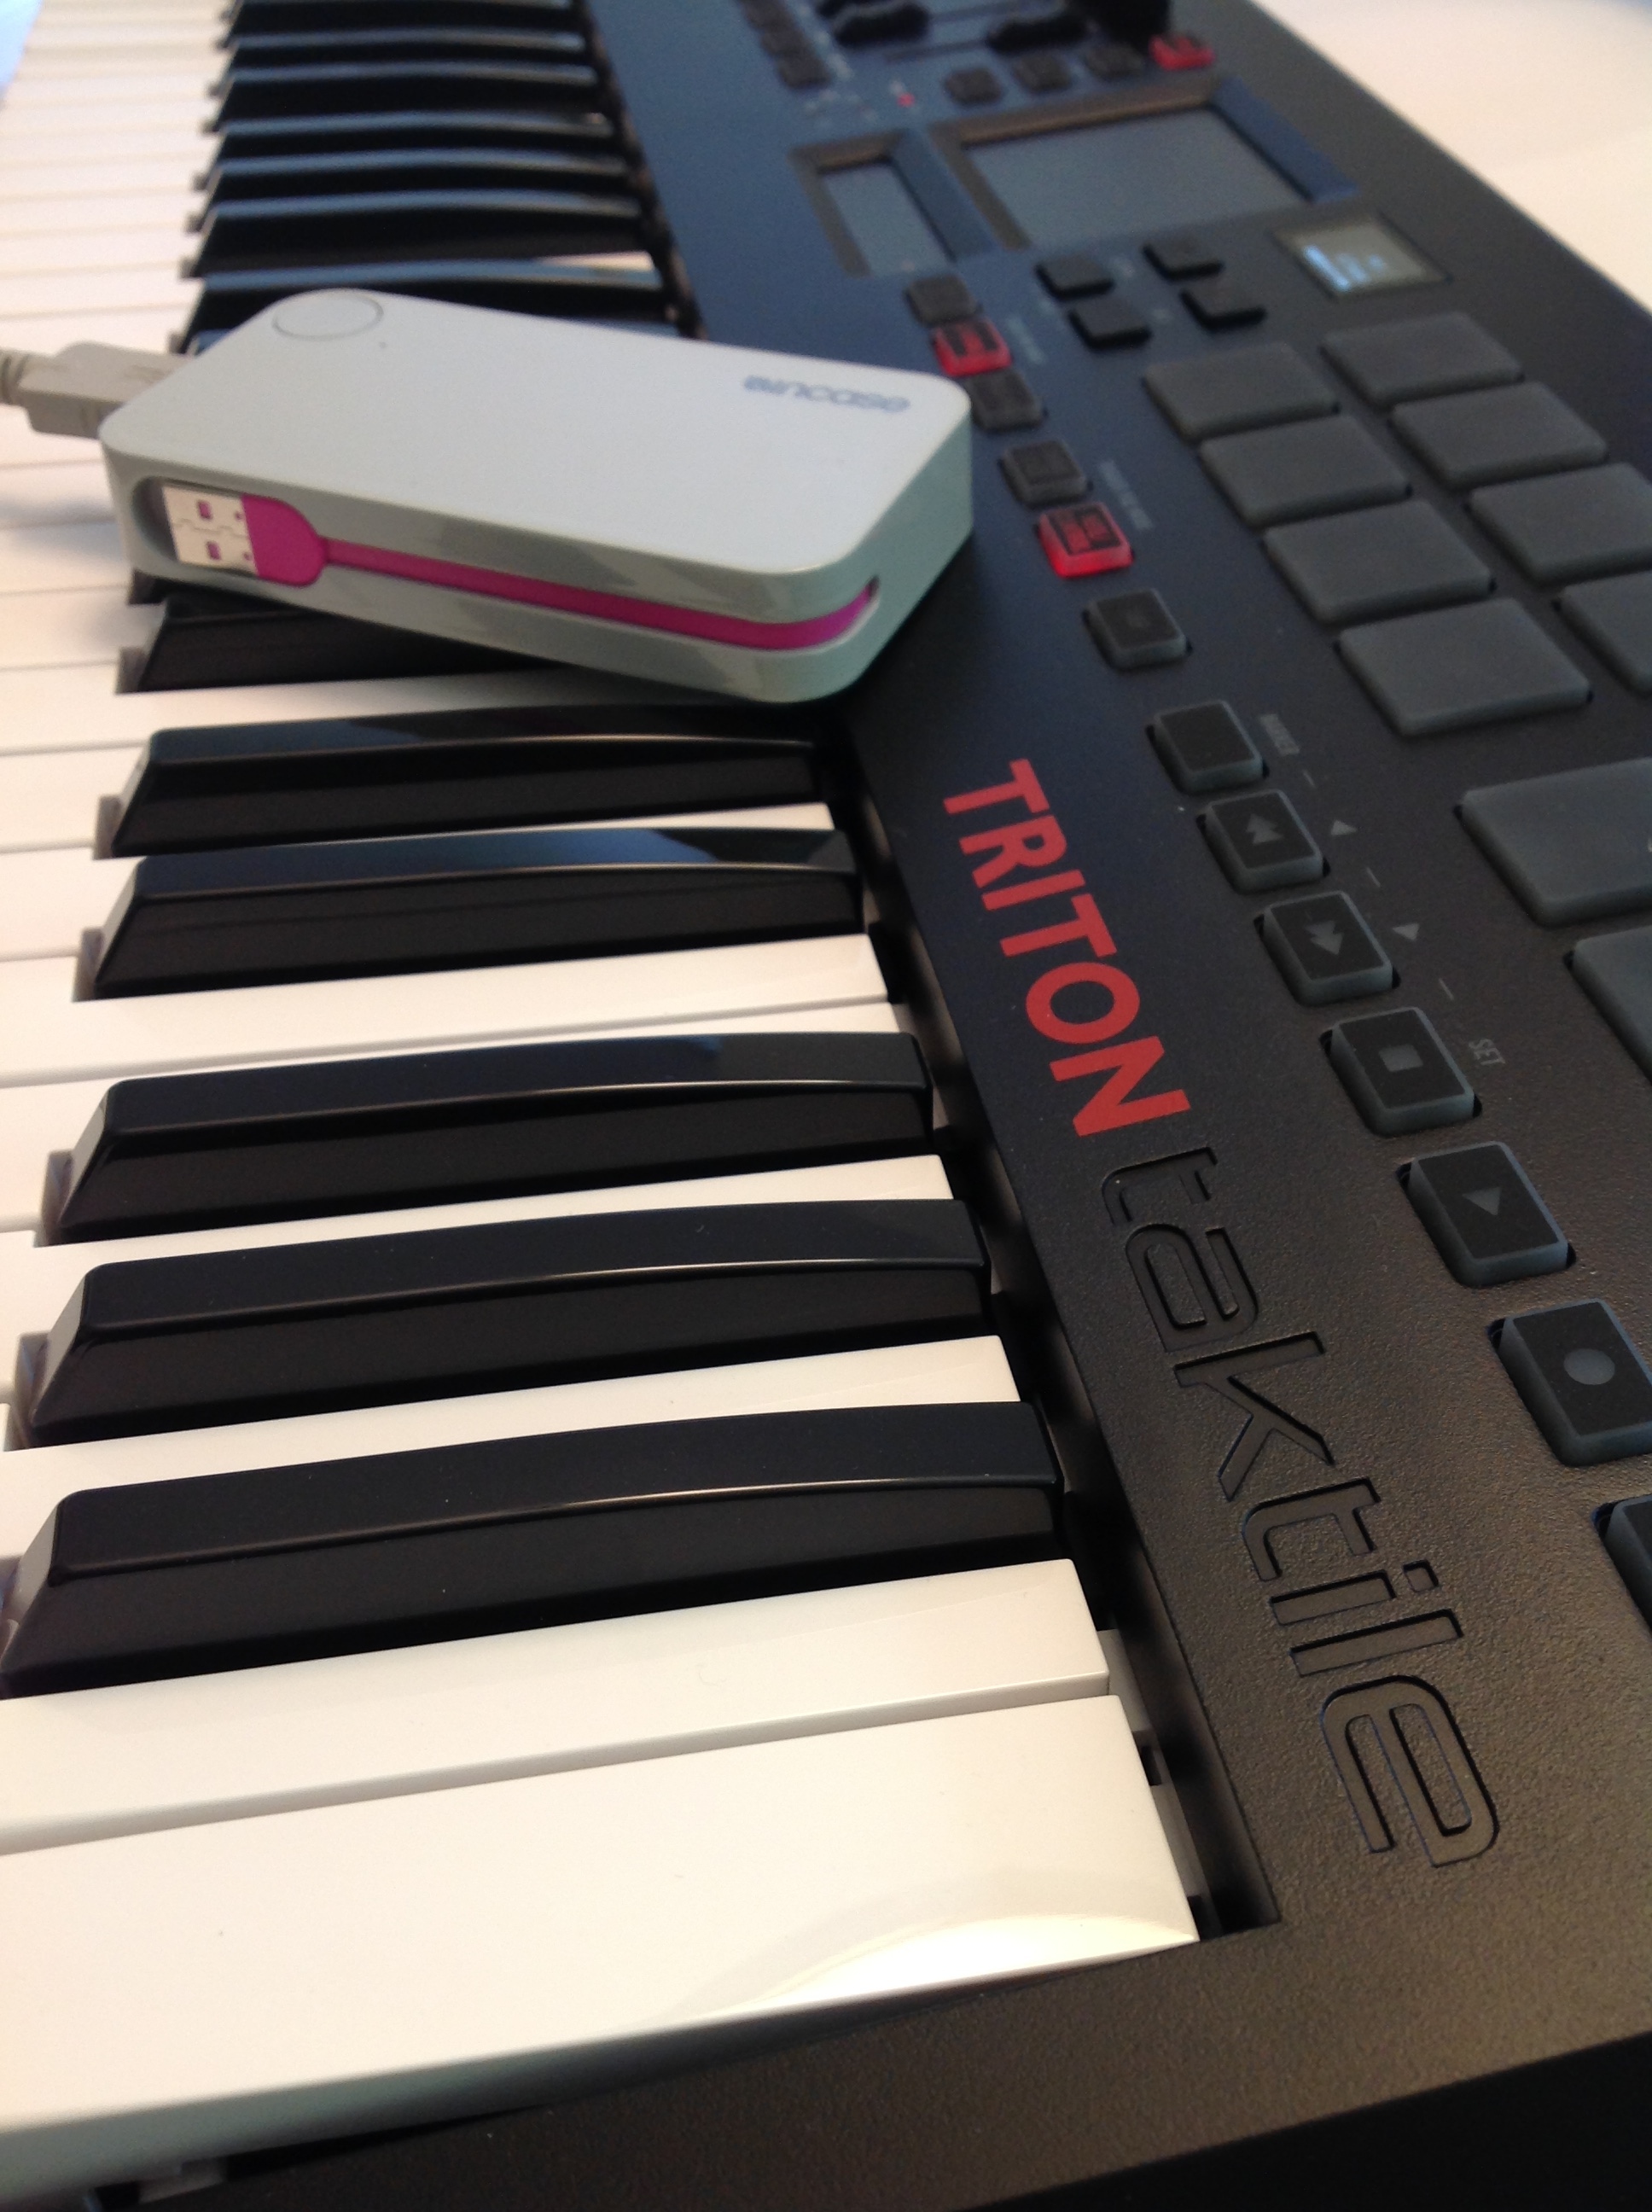
A quick follow-up to my earlier snap review about the Korg Triton Taktile.
I’ve spent more time playing the Triton Taktile and generally remain pleased with many of the on-board preset sounds and the keyboard feel. The only major disappointment is a way to toggle the rotary speaker speed for B-3 organ sounds. Speed changes are an important part of B-3 playing style and I sorely miss this capability. I hope that Korg can find a way to add speed change in a future update. Unfortunately, the Leslie effect seems to be sampled into many of the sounds, so an update of this kind may not be possible technically.
I wanted to register my favorite patches, so I decided to download and install the Korg Kontrol Editor. The front panel procedure for registering favorites is not particularly fiddly, but the Kontrol Editor allows entry in one go and presents a WYSIWYG view on the contents of favorites Set A and Set B. I like to see how the patches are laid out across the buttons and to juggle their order. The Kontrol Editor does the business as you can see in the screen below. The Kontrol Editor leaves tool/keyboard synchronization up to you. When you have something worth writing then you click a button to transfer the edits to the keyboard. When you want to read something back from the keyboard into the editor, then click the appropriate button.
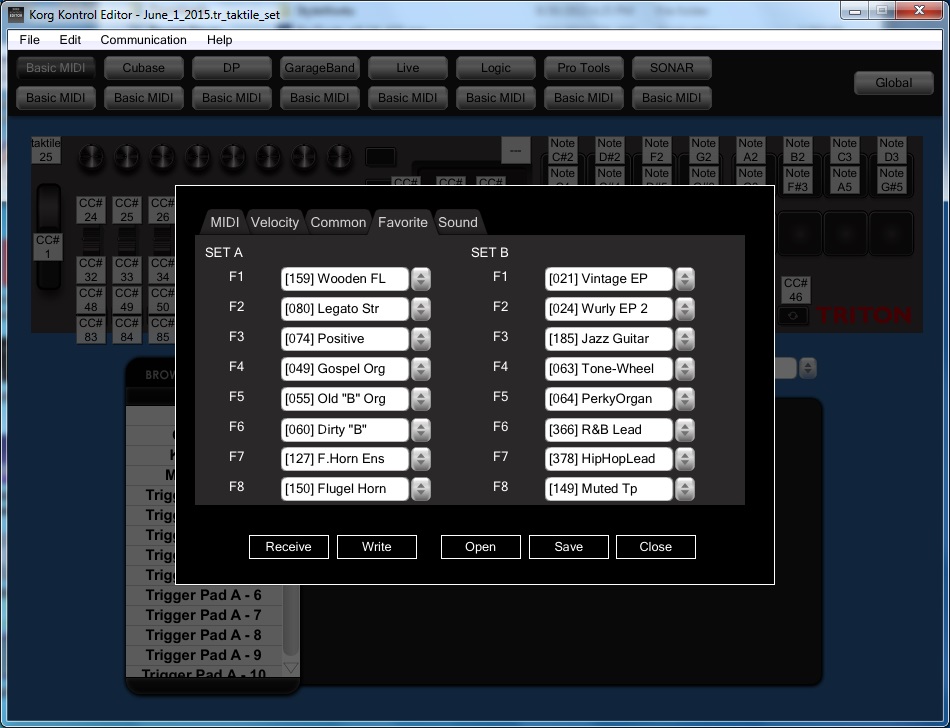
The screenshot shows my favorite sixteen patches. Set A is my “church” group consisting of voices that I am most likely to use at rehearsals with the music ministry. Set B is my “jazz/pop” group of voices that are fun for jamming with MP3 backing tracks or even PSR-S950 styles.
If you ever go to use Korg Kontrol Editor on Windows, please note that you must install the Korg USB-MIDI driver first. The install documentation has a small hiccup and doesn’t mention the need for the driver right up front. No biggee, but you will need the driver.
The Korg part of the installation is smooth. The Windows part, however, became a learning experience. A-hem. I had plugged the Triton Taktile (TT) into a USB port before installing the Korg driver. Windows installed some default driver of its own. This is not surprising. However, the Kontrol Editor did not recognize the TT after installing the Korg USB-MIDI driver. The editor has a means of manually selecting MIDI ports and the TT did not appear in the editor’s list of available (connected) ports.
Time for the usual Windows driver-Hell troubleshooting. Before doing anything else, I uninstalled the Korg driver and rebooted.
While searching the Web for a solution, I found several references to the notorious Windows XP MIDI limit. Windows installs a separate driver for not only each different MIDI device (keyboard), but each unique combination of device and physical USB port. Yep, this means that you get two instances of the same driver if you plug your TT (or whatever) into physical USB port A today and into physical USB port B tomorrow! Windows XP remembers up to ten MIDI drivers and if you tend to move your MIDI devices around USB ports, the ten slots get filled up. Then, no more.
There is some debate as to whether this limitation is present in Windows 7 or not. (I’m using Windows 7.) One solution to the problem is to manually remove registry entries for unused (inactive) MIDI devices. Tromping around inside the Windows registry, however, is not a particularly safe or fun activity.
There are two better and safer methods for removing inactive MIDI drivers:
- A method suggested by Craig Anderton on Harmony Central. (Search on “windows midi limit”.
- The Korg USB driver uninstall utility.
Craig’s method is clear, but requires a little Device Manager knowledge. Basically, you need to execute these two commands as Administrator:
    set devmgr\_show\_nonpresent\_devices=1
    start Devmgmt.msc
Windows launches the Device Manager where you can navigate to the “Sound, video and game controllers” part of the device tree. There, inactive drivers are shown with a greyed out speaker. Right click on each unwanted inactive driver and select “Uninstall” from the contextual menu. Once slots are freed up, you should be good to go.
Or, better yet, try the Korg USB driver utility. This utility program is installed along with the Korg USB driver itself. The uninstall utility displays the unconnected (inactive) MIDI devices and lets you uninstall the associated driver. I installed the Korg USB driver (leaving the TT unattached) and ran this utility on my machine. I selected and removed all of the inactive devices/drivers. Then, I plugged in the TT and voila, the KORG driver and editor recognized the Triton Taktile. All was then good with the world.
Even if you don’t own or use a Korg keyboard, I recommend this utility as a way to work around the Windows MIDI driver divot. Korg really should be commended for writing this utility and making it freely available. As to Windows, I really don’t need any more learning experiences of this type…
Another minor issue is dealing with the 3.5mm (1/8″) stereo output. This output is fine when connecting in stereo to either a 3.5mm or 1/4″ stereo phone input or connecting to two 3.5mm or 1/4″ phone mono inputs — just use the appropriate cable (i.e., TRS to TRS or an insert cable). Connecting from 3.5mm stereo to 1/4″ mono is more troublesome as the right and left channels need to mix down to mono. I received the following reply from Korg USA product support:
You should be ok to connect the Triton Taktile to a mono input by using an 1/8” stereo to a (1/4” or 1/8”) mono cable. I don’t think there are any programs that have sounds panned hard right so all the programs should sound fine.
The HOSA (Livewire) CMP-105 is such a cable. Properly, one should mix down the right and left signals, passing each side through a 1K ohm resistor into a common electrical node (the mono output). You might also want to check out the advice and circuits at Why not wye?
I’m happy to use the CMP-105 as long as there aren’t any long term reliability issues on the Triton Taktile side. The stereo to mono cable does work as suggested by Korg. I will mainly use this solution when driving a mono-only effect like a guitar pedal. Otherwise, there are usually enough available inputs to do a more proper mix down.
Finally, I was curious about the MIDI bank select and program change messages that are needed to select Triton Taktile programs. The TT follows the typical Korg convention: Bank Select MSB is 121 (decimal) for regular voices and Bank select MSB is 120 for drum kits.
The program layout is somewhat schizoid. Korg did not collect all of the drum kits at the end of program list (as Mr. Spock would expect). The drum kits are interspersed with regular voices in the final quartile. Normal voices are assigned banks and program change numbers in the expected fashion up to program number 399, which is the first drum kit. Program number 1 has bank select MSB 121, bank select LSB 0 and program change 0. The program change numbers increase to 127 when the bank select LSB increases to 1 and the program change number rolls over to 0. This continues in an orderly fashion until program number 299 and the first drum kit. After that, the assignment is difficult to enumerate. (Please see the table below.)
I determined the bank select and program change values by monitoring the TT’s MIDI OUT while changing programs through the front panel. If you want to fill out the rest of the table, grab a copy of MIDI OX and monitor the MIDI OUT. Yeah, I’m lazy. 🙂
| Program# | MSB | LSB | PC# | Program name |
|---|---|---|---|---|
| 1 | 121 | 000 | 000 | A. Piano |
| … | … | … | … | … |
| 127 | 121 | 000 | 126 | F.Horn Ens |
| 128 | 121 | 000 | 127 | Flute |
| 129 | 121 | 001 | 000 | Sax Ens |
| … | … | … | … | … |
| 255 | 121 | 001 | 126 | Hybrid Brass |
| 256 | 121 | 001 | 127 | Blind Brass |
| 257 | 121 | 002 | 000 | Reso Brass |
| … | … | … | … | … |
| 383 | 121 | 002 | 126 | Brass/Lead |
| 384 | 121 | 002 | 127 | PWM Lead |
| 385 | 121 | 003 | 000 | Glide Lead |
| … | … | … | … | … |
| 415 | 121 | 003 | 030 | Monster |
| … | … | … | … | … |
| 399 | 120 | 000 | 007 | Std Kit 1 |
| 400 | 120 | 000 | 011 | House Kit |
| 401 | 120 | 000 | 015 | Psycho Kit |
| 402 | 120 | 000 | 017 | Orch&Ethno |
| 403 | 121 | 003 | 018 | Velo Hit |
| 404 | 121 | 003 | 019 | Gtr Hit |
| … | … | … | … | … |
| 416 | 120 | 000 | 120 | Std Kit 2 |
| 417 | 120 | 000 | 010 | Brush Kit |
| 418 | 120 | 000 | 009 | Power Kit |
| … | … | … | … | … |