I’m taking a break from the toys to compare:
All four machines are deep so you’re not going to get an in-depth analysis of features and so forth. I’m going to concentrate on immediacy and fun. Each box has its own best uses and I will offer my opinion.
A word about manuals
Wait! You were going to talk about immediacy and the first thing you mention is manuals?
All four machines support direct production of a single pattern. Sooner or later, you’ll need to learn about song structure, chaining, etc. and you will need to do menu diving. That’s where a good manual can help because if you can find information fast, you won’t lose the buzz.
In that regard, the AN200 manual is the best. Not only can you read and search the manual in PDF, the AN200 came with a nice thick paper book. In terms of content, the AN200 manual was written when Yamaha obviously cared about manuals and good technical writing.
Today, not so much. The SEQTRAK guide covers the usual front panel and button pressing stuff, but is woefully short about the SEQTRAK app. You are expected to puzzle out app functionality. Unfortunately, some app features are not obvious like click and hold on a step to reveal step parameters. It took me forever to discover that one.
The Teenage Engineering EP-40 user guide is at roughly the same level as the SEQTRAK manual. The EP-40 is more intuitive to use right out of the box. Once you want to get into customization, though, you’ll be looking into the guide. Unfortunately, TE does not provide a PDF manual and you’ll need an Internet connection to keep the guide by your side. Can’t really search the on-line manual either.
The Volca Sample 2 owner’s manual is the worst. The paper and PDF versions are broad sheets. Text is shown in mice type — too tiny for humans. I do paper origami and blow up parts of the manual onto regular 8.5″ x 11″ paper. Korg, this is ridiculous. Also in the ridiculous department is the poor readability of TE’s and SEQTRAK’s app text (tiny size, low contrast). As I’ve mentioned elsewhere, I literally read the 4K 24″ monitor screen with a magnifying glass. Inexcusable.
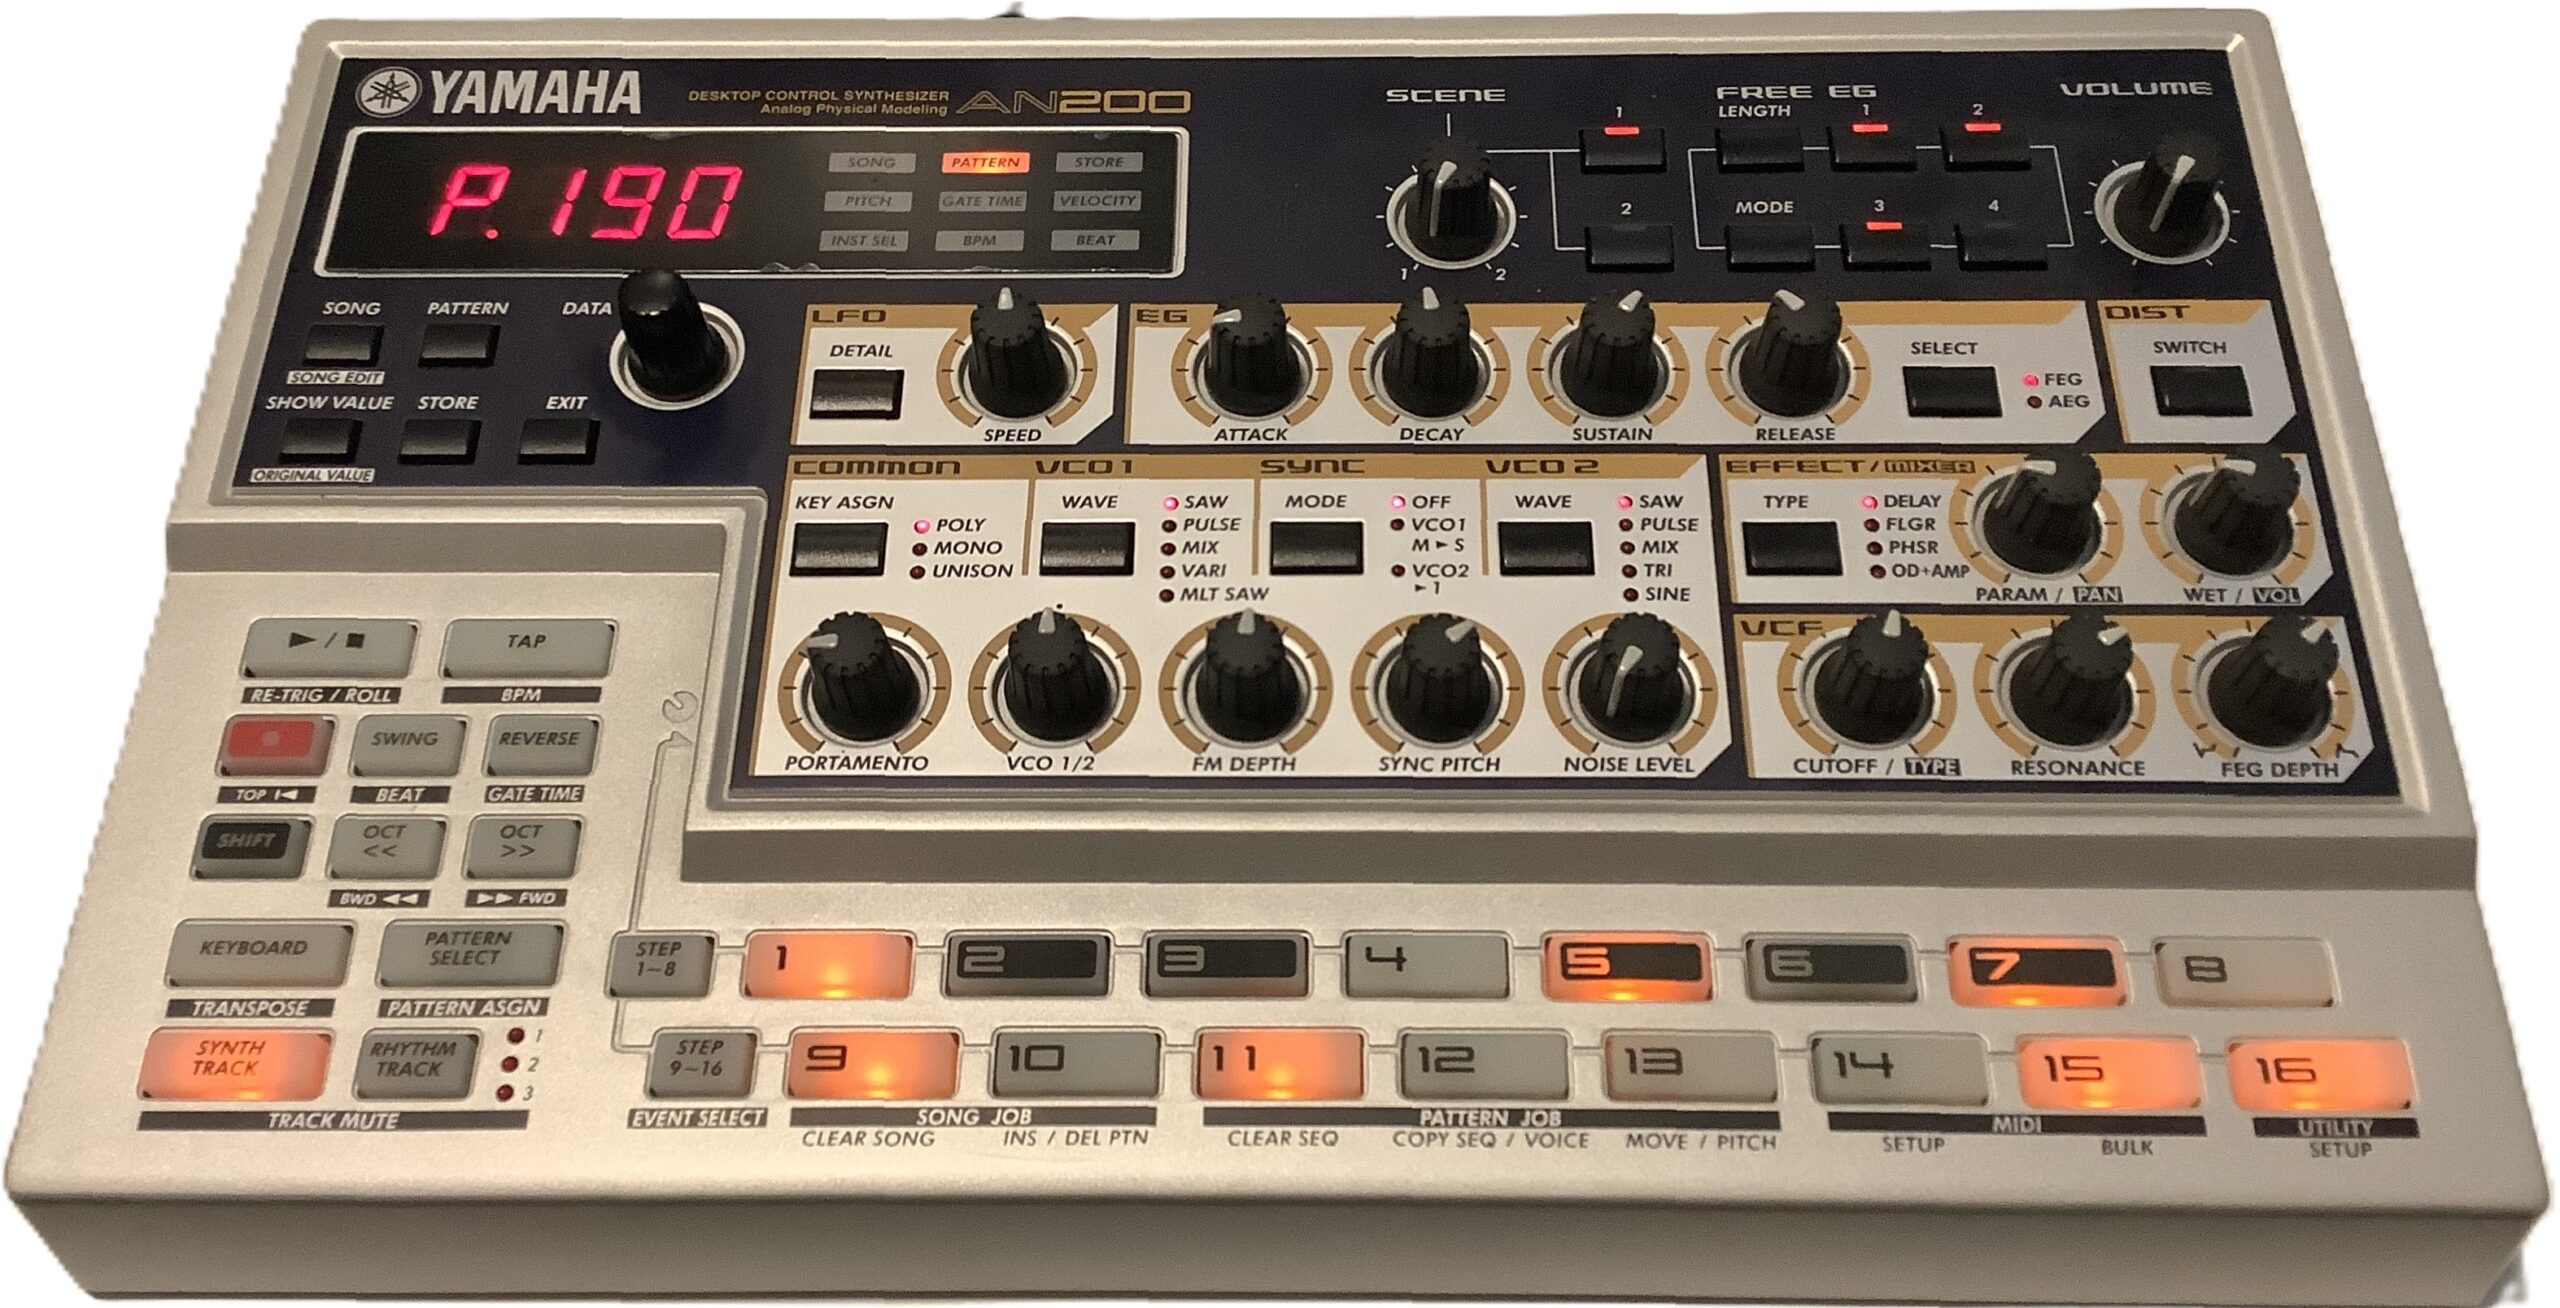
Yamaha AN200 Loop Factory
The AN200 is the OG. It’s big (13″ x 8″) and lights up like a pachinko machine. Therein lies the magic. Ya get big back-lit buttons, big knobs, and clearly readable legends on all of the controls. There isn’t any guessing about where the SHIFT button will take you.

Yamaha AN200 — the OG
AN200 is vintage and you pay market price. Unlike the three modern machines in this comparison, the AN200 factory content is fixed and you cannot add your own samples. The factory patterns are stuck in the late 90s and if that’s your thing, good. You won’t find much downtempo or chill.
In terms of immediacy, it’s hard to beat all of those controls and lights. If you want to do more with help from a PC or Mac, you’re stuck with legacy software (the AN200 editor) from 2001.
The AN200 is fun. I enjoy working with it again. I’m capturing patterns and converting them to SEQTRAK. [I’ll leave that topic for another post.] You get five analog physical modeling voices on one synth track and three AWM rhythm tracks. People still pine for Yamaha AN of yesteryear, so I ain’t complaining.
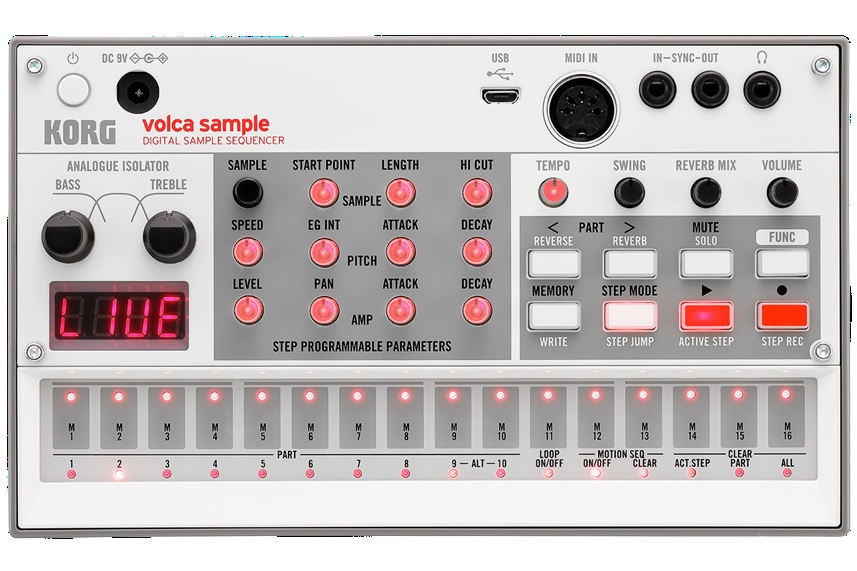
Korg Volca Sample 2
The Sample 2 remains on the undercard. For $150 USD, you get a pretty decent sample-based beat box. The Volca can’t sample new sounds itself, so you need to load the Volca via Korg’s sample librarian.
As to immediacy and fun, the Sample 2 has a lot going for it. The front panel has a bunch of well-labelled, back-lit mini-knobs and buttons. If someone knows a little bit about beat boxes and sample playback, hey, one-two you know what to do. Like the AN200, the Sample 2 has a four digital LED display meaning feedback is limited and often cryptic.
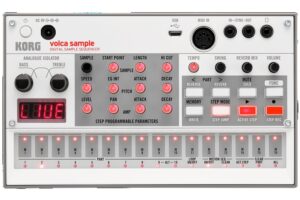
Korg Volca Sample 2
Memory capacity is way low — too small for long loops. Even if you toss all of the rather nice factory content, you won’t be loading a lot of mix stems. I just want to tell the Sample 2, “You’re a beat box and you will always be a beat box.” Never-the-less, I don’t regret owning the little pup.
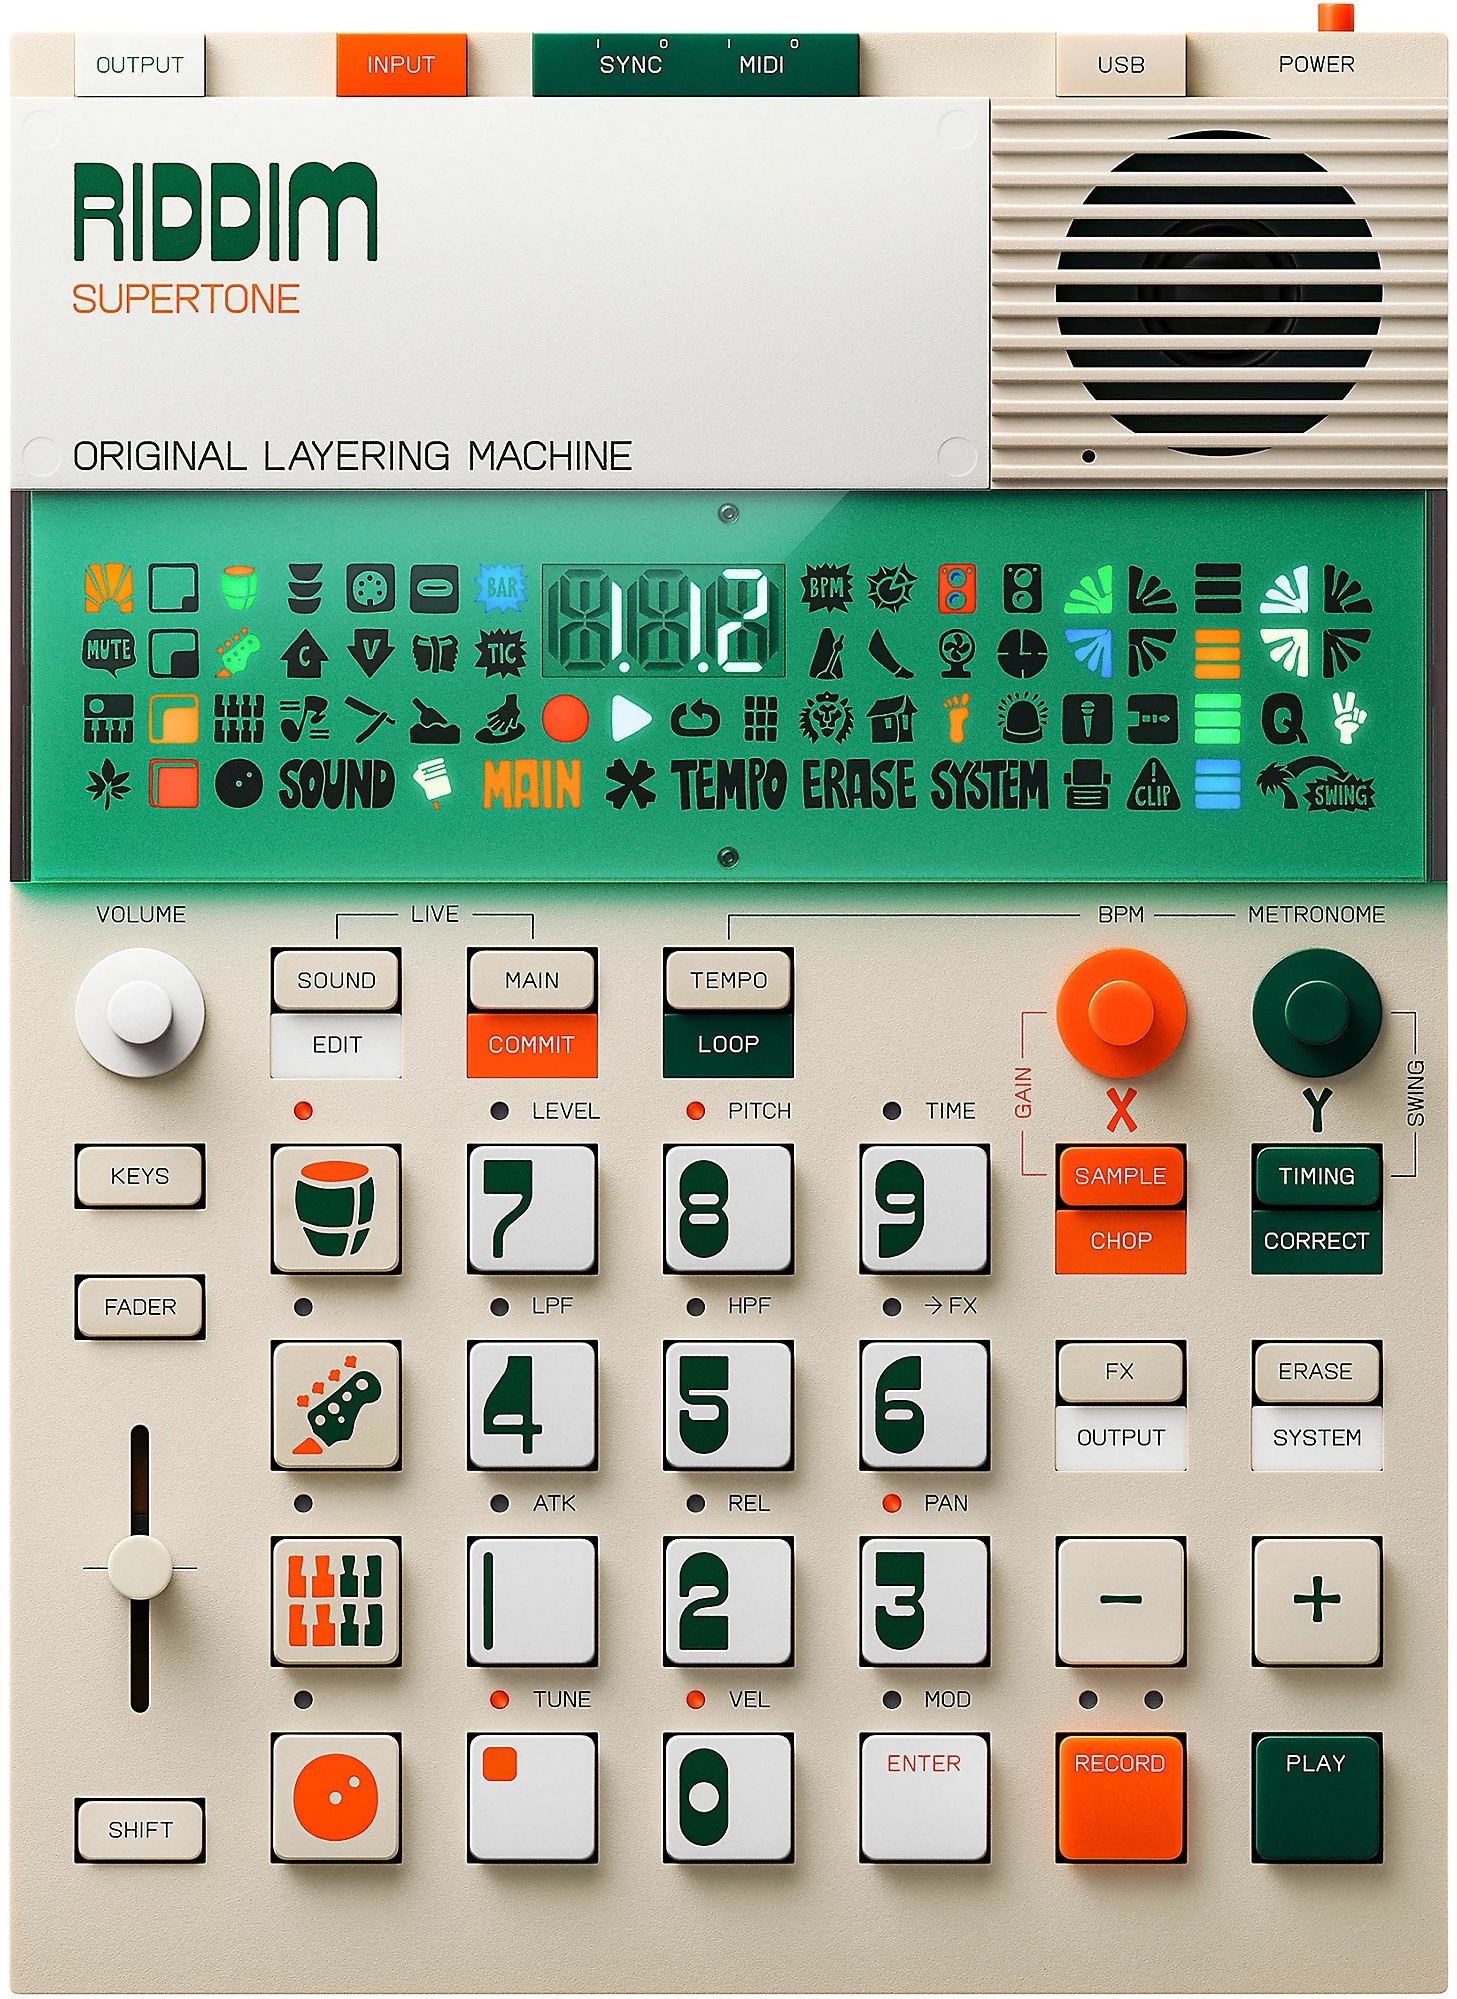
Teenage Engineering EP-40 Riddim
The TE EP-40 gets my vote as “Most fun right out of the box.” Those big buttons demand pushing and the control legends are easily read and understood. You do need a clue or two from the included Getting Started card. For example, you need to know that the “instrument” buttons select one of the four tracks, how the fader and knobs affect parameters, etc.
The funnest element is being able to perform a full song right from the git go. The Riddim says “Original Layering Machine.” That’s an apt description. You can make beats, but the ability to play and perform from long loops that stay in sync hits my sweet spot. It takes more reading to know how to drop in effects and navigate projects. The effects, by the way, are right on point. The built-in Supertone synth is not bad although you need to read about sound editing to expand its somewhat limited range.
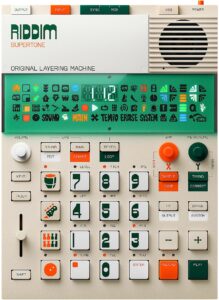
Teenage Engineering EP-40 Riddim
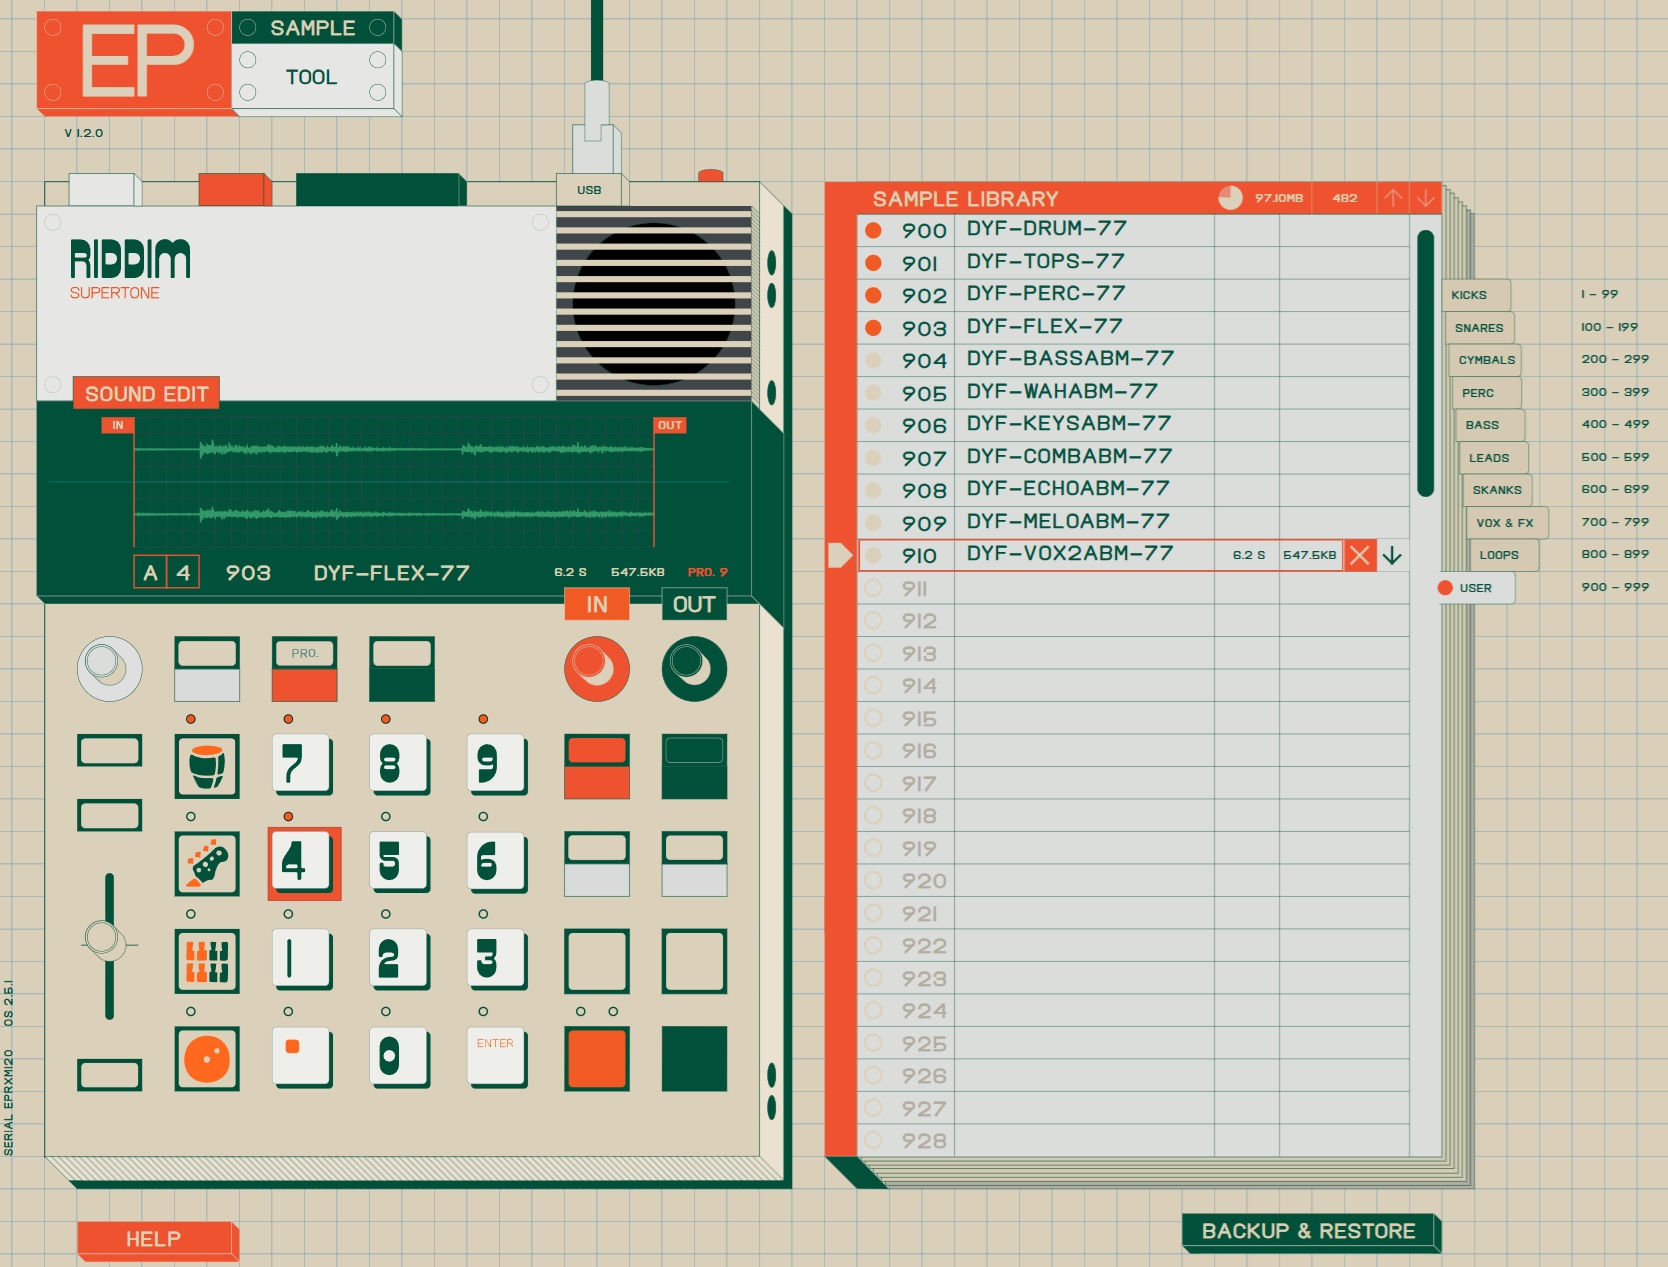
I hope EP-133 K.O. II users have as much fun. A fair bit of my enthusiasm comes from the Reggae content and styling theme. TE recently upped the K.O. to 128Mbytes of sample space — just enough to be dangerous. Riddim has the ability to sample on the fly and it doesn’t take much to fill up the 32MB or so of free space. Kicking content out of Riddim is like deciding which of your children to leave behind on the loading dock. Ouch.
The EP-40 has a three digit display. It also has a large bank of Swedish hieroglyphics. I still don’t know what half of those symbols mean. 🙂 The symbols are useful when you know what they mean (e.g., MIDI activity).
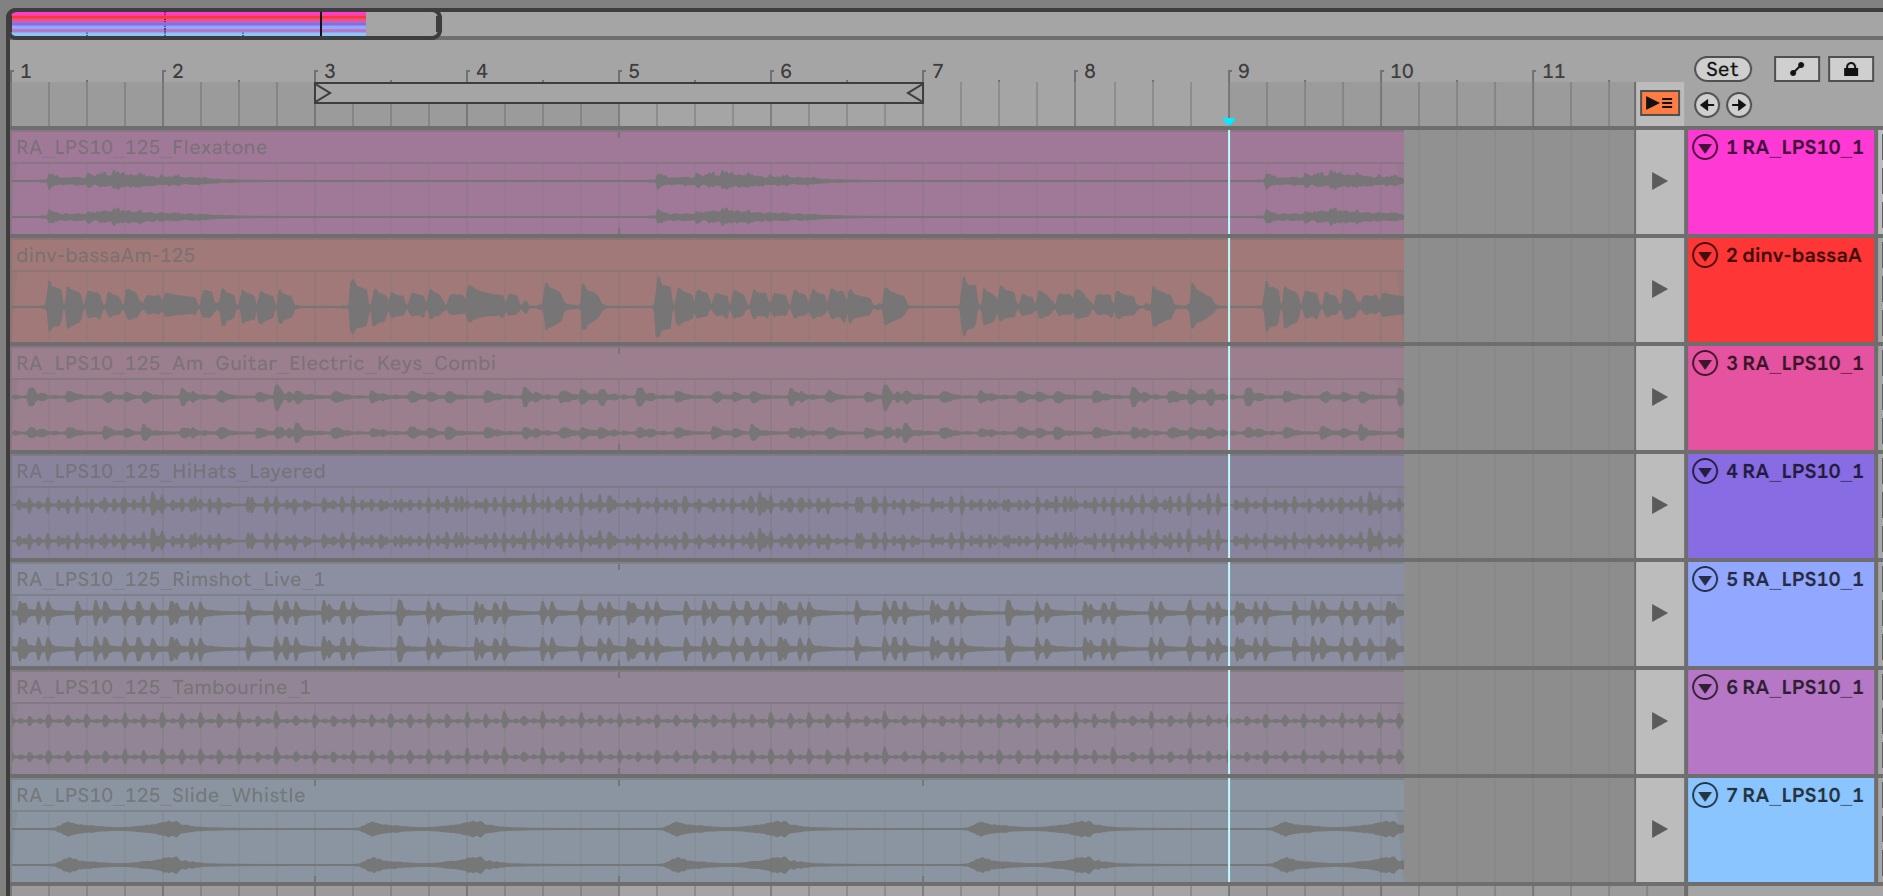
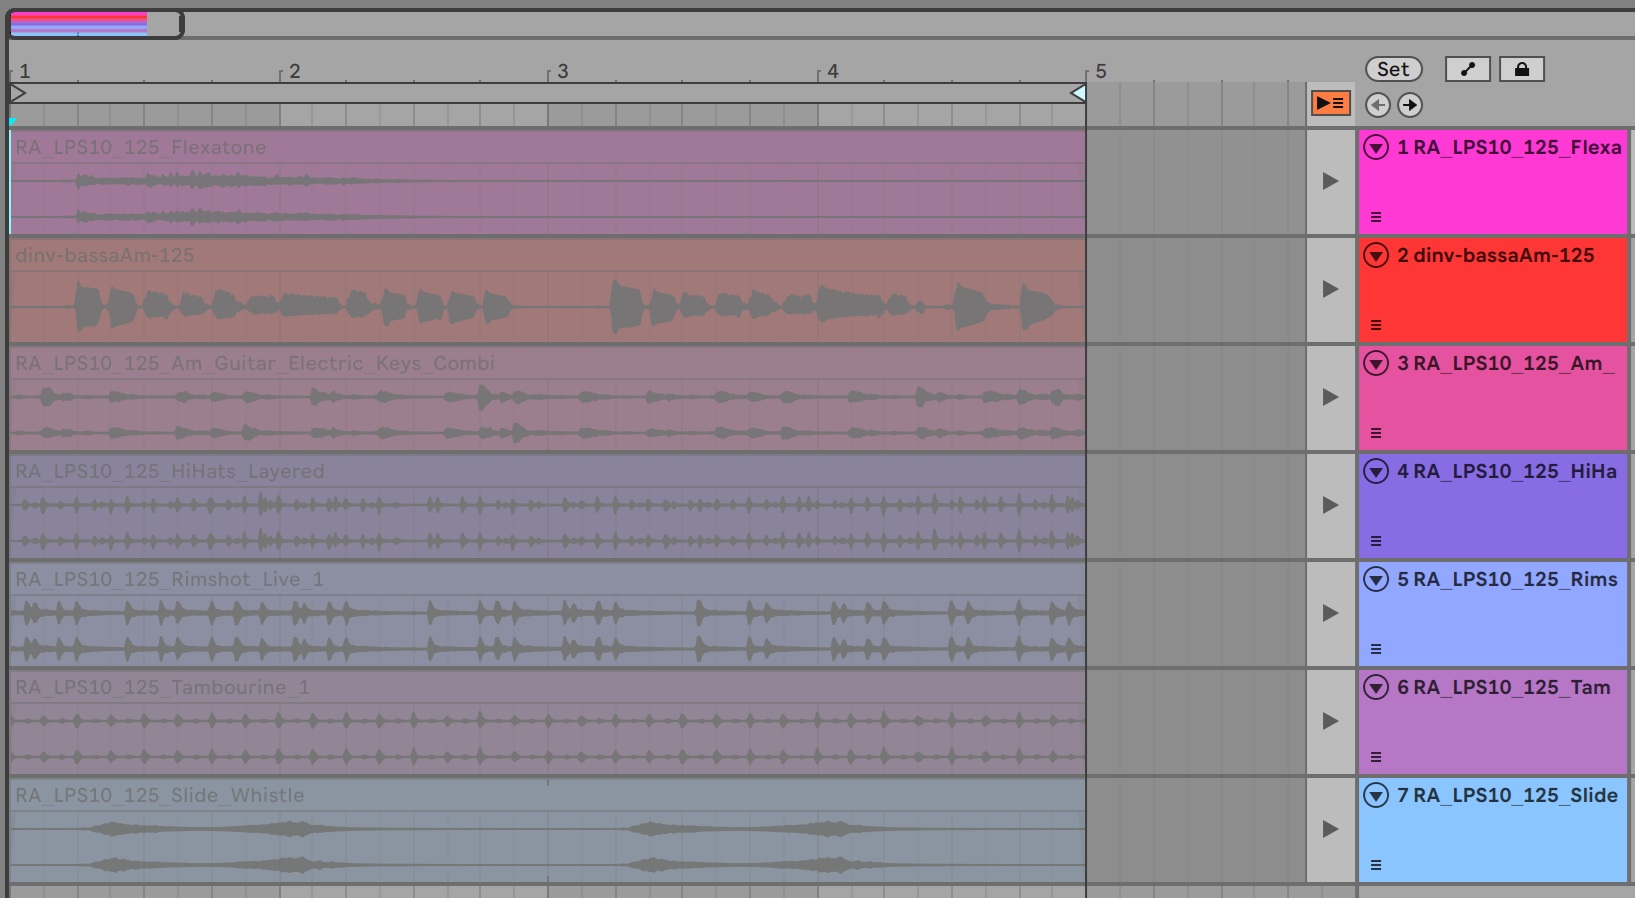
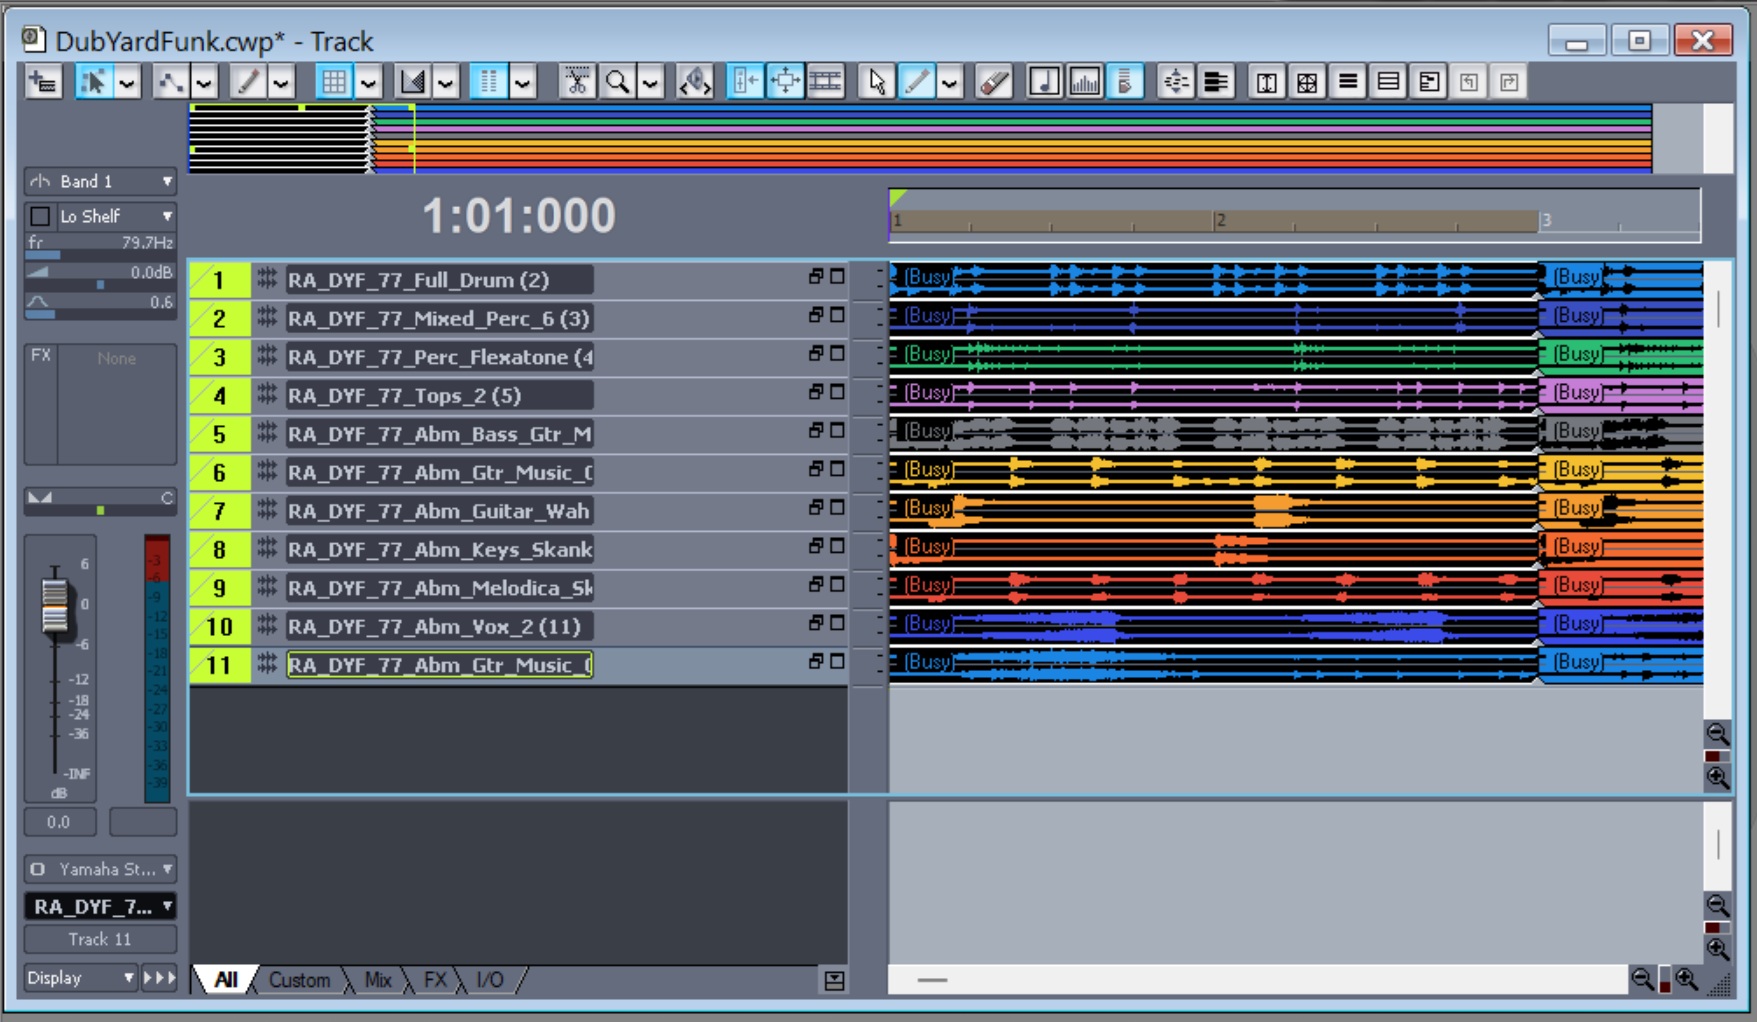
I know it’s possible to make beats with this thang. OK. I am not a beat maker and prefer long loops. Thus, EP-40 suits my use case (AKA production style). I’ve been rummaging through reggae loops trying to get new “songs” together. I wish there was an easy way to audition a few loops together to see if they fit without going through the download process. Oh, well, there is always Ableton Live for that… Eventually, I will venture into downtempo and chill; I don’t see any technical barriers.
Sample 2, EP-40 and SEQTRAK have built-in speakers. The EP-40 has the best of the lot, although none of the speakers is good enough to use stand-alone for very long. All are “courtesy speakers” and you’ll be plugging into monitors anyway.
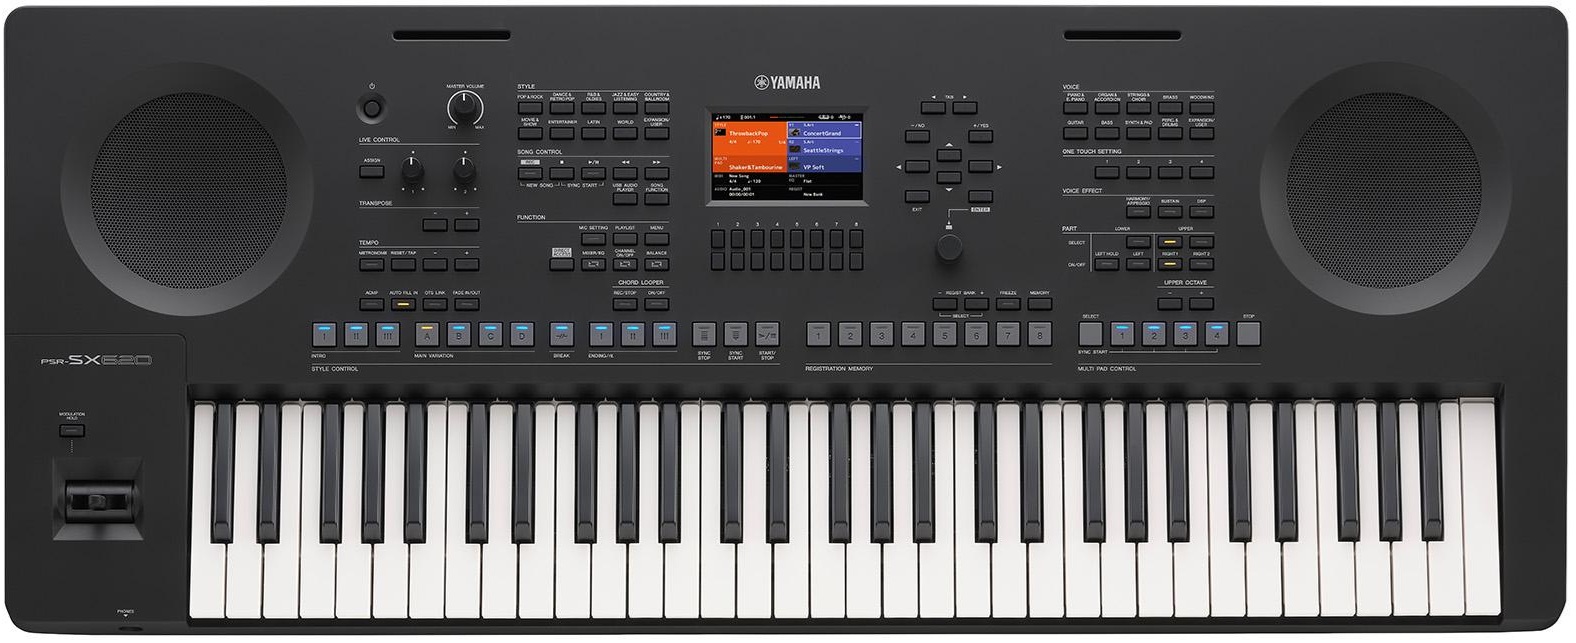
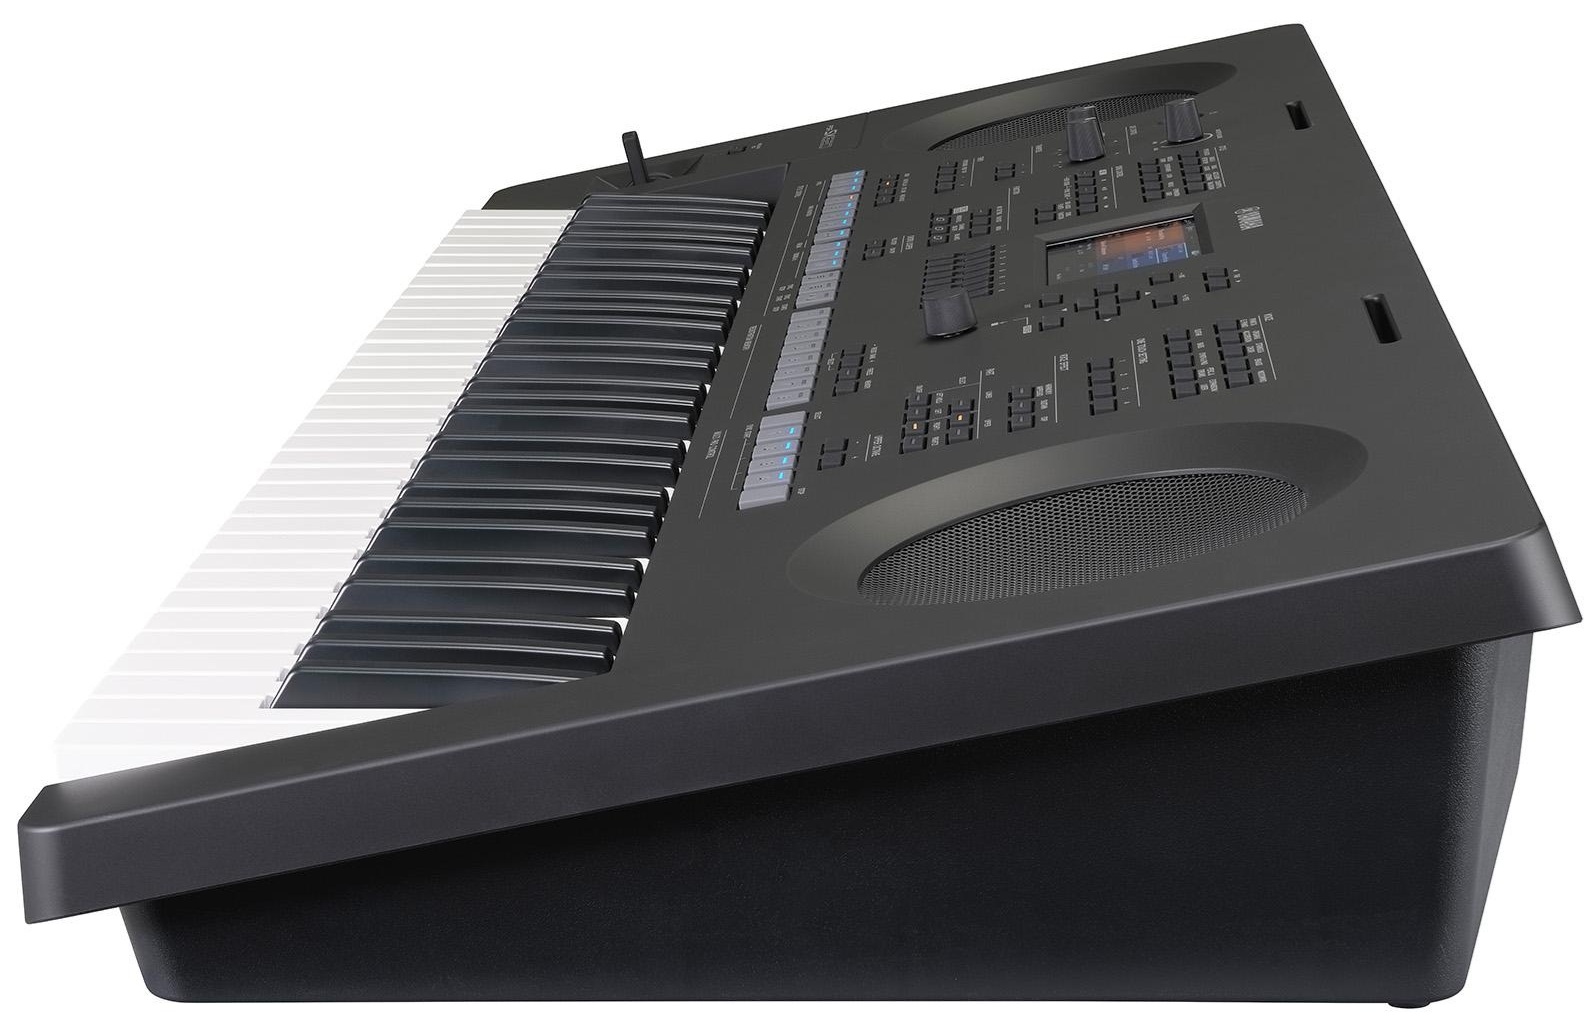
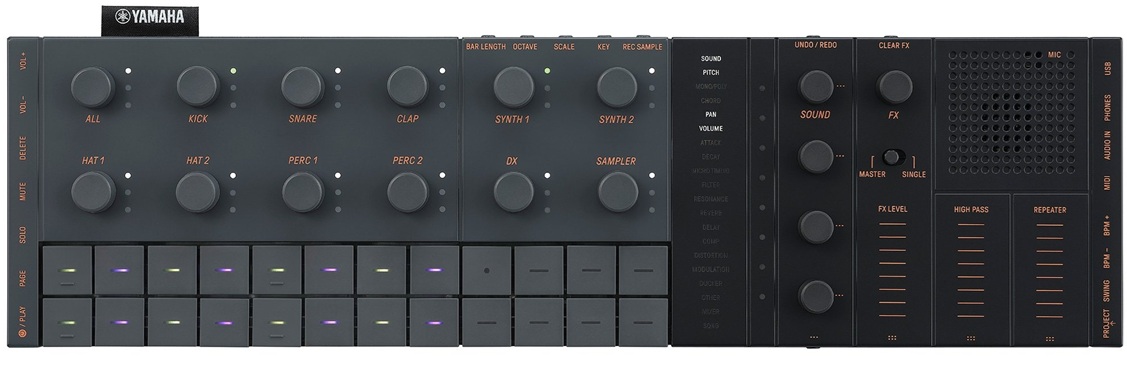
Yamaha SEQTRAK
When folks first saw SEQTRAK, they gasped, “Yamaha is trying to copy the Teenage Engineering OP look.” Yep, Yamaha’s industrial designers shot for a sleek minimalist look and hit the mark. After playing EP-40, though, my next impression was, “Gee, Yamaha achieved the look, but they left out the fun.” TE tries to build in playfulness as well as modernist industrial design.
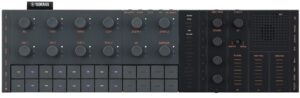
I had waited a long time to jump on the SEQTRAK wagon because I am not a beat maker. Beat making is SEQTRAK’s primary use case. I will let the Interweb’s argue the case for and against on that basis.
I will use SEQTRAK as a sound module — no doubt about it. This module has a huge internal library of AWM2, sampled and 4-op DX sounds. (The DX sound set could be a little beefier.) The AWM2 sound set is “MX+” (or “XS+” depending upon your reference point). None of us should have trouble putting the factory sounds to work modulo the MIDI channel restrictions.
As a standalone beat making tool, I can see how the SEQTRAK is somewhat unapproachable. There are small side buttons and connection points. Purpose is sometimes clear (e.g., USB. phones, VOL+, VOL-) and sometimes not (e.g., PAGE, DELETE, PROJECT). Plus, what is that quasi-display in the middle with words that light up? SEQTRAK does include a multi-lingual “Quick Operations Guide” with about 20 pages of instructions and tips. Thank goodness.
I didn’t really get into SEQTRAK until I fired up the SEQTRAK app. Now we’re talkin’. The app is far more relatable and it provides a longer user guide. Thanks to the app and its guide, I understand the track layout, effects structure, project management, etc. I have a long history with Yamaha gear and immediately “got” SEQTRAK as a sequencer and synth.
When I saw MIDI import and export, I decided to convert a some of the old DJX-II patterns to SEQTRAK. After a few minor stumbles, I got reasonably familiar and competent at SEQTRAK conversions. Now my SEQTRAK has several jazzy songs, each song (project) with six different pattern (sets) up to eight bars (the SEQTRAK max) in length. Most importantly, they sound danged good for the money. I could see loading (up to) eight songs and performing a live remix standalone.
SEQTRAK prices have dropped to where a punter shouldn’t hold back — if beat making is your thing. I don’t think SEQTRAK would be the best engine for long, stem-like loops. TE’s EP approach is a better fit for that production process.
Is there a champ?
Is there a champ? That depends on your musical process. Beat makers should be happy with SEQTRAK once they climb the learning curve. Us kids who just want to have fun and are inclined toward stem-like loops will be happier with a TE EP-40 or EP-133 K.O. II. Gratefully, neither device is beastly expensive (about $300 USD each). Both are good value.
Copyright © 2026 Paul J. Drongowski