
Having worked with and played ROLI Lightpad M, I’m ready to write this review!
Starting out
The first thing you notice out of the box — ROLI Lightpad M has some heft. If Stanley Kubrick had invented a palm-sized talisman to take humankind to the next level in evolution, Lightpad would be it. It’s dark grey (light black?) with the DNA connector studs on four sides. Lightpad’s heft is due to its 2000mAh Li-po rechargeable battery. The extra weight has two advantages:
- Lightpad feels substantial like a “real instrument”.
- Lightpad does not skitter across the table when played, thanks to both the weight and rubber pad on the bottom.
Overall, it gives the impression of quality, not a cheapo plastic knock-off.
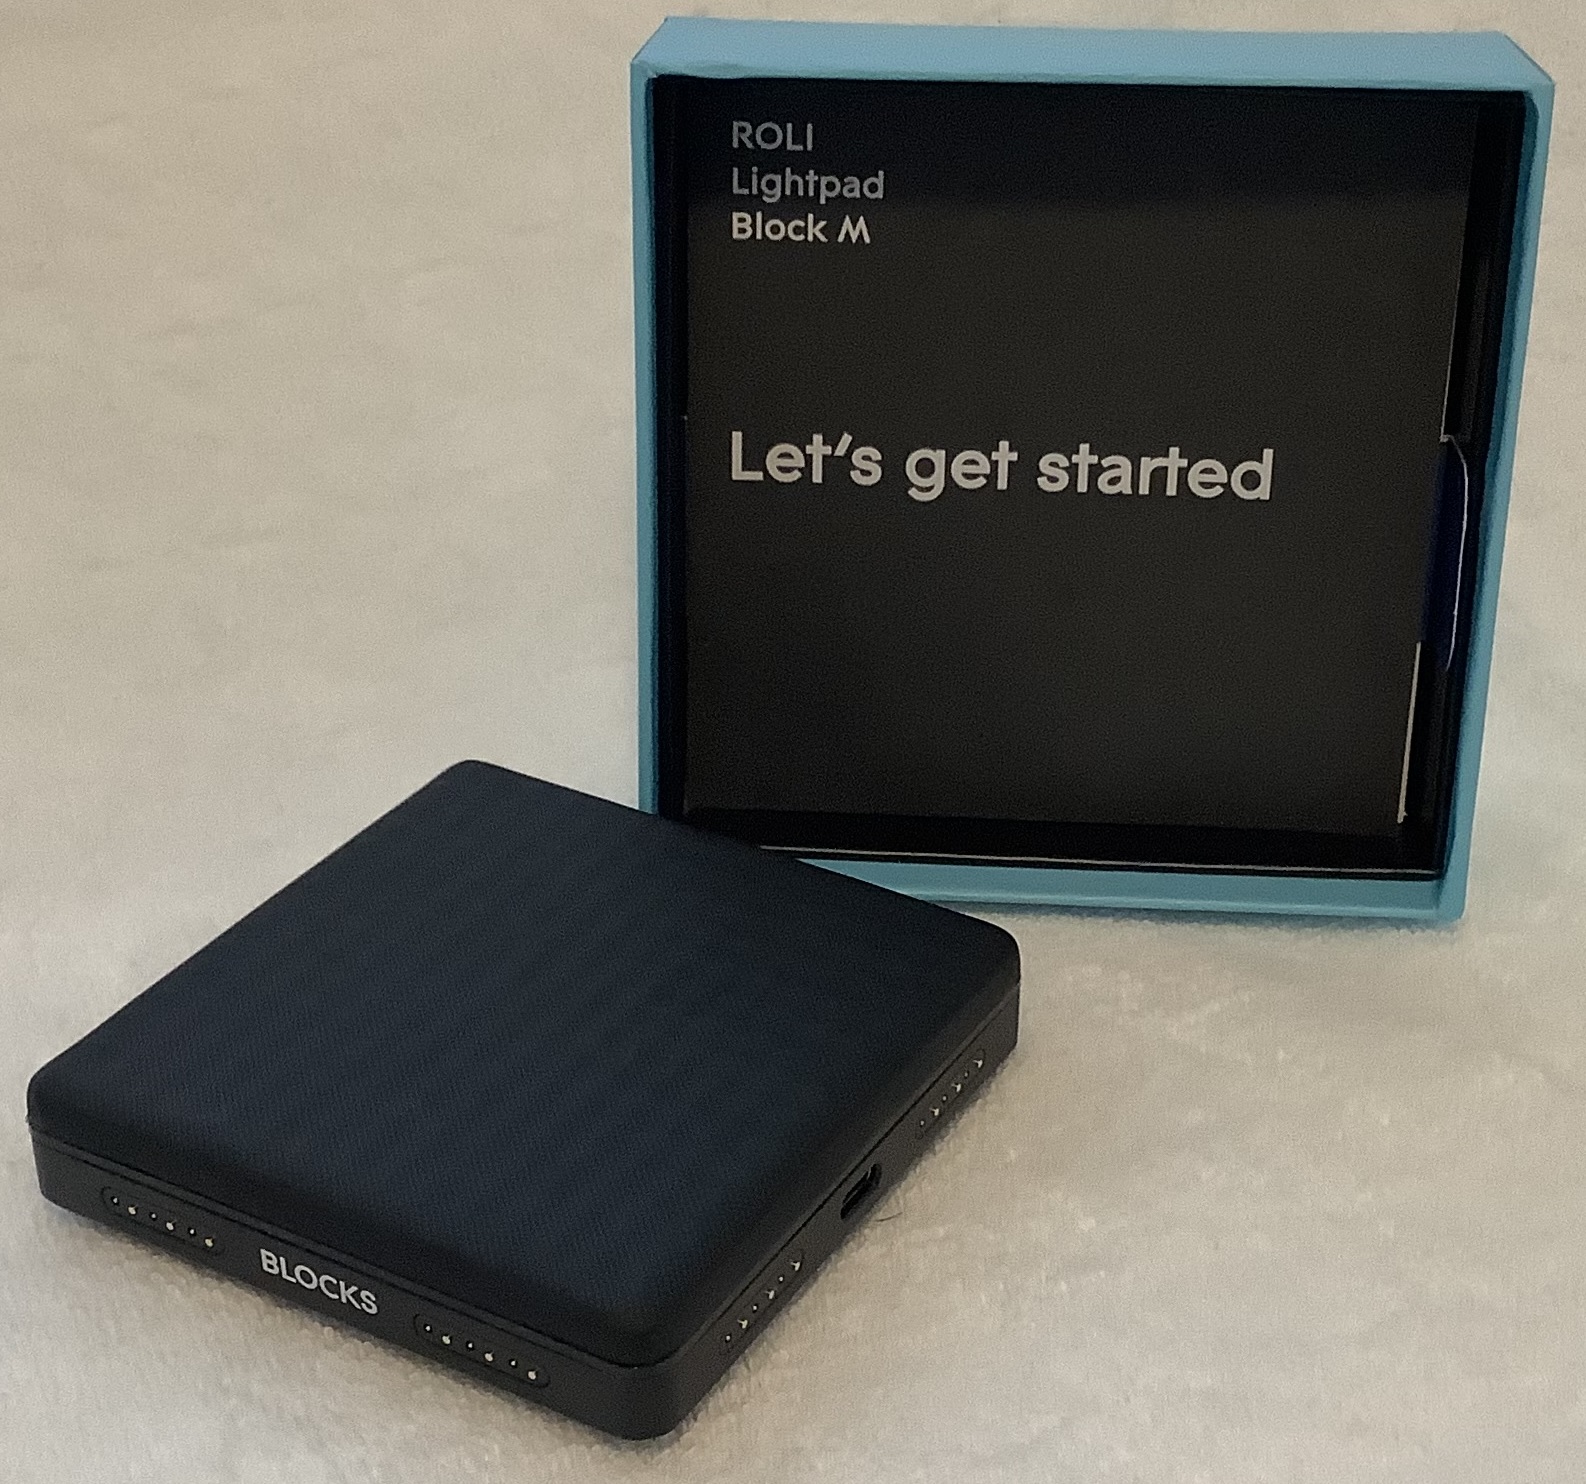
My Lightpad had been sitting idle on a shelf somewhere and the battery was fully discharged on arrival. Lightpad shows battery status when the mode button is pressed (when Lightpad is OFF). I charged Lightpad using the ROLI USB C cable and an Apple iPAD charge adapter. Lightpad needed four hours to come up to full charge.
Tip: Flip Lightpad over and look at the rubber pad. The pad is inscribed with icons indicating button operations and the USB C port.
ROLI Connect (under Windows 10) readily recognized and registered Lightpad. I downloaded a mess o’software including ROLI Player, ROLI Drums, and ROLI Dashboard via ROLI Connect (ROLI’s content manager). Separately, I installed the ROLI Noise app on iPAD (3rd generation Air, IOS 15.6.1).
I already described what it’s like to get started with ROLI’s software ecosystem. Here are some further experiences.
ROLI Noise app
I wanted to play Lightpad M and the ROLI Noise app seemed to be the fastest way to start playing. There are plenty of on-line videos and I won’t go over the same basic territory here.
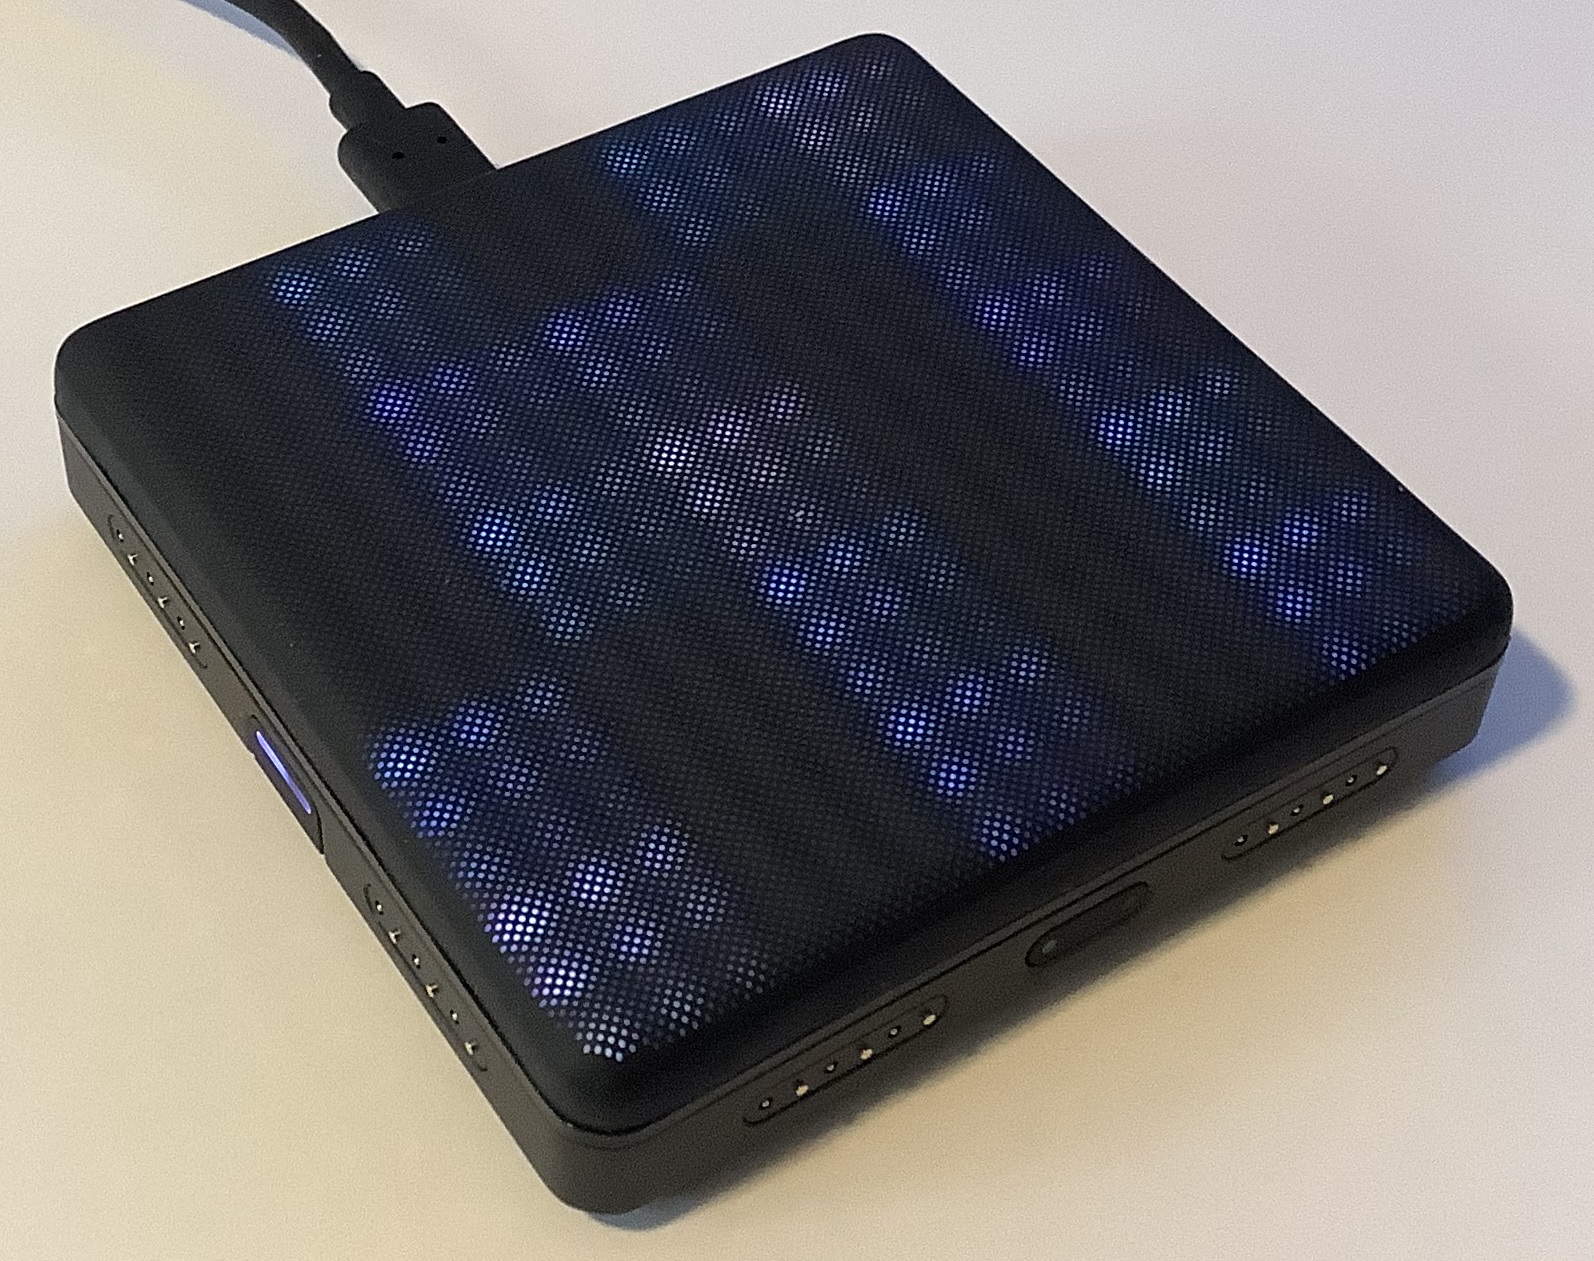
Noise is a decent way to learn about Lightpad’s basic capabilities as a drum pad and melodic controller. Enable Bluetooth and turn Lightpad ON. Lightpad sweeps a blue arc across the surface signifying connect mode. Launch Noise, tap the power switch icon in the lower right, and follow the dialog boxes to complete connection.
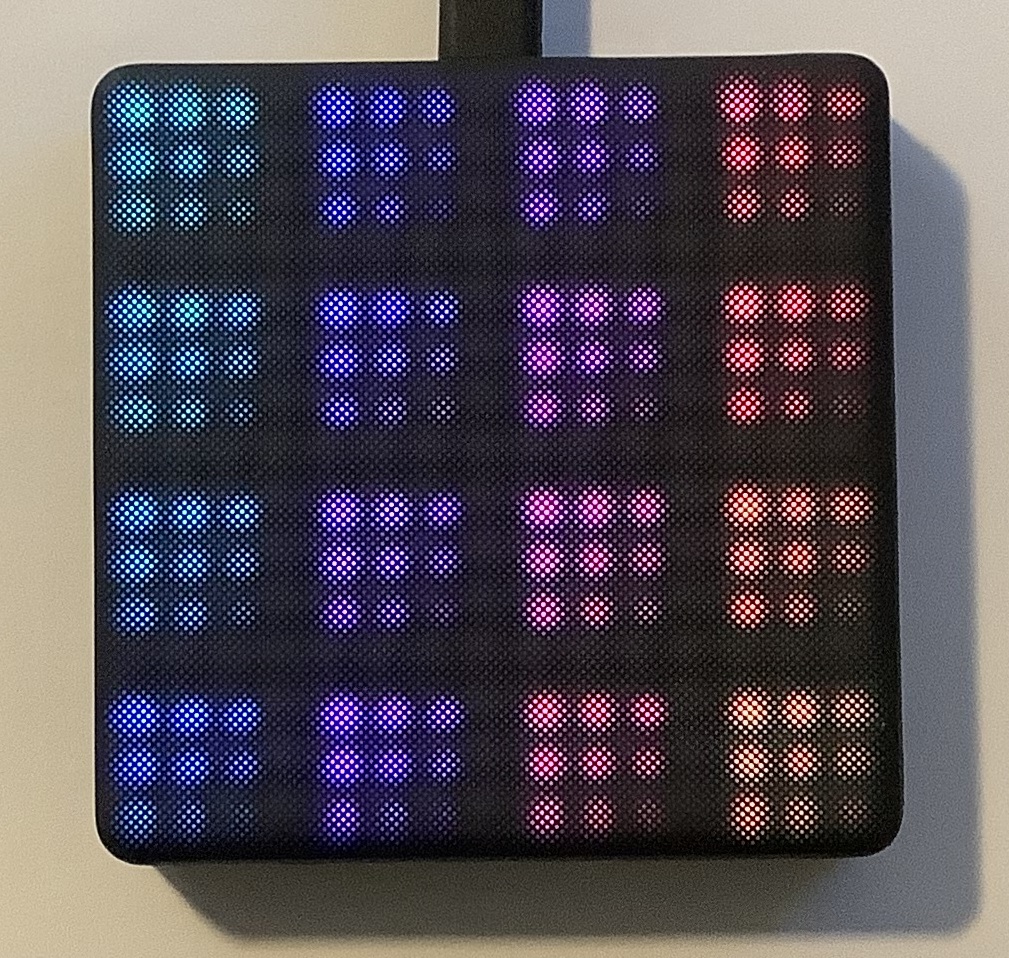
I had watched enough videos to know how to use the two matrices on the main screen: “clip” launcher on the left and key pad on the right. The four small buttons under each column in the key pad select the column (drum and three melodic instruments). Use the voice picker at the bottom to choose an instrument for the selected column.
It’s all intuitive, simple and enough to start horsing around. Noise changes Lightpad’s configuration to reflect on-screen choices.
Tip: Drums come in two forms: drum kits and groove kits. Drum kits assign a voice to each pad and you tap out a pattern in the usual way. Groove kits assign a clip to each pad and should be struck and held. Not knowing this distinction, I thought groove kits were broken, i.e., I didn’t always get an immediate response when briefly striking a pad.
Tip: Pads in the 4×4 and 5×5 configurations are too small for accurate finger drumming. If you can, select and use a 2×2 grid in order to get MPC-sized virtual pads.
I recommend downloading and trying the Pharell “Happy” sound pack. It’s free and is the fastest way to instant gratification. I want to play darn it, not build a drum pattern from scratch. If ROLI revive Noise, they should provide more content of the instant fun variety. I can see why some users might lose interest quickly when they have to microcode everything from scratch using a not always intuitive user interface (UI).
I had the most fun jamming to and messing with the Happy sound pack. I especially liked playing a lead over slowed-down Happy. I messed with scales, chords, arpeggiation. The touch surface is balanced between soft enough and pleasant resistance. It’s just totally cool to play a line and then add extra pizzazz through pressure, glide, slide or whatever gesture you feel.
Tip: The playing surface ripples with so-called “waves”. The waves give a nice textured feel. Lightpad M has both the waves and an improved playing surface; the original Lightpad does not — something to keep in mind when shopping the used instrument market.
Tip: Use ROLI Dashboard and/or Noise to adjust pressure sensitivity. Out of the box, Lightpad is not as responsive to pressure as one would like.
For melodic instruments, notes are laid down on a 5×5 grid. Notes in the chosen scale are lit and non-scale tones are dark. Strangely, I began to recognize major vs. minor, etc. by sight and I could pick out melodies. I honestly didn’t expect that! Select Noise’s Seaboard simulator and Lightpad will follow notes played on-screen.
Noise is fun as far as it goes. In the end, Noise smells like a Web site that’s gotten a bit stale. Not surprising, because ROLI have neglected upkeep in recent years. There are a few UI widgets that don’t seem to operate anymore, e.g., “Hide Note” in the scale picker. Sadly, the SWAM sound packs cannot be installed — something to do with “not available in the AUv3.” Not my problem, ROLI.
ROLI Equator 2 and ROLI Dashboard
The tone gets decidedly “serious” on the personal computer side. ROLI Player and ROLI Drums run standalone and as plug-ins within a DAW or other VST compatible software tool. ROLI Player encapsulates the melodic software instruments Equator 2, Strobe 2 and Cypher 2. ROLI Drums holds up the rhythmic end.
In standalone mode, you can browse the presets while trying out different Lightpad configurations (scales, smart chords, etc.) OK, but not a lot of instant gratification a la the ROLI Noise app.
So, launch Ableton Live and try inserting ROLI Player on a MIDI track. Whoops, Live can’t find the ROLI Player plug-in! Drop into Ableton Live preferences and check the VST plug-in path. ROLI Player and Drums install into:
32-bit plug-in: C:\Program Files\Common Files(x86)\Steinberg\VST2\
64-bit plug-in: C:\Program Files\Common Files\Steinberg\VST2\
Darned Ableton Live supports only one custom path which I have already used. I copied the Player and Drums DLL files to the directory at the end of the custom path — a fast and sleazy work-around.
Ableton Live eventually found and created the ROLI Player plug-in. Choose a few funky loops, get the clips started, and now the fun begins, again. ROLI need to make the personal computer side as engaging as ROLI Noise on iPAD. None the less, if you have Ableton Live, you can groove away playing leads, bass lines, whatever in ROLI Player or Drums. The ROLI software bundle includes a download code for Ableton Live Lite, so you should be able to set yourself up.
Overall, in terms of playing experience, ROLI Lightpad M is best suited for leads. Finger drumming and bass require too much good timing and precision on my part. With all five touch dimensions going, however, you can positively shred.
In conclusion
I hope my comments convey the feeling of ROLI Lightpad M as a primary physical controller for synthesis. The experience is a similar to working in Akai’s MPC environment — triggering notes, chords and arpeggios with pads. Unlike MPC pads, Lightpad lets you mangle sound with gestures after the initial strike. It’s a worthy addition to a studio for no other reason than breaking out of muscle memory and mental ruts.
Copyright © 2023 Paul J. Drongowski