
Sparkfun is one of my favorite companies. I like their products and their service is very good and reliable. I’ve learned a lot by studying their designs and I especially like their commitment to education.
Previously, I built two Sparkfun kits: the Redboard PTH Arduino and the MIDI break-out board. I have several more kits on hand to satisfy the occasional urge to solder!
Recently, I built a Sparkfun Danger Shield, hoping to use it as part of a MIDI drawbar controller. The code for the controller is still a work in progress. So, in the meantime, here is a micro-review of the Danger Shield.
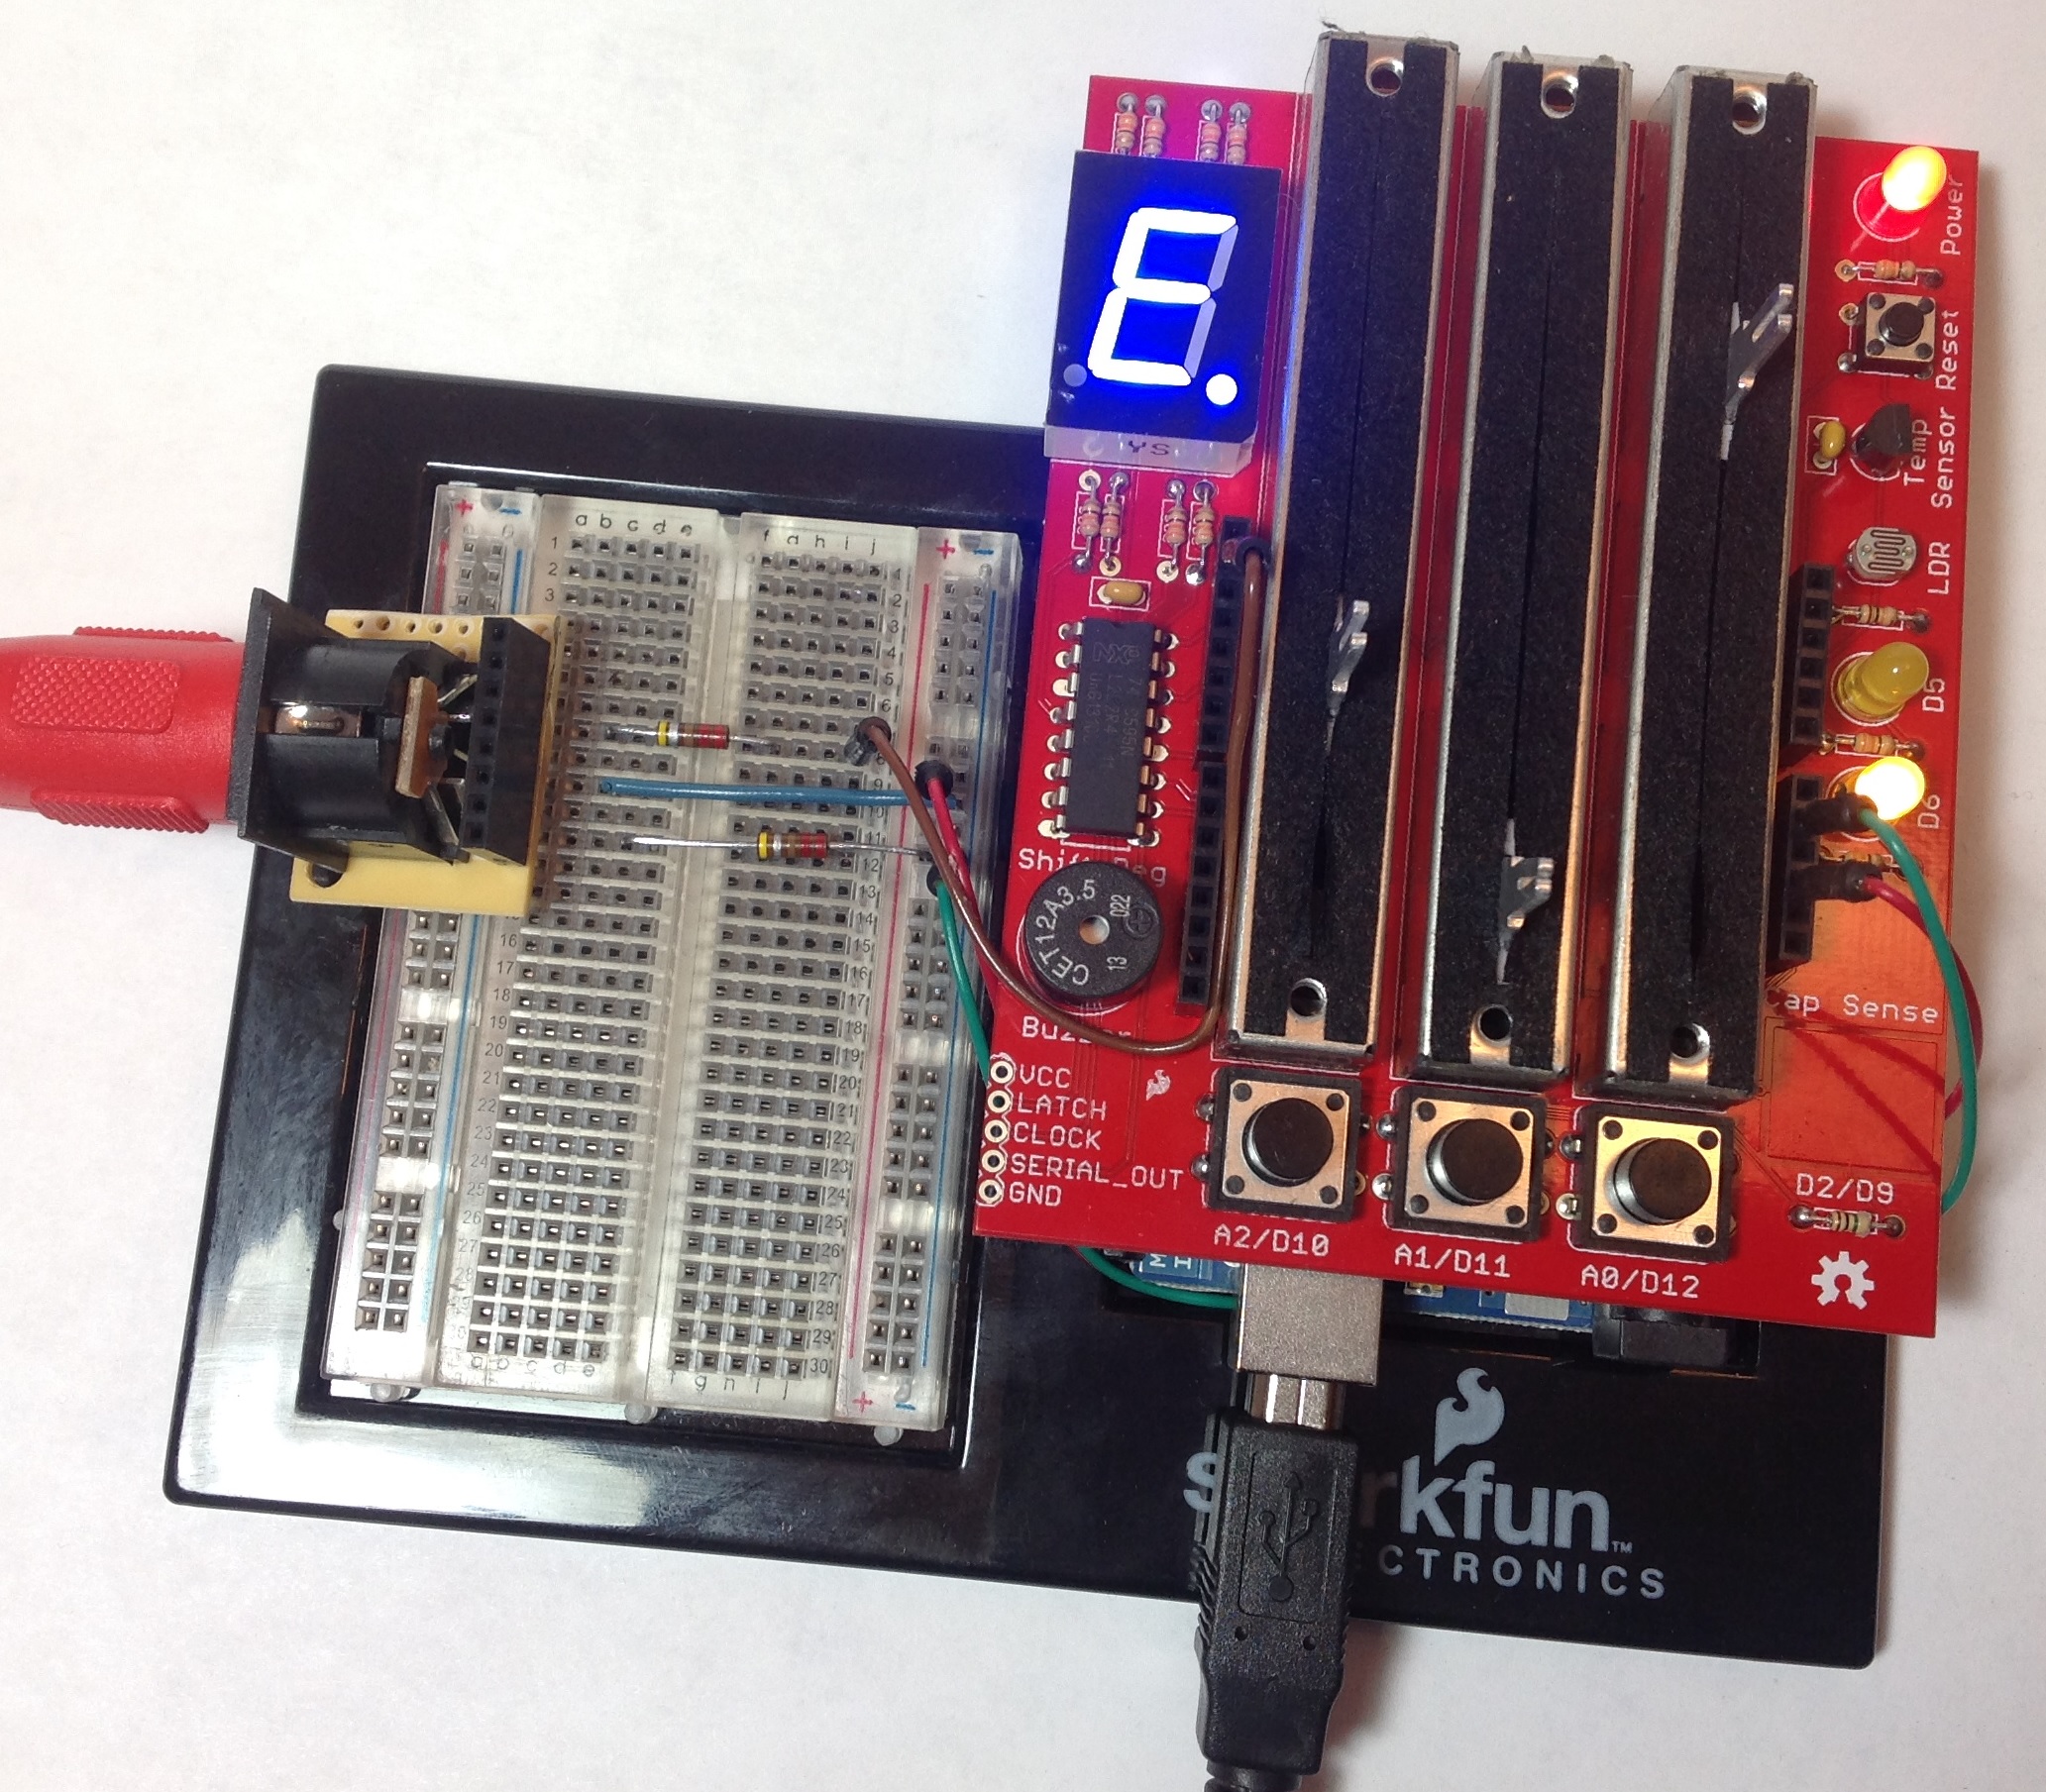
The Danger Shield is a “jack of all trades” for input to an Arduino. It has three large sliders, three momentary contact buttons, one temperature sensor, one light sensor, and a capacitive touch sensor. The Danger Shield also provides basic output/display capability, too. The shield has two yellow LEDs, a seven-segment display, and a buzzer. For the MIDI controller project, I’m mainly interested in the sliders, buttons, LEDs and seven-segment display. However, I can see some creative possibilities for the other sensors in MIDI control.
Kit assembly went quite well, taking about two hours total. I think that a beginner could put one together without too much trouble. There was only one minor hang-up. The on-line assembly instructions are out-of-date. Two decoupling capacitors were added to the design after the instructions were published. One capacitor is mounted near the temperature sensor and the other capacitor is mounted near the shift register integrated circuit. This could trip up a beginner since they will have two small parts left over if they simply follow directions!
Sparkfun thoughtfully provide an Arduino Sketch (program) to test the sliders, buttons, etc. This is a great idea and I wish that more companies provided test programs with their products. When you build a kit, you really want to know if everything works before you design the kit into an experiment or prototype. Unfortunately, the test program expects the cap sense code to be installed as an IDE library. This dependency could trip up a beginner since they would need to learn how to install library code before running the test program. Since I didn’t intend to use the cap sense pad right away, I commented out the cap sense code and tested everything else.
The one thing that surprised me is the physical size of the shield. It is much bigger than the standard Arduino footprint. I had originally intended to stack the Danger Shield, the MIDI break-out board and the Arduino on a Liquidware side-by-side extender. This approach would have saved me the effort of whipping up a 5-pin MIDI OUT port. Unfortunately, the large size of the Danger Shield prevents much stacking.
I decided to prototype on an Arduino UNO which is installed on a plastic Arduino and breadboard holder. The Danger Shield is stacked on top of the Arduino UNO. The 5-pin MIDI OUT port resides on the breadboard. I built a 5-pin DIN break-out board to securely attach the 5-pin connector to the broadboard as well as provide a way to make necessary connections to the Arduino +5V, ground and TX pins. This quick-and-dirty break-out board should aid future experiments, too, and is a good investment of time. Finally, I wrote a quick test program to drive MIDI data through the output port and to make sure that it was electrically sound before I connect it to an expensive synthesizer or arranger workstation.
All in all, I recommend the Danger Shield. It’s possible to build a pretty decent user interface given a little bit of creative thought. The sliders and buttons are robust and should endure much abuse during testing.