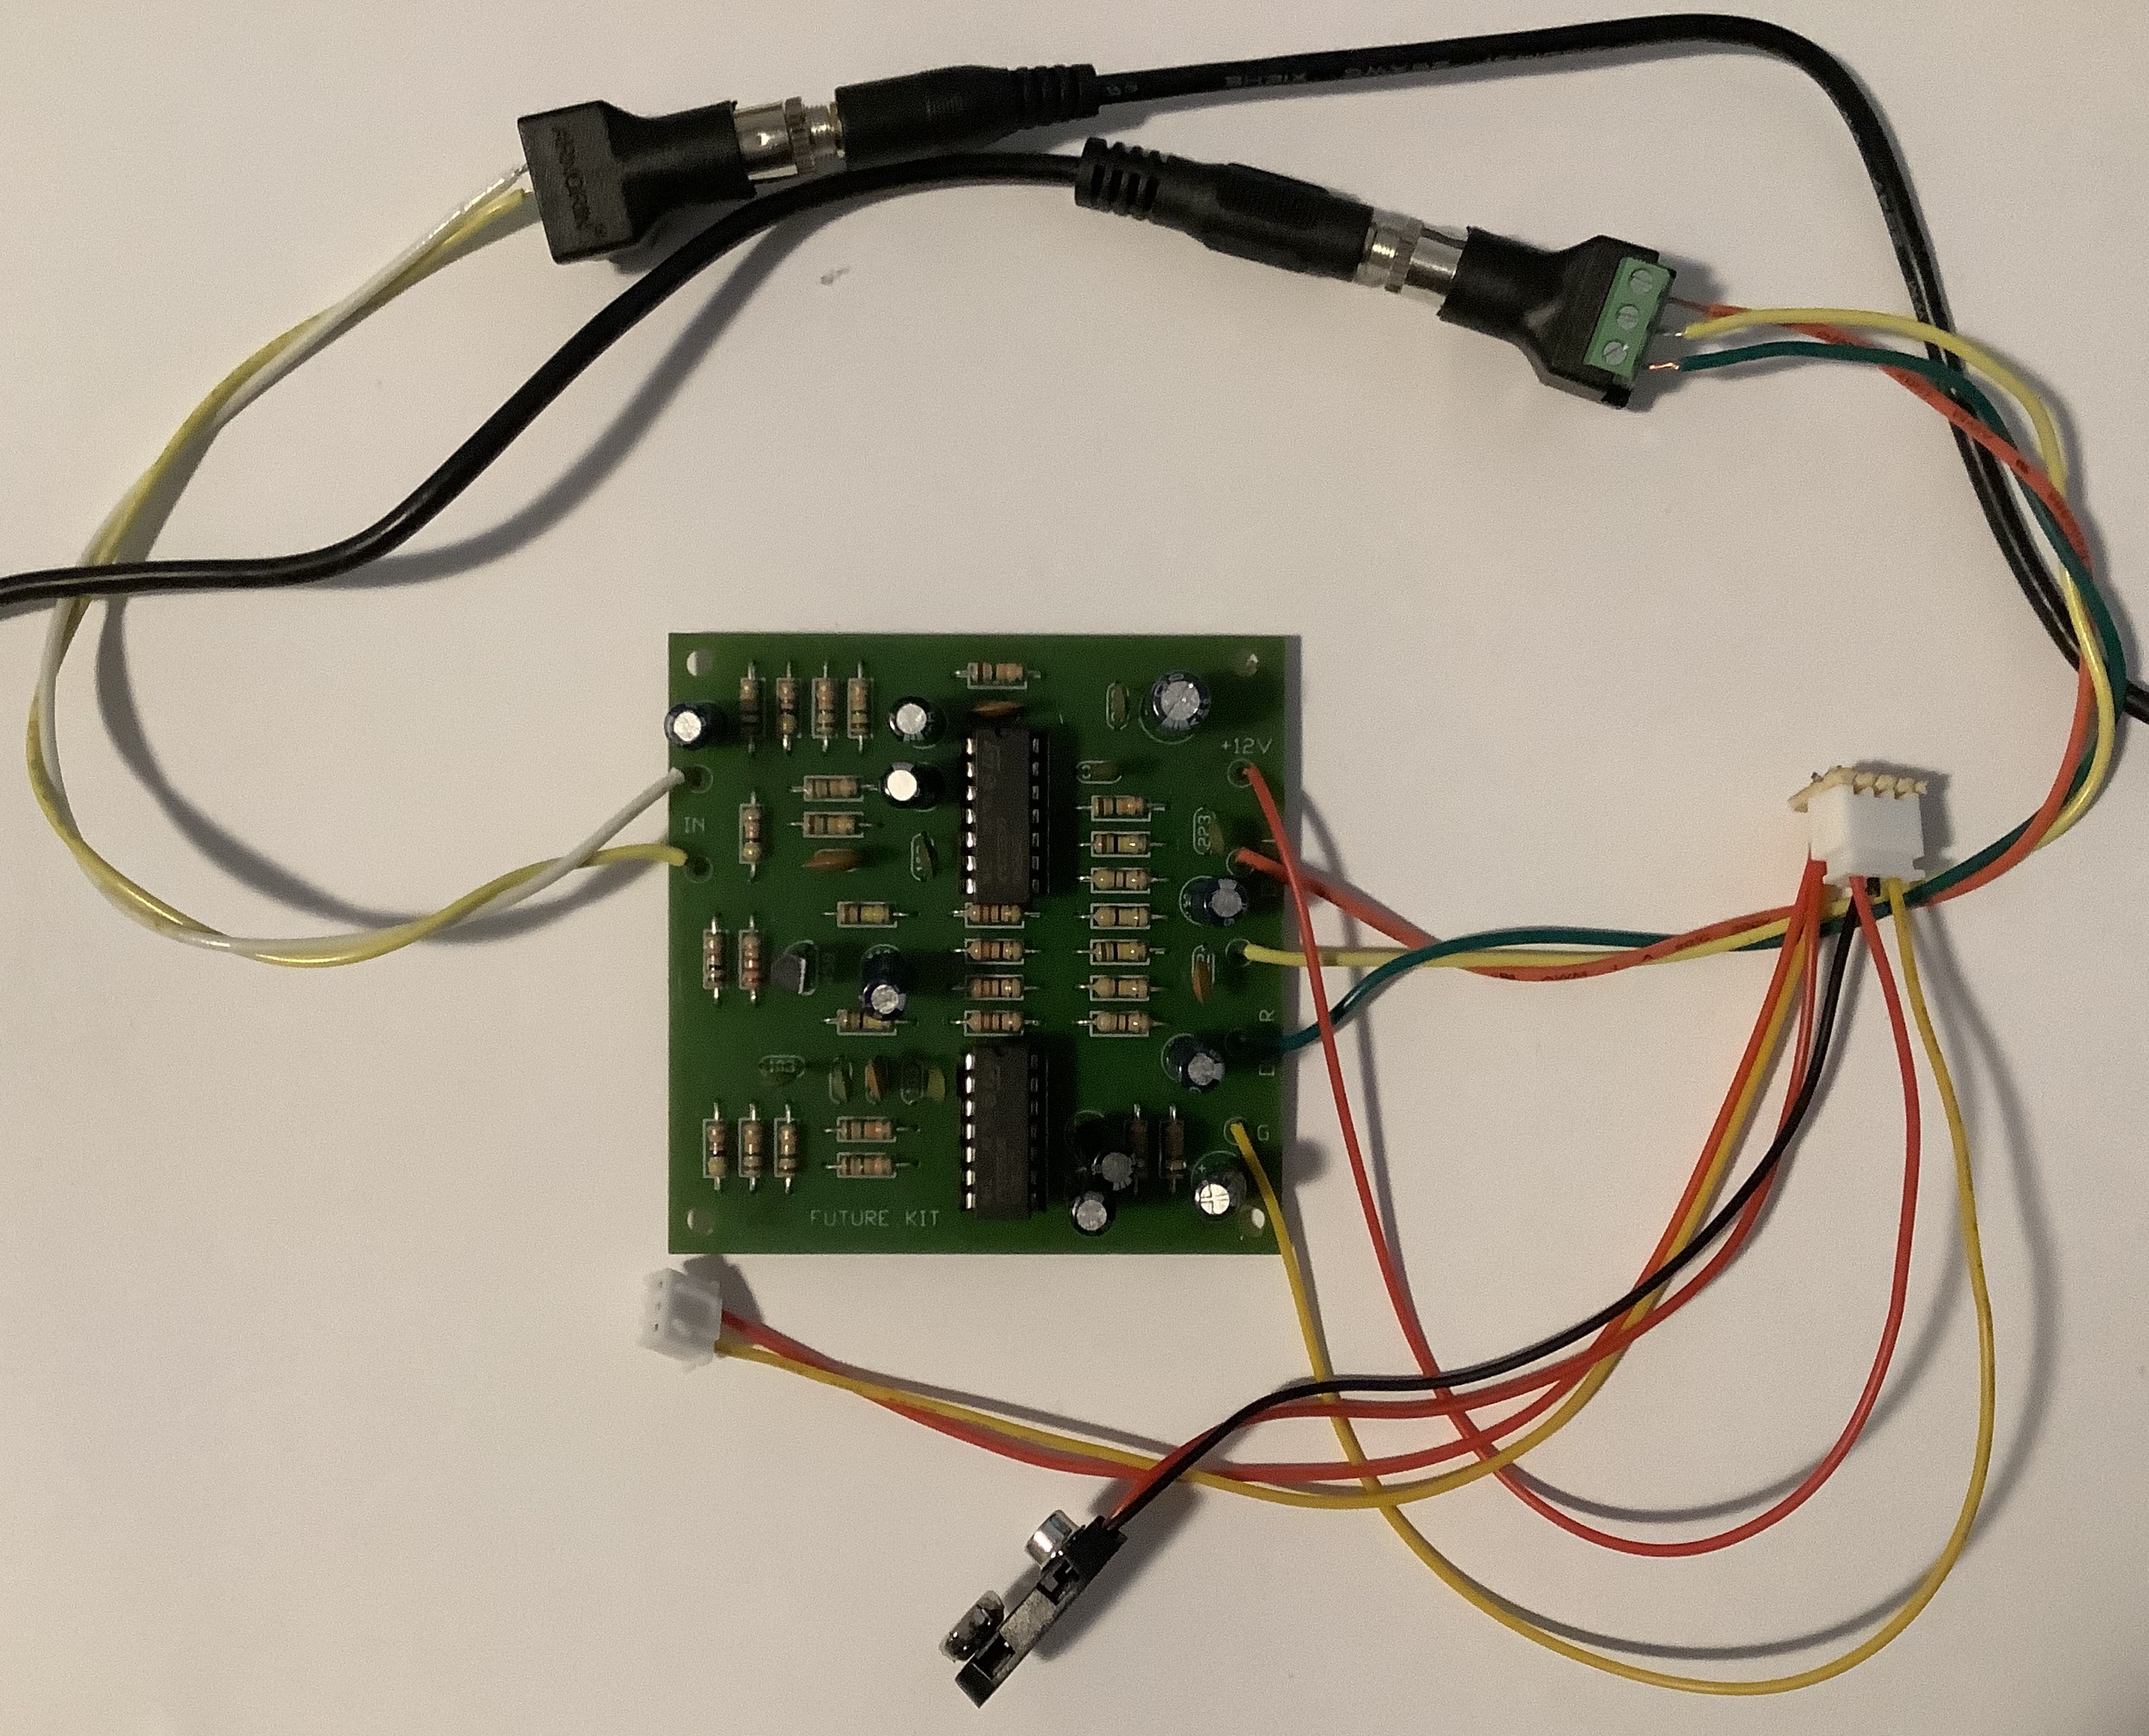
Time to take the wrapping paper off my current development project.
It starts with ChordPro. ChordPro Format is perhaps the most popular notation for rock, pop, soul and folk tunes. A ChordPro format song contains lyrics and chords, usually formatted for easy display and reading. Strummers and plinkers everywhere use ChordPro songs as lead sheets.
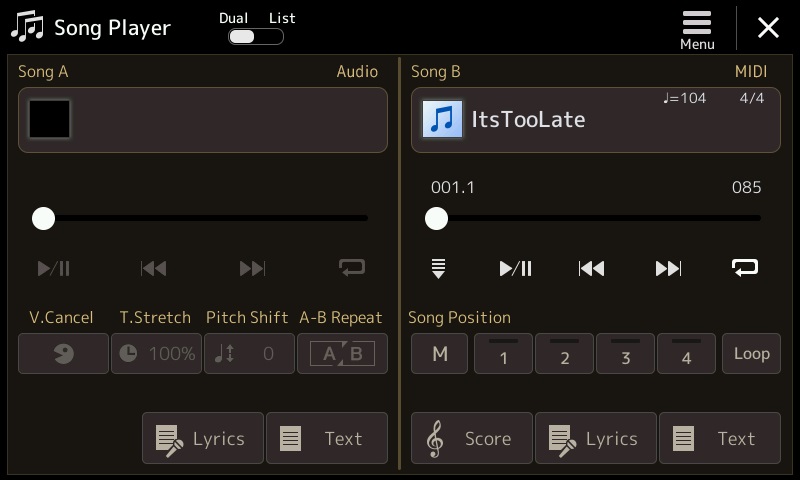
It ends with Yamaha Genos, Tyros and PSR accompaniment. Genos — and other recent Yamaha arrangers — play MIDI files containing chords and lyrics. Genos displays either a running score or lyrics (plus chords) during playback.
What is missing is the bridge between ChordPro and Genos. My current project is the bridge. It translates an extended ChordPro file to a MIDI file which is compatible with Genos and other mid- to high-end Yamaha arranger keyboards. So far, I have a prototype up-and-running.
I emphasized the word “extended” because ChordPro format by itself is not sufficient for playback. The format does not have a precise notion of time. ChordPro relies on the musician to interpret the song on the fly. It assumes that the musician has heard the song before and knows when to change chords. As usual with computer stuff, playback needs more precise semantics. That’s where the extensions come into play.
Since there are a gazillion ChordPro songs on the Interwebs, I wanted to play back ChordPro files with as few modifications as possible. Thus, the first rule is “Each notated chord is held for one measure.” Of course, many songs change chords within a measure, too. (Even “Louie, Louie”!) Enter the first extension. A notated chord may have an optional beat count which specifies the number of beats to hold the chord, or more precisely, the number of time divisions (quarter notes or eigth notes) to hold the chord.
As I discovered during testing, existing ChordPro song files have a fair number of warts. Sometime the chord progressions are whack. The files often have random playing directions which ChordPro happily snarfs up as lyric text. ChordPro is very forgiving as it is primarily a formatting representation and tool. The initial goal — playing a ChordPro song with just a few additions — is unrealistic; expect to do some clean-ups.
Plain, unchanging accompaniment is pretty boring after a short while. Therefore, I added annotations for section changes, fills and breaks. Certain ChordPro directives are optional, but strongly recommended: key, tempo, and time signature. Tempo and time signature obviously guide playback speed and the interpretation of chord hold time. The key signature will set the arranger’s score display to the appropriate key.
Stylecode is an extension. It is a decimal number that selects the arranger accompaniment style, .e.g., 60sVintageRock, Oldies R&R, etc. A style name would be more convenient, but then I would need to develop a style name to code database for each arranger. Forget it; keep it simple. Besides, the PSR Tutorial site has such spreadsheets — just look up the style code yourself.
Start_accomp and stop_accomp are extensions, too. Start_accomp should (must) appear after all the basic playback settings are made. When the MIDI file is played back, the arranger will start or stop the accompaniment engine as directed. Start_accomp begins playback from the second measure; the first measure is reserved for set-up.
The translation program does not implement every and all ChordPro directive. It ignores formatting related directives and it doesn’t handle tablature (tab).
Let’s put all of this together and look at an example. Here is a snippet of “It’s Too Late” by Carole King.
{t: It's Too Late }
{key: Am}
{artist:Carole King}
{time: 4/4}
{tempo: 104}
# Style: Cool8Beat
{stylecode: 5635}
{start_accomp}
[Am7][*IA]
# Introduction (intro riff)
[Am7][*MA] [D6] [Am7] [D6]
{c: Verse 1}
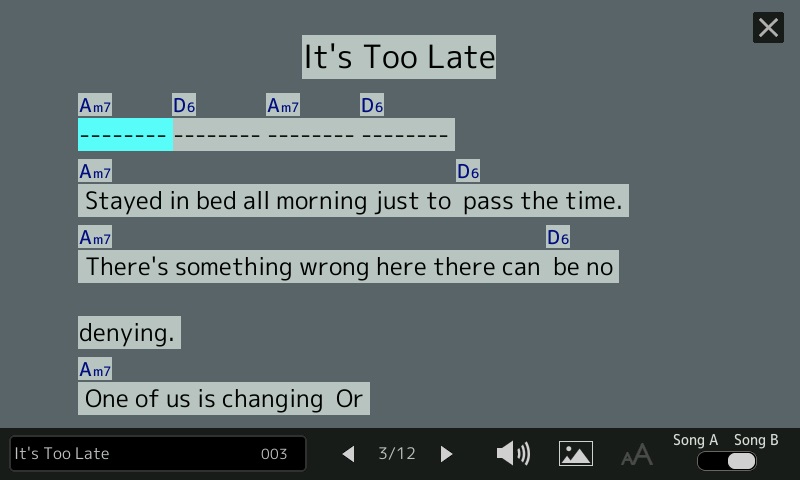
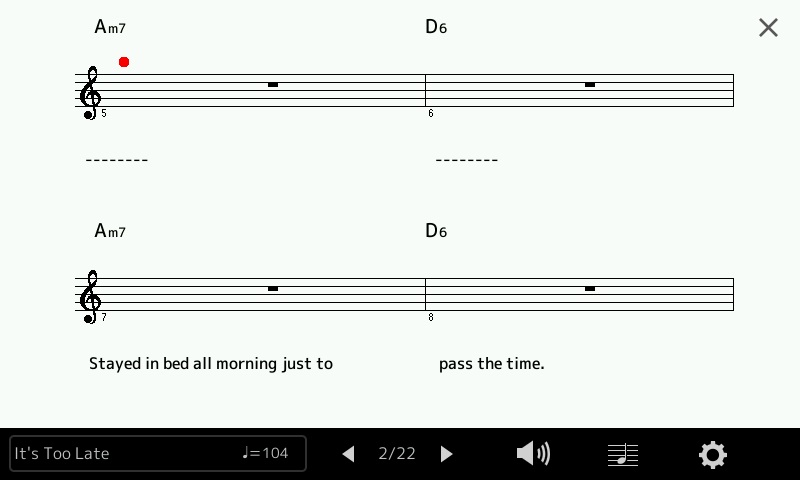
[Am7] Stayed in bed all morning just to [D6] pass the time.
[Am7] There's something wrong here there can [D6] be no denying.
[Am7] One of us is changing
Or [Gm7] maybe we've just stopped [Fmaj7] trying. [Fmaj7][*FA]
{start_of_chorus}
And it's too [Bbmaj7][*MB] late baby now [Fmaj7] it's too late
Though we [Bbmaj7] really did try to [Fmaj7] make it.
[Bbmaj7] Something inside has [Fmaj7] died
And I can't hide [Dm7] and I just can't [Esus4:2][*FB] fake it.[E7#9:2]
{end_of_chorus}
Lines beginning with ‘#’ are comments. Lines beginning with ‘{‘ are directives. Each directive must have a closing ‘}’ and consist of one line only. My translation tool supports the following simple directives:
- title (or ‘t’): Song title
- key: Song key
- artist: Performing artist
- composer: Song composer
- copyright: Copyright information
- comment (or ‘c’): Comment to be ignored
- time: Time signature
- tempo: Song tempo in BPM
- stylecode: Yamaha style code (a decimal number)
- start_accomp, stop_accomp: Starts and stops the accompaniment
As I mentioned, time, tempo and stylecode are optional, but necessary — unless you are willing to roll with the defaults. Start_accomp must be the final directive before the first chord and lyric in the song. Start_accomp generates the magic message needed to start accompaniment.
Chords look like regular ChordPro chords. Chord names are surrounded by square brackets, e.g., “[Am7]”. Nothing looks amiss until the end of the chorus, e.g., “[Esus4:2]” and “[E7#9:2]”. “:2” is a beat count. Each chord is held for two quarter notes — quarter notes because the number of divisions per bar (the “denominator”) of the time signature is four. It’s our job to make sure that the counts add up to a full measure in order to keep everything synchronized to measures.
The translation program (yet unnamed!) is very forgiving when it comes to chord spelling. However, it only recognizes and generates the 34 Yamaha chord types which are supported by Yamaha arrangers:
    Maj        7        min        minMaj      aug      dim
    Maj6       7sus4    min6       minMaj7     aug7     dim7
    Maj7       7b5      min7       minMaj7-9
    Maj7#11    7-9      min7b5
    Maj9       7#11     min9
    Maj7-9     7-13     min7-9
    Maj6-9     7b9      min7-11
    7aug       7aug
               8
               5
               sus2
               sus4
If the chord is not recognized, you will get a major or minor triad.
ChordPro allows annotations, that is, constructs beginning with “[*” and ending with “]”. Annotations ordinarily are playing instructions that are displayed in a pretty-printed ChordPro song. Annotations are extended with accompaniment section control commands:
- Introduction: [*IA] [*IB] [*IC] [*ID]
- Main section: [*MA] [*MB] [*MC] [*MD]
- Fill in: [*FA] [*FB] [*FC] [*FD]
- Break: [*BR]
- Ending: [*EA] [*EB] [*EC] [*ED]
A section control command usually follows a chord and takes effect at the same time as the chord change.
ChordPro supports paired formatting directives like:
    {start_of_chorus}
    ...
    {end_of_chorus}
I am currently experimenting with these directives to control lyric and chord formatting. Yamaha’s lyric display allows line breaks and page breaks. Start of chorus (abbreviated “{soc}”) generates a page break. I added a new directive pair for handling long instrumental breaks, e.g.,
    {start_of_instrumental}
    [Cmaj7][*MC] [Fmaj7] [Fmaj7] [Am7] [Gm7] [Fmaj7]
    [Dm7] [Esus4:2][*FC] [E7#9:2]
    {end_of_instrumental}
Yamaha’s lyric display runs chords together when no lyric text is present. The new directive provides some separation between chords by generating filler lyric text (dashes, to be exact).
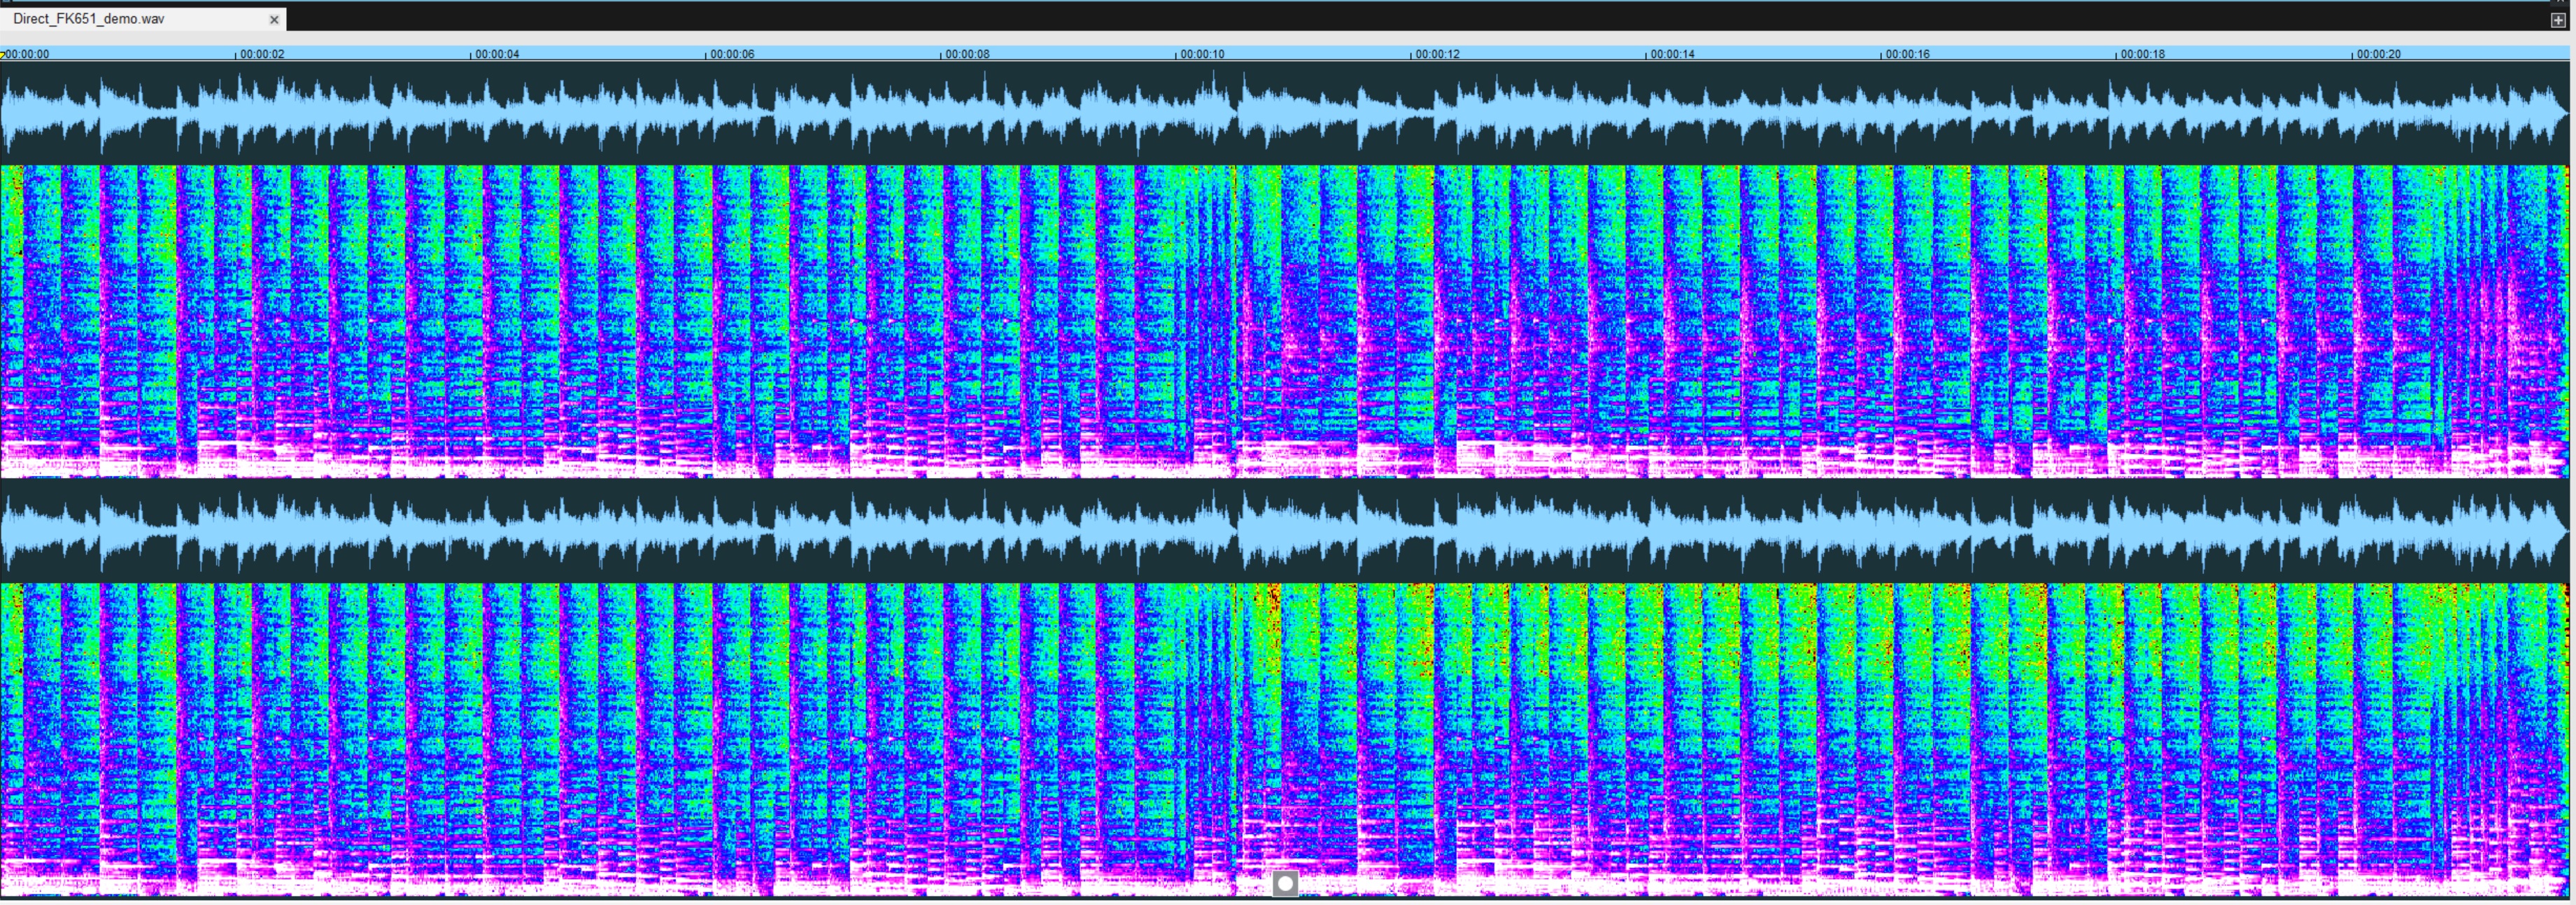
That’s the story. Testing continues. I will make the Java source code available as soon as possible. So far, so good. The concept works.
Copyright © 2021 Paul J. Drongowski