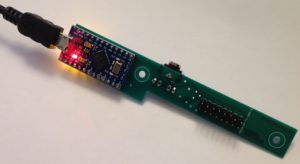
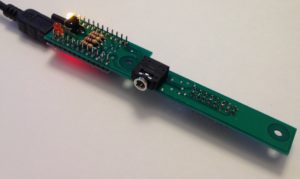
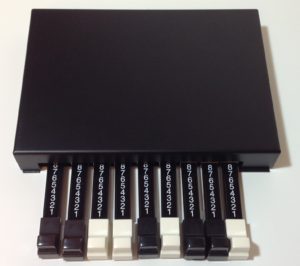
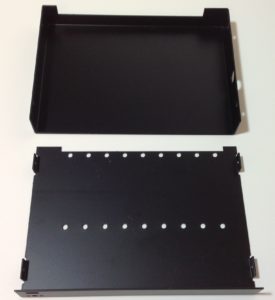
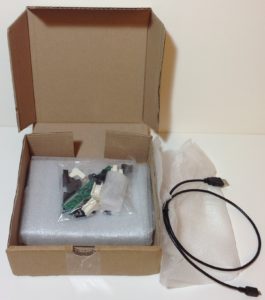
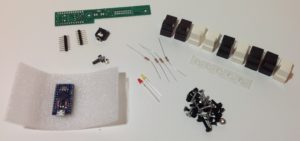
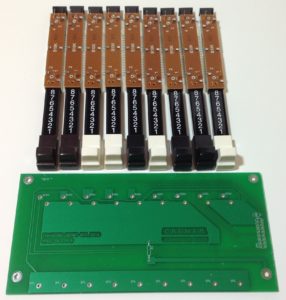
Finally, after all of the testing, the first Crumar D9U Drawbar Controller application sketch! The sketch below changes the drawbar settings for the Nord Electro 2. The Arduino on board the D9U sends a complete snapshot of all nine drawbar settings to the Electro 2 at start-up and whenever the tactile switch is depressed. Thereafter, it sends a MIDI message to the Electro 2 whenever a slider (drawbar) is changed.
The sketch drives only the Electro 2 upper drawbars. If you need the lower drawbars, too, you can follow Crumar’s example sketch and extend my sketch.
The sketch does not use the Arduino MIDI library because we only need to send simple MIDI continuous control (CC) messages. It’s easy enough to write the necessary code ourselves.
I encountered an Arduino compiler toolchain issue while developing the sketch. I wasn’t able to initialize snapCount in the setup() function. I’ll work around this issue in future sketches and you should back-port the fix. It’s not the first time that I’ve run into an Arduino toolchain bug…
The program logic is quite simple. There are three helper functions: sendNoteOn(), sendNoteOff(), and sendMidiCC(). The sketch uses only the third function which sends a MIDI continuous control message through the Serial1 port, i.e., the Arduino Leonardo TX pin.
The setup() function initializes the digital pins and global variables, and calls sendSnapshot() to scan the analog pins, sending a MIDI CC message for each drawbar. The idea is to sync the Electro 2 with the D9U when the D9U is turned on. You should select an organ voice on the Electro 2 before turning on the D9U in order to take advantage of this feature.
The loop() function goes round and round. If the tactile switch is depressed, the sketch takes a snapshot of the analog pins (sliders) and sends a MIDI CC message for each slider (drawbar). The variable snapCount debounces the tactile switch input, preventing a flood of MIDI CC messages to MIDI OUT and the Electro 2.
After checking the tactile switch, the loop() function delays for a short time and then calls checkSliders(). The function checkSliders() keeps a copy of the most recent slider values. When it detects a change, it saves the new slider value and sends a MIDI CC message with the new value. The Electro 2 accepts drawbar values over the range from 0 to 127.
It’s rather gratifying to attach the Crumar D9U to the Electro 2 and watch the Electro’s drawbar status lights change in sync with the D9U drawbars. Cool. Fun to play, too.
If you have a Nord Electro 2 and a D9U, enjoy the sketch!
Copyright © 2018 Paul J. Drongowski
/*
 * Electro2.ino: Crumar D9U sketch for Nord Electro 2
 */

/*
 * Author:  P.J. Drongowski
 * Address: http://sandsoftwaresound.net/
 * Date:    12 December 2018
 * Version: 1.0
 *
 * A simple sketch to control the Nord Electro 2 with the
 * Crumar D9U Drawbar Controller. This sketch controls
 * the upper drawbars, but could be extended to control
 * the lower drawbars. See the Crumar sketch for
 * inspiration!
 *
 * We assume a direct 5-pin MIDI connection from the
 * D9U to the Electro 2. Since direct MIDI is so simple,
 * the sketch does not use the Arduino MIDI library.
 * MIDI bytes are sent using Serial1.write().
 *
 * Send on MIDI CC messages on MIDI channel 0.
 *
 * Electro 2 MIDI continuous controllers (CC) are:
 *    Parameter       Upper CC#  Lower CC#
 *    --------------  ---------  ---------
 *    16' drawbar         16        70
 *    5 1/3' drawbar      17        71
 *    8' drawbar          18        72
 *    4' drawbar          19        73
 *    2 2/3' drawbar      20        74
 *    2' drawbar          21        75
 *    1 3/5' drawbar      22        76
 *    1 1/3' drawbar      23        77
 *    1' drawbar          24        78

 */

// Pin definitions
#define LED_RED    15
#define LED_GREEN  16
#define BUTTON     5

// Analog pin map
#define NUMBER_OF_SLIDERS 9
int AnalogPinMap[NUMBER_OF_SLIDERS] = {
  A0, A1, A2, A3, A6, A7, A8, A9, A10
} ;

// Drawbar to MIDI CC# map
int MidiCCMap[NUMBER_OF_SLIDERS] = {
  16, 17, 18, 19, 20, 21, 22, 23, 24
} ;

// Global variables
int sliders[NUMBER_OF_SLIDERS] ;
#define SNAP_COUNT  (200)
int snapCount = SNAP_COUNT ;

// MIDI channel
#define CHANNEL 0

// Bias offset for incoming slider values [unused]
#define BIAS 32

void sendNoteOn(byte pitch, byte velocity) {
  Serial1.write(0x90 | CHANNEL) ;
  Serial1.write(pitch) ;
  Serial1.write(velocity) ;
}

void sendNoteOff(byte pitch) {
  Serial1.write(0x80 | CHANNEL) ;
  Serial1.write(pitch) ;
  Serial1.write(0) ;
}

void sendMidiCC(byte cc, byte value) {
  Serial1.write(0xB0 | CHANNEL) ;
  Serial1.write(cc) ;
  Serial1.write(value) ;
}

// Take a snapshot of the current slider state and
// send MIDI CC for all sliders. Electro 2 CC value range
// is 0 to 127.
void sendSnapshot() {
  int newValue = 0 ;
  for (int i = 0 ; i < NUMBER_OF_SLIDERS ; i++) {
    newValue = (analogRead(AnalogPinMap[i]) & 0x3FF) / 8 ;
    sliders[i] = newValue ;
    sendMidiCC(MidiCCMap[i], newValue) ;
  }
}

// Check the sliders for movement (changes). When a change
// is detected, send a MIDI CC message. Nord Electro CC
// values range from 0 to 127.
void checkSliders() {
  int newValue = 0 ;
  for (int i = 0 ; i < NUMBER_OF_SLIDERS ; i++) {
    newValue = (analogRead(AnalogPinMap[i]) & 0x3FF) / 8 ;
    if (sliders[i] != newValue) {
      sliders[i] = newValue ;
      // Send MIDI CC message when the value changes
      sendMidiCC(MidiCCMap[i], newValue) ;
    }
  }
}

void setup() {
  // Set up pins
  pinMode(BUTTON, INPUT_PULLUP) ;
  pinMode(LED_RED, OUTPUT) ;
  pinMode(LED_GREEN, OUTPUT) ;

  // Set up Serial1 for MIDI via TX and RX (31,250 baud)
  Serial1.begin(31250) ;

  // Initialize the button debounce count
  // Send an initial snapshot. This operation initializes
  // the current slider values, too.
  sendSnapshot() ;
}

void loop() {
  if ((digitalRead(BUTTON) == LOW) && (snapCount <= 0))
  {
    // Take and send a snapshot of the sliders
    sendSnapshot() ;
    snapCount = SNAP_COUNT ;
  } else {
    snapCount-- ;
  }

  delay(1) ;
  checkSliders() ;
}

