
This time of year, the Sun is low in the sky and its morning rays shine bright in the dining room, AKA my downstairs work area. The morning sunlight is perfect for close-in soldering.
I started to assemble the Crumar D9U Drawbar Controller today. Wow, the pads are small, so if you’re following my lead and building the D9U kit, be sure to use a small soldering tip and low wattage iron.
Assembly instructions and schematic are available on the Crumar D9U Web page.
Here’s a few quick observations.
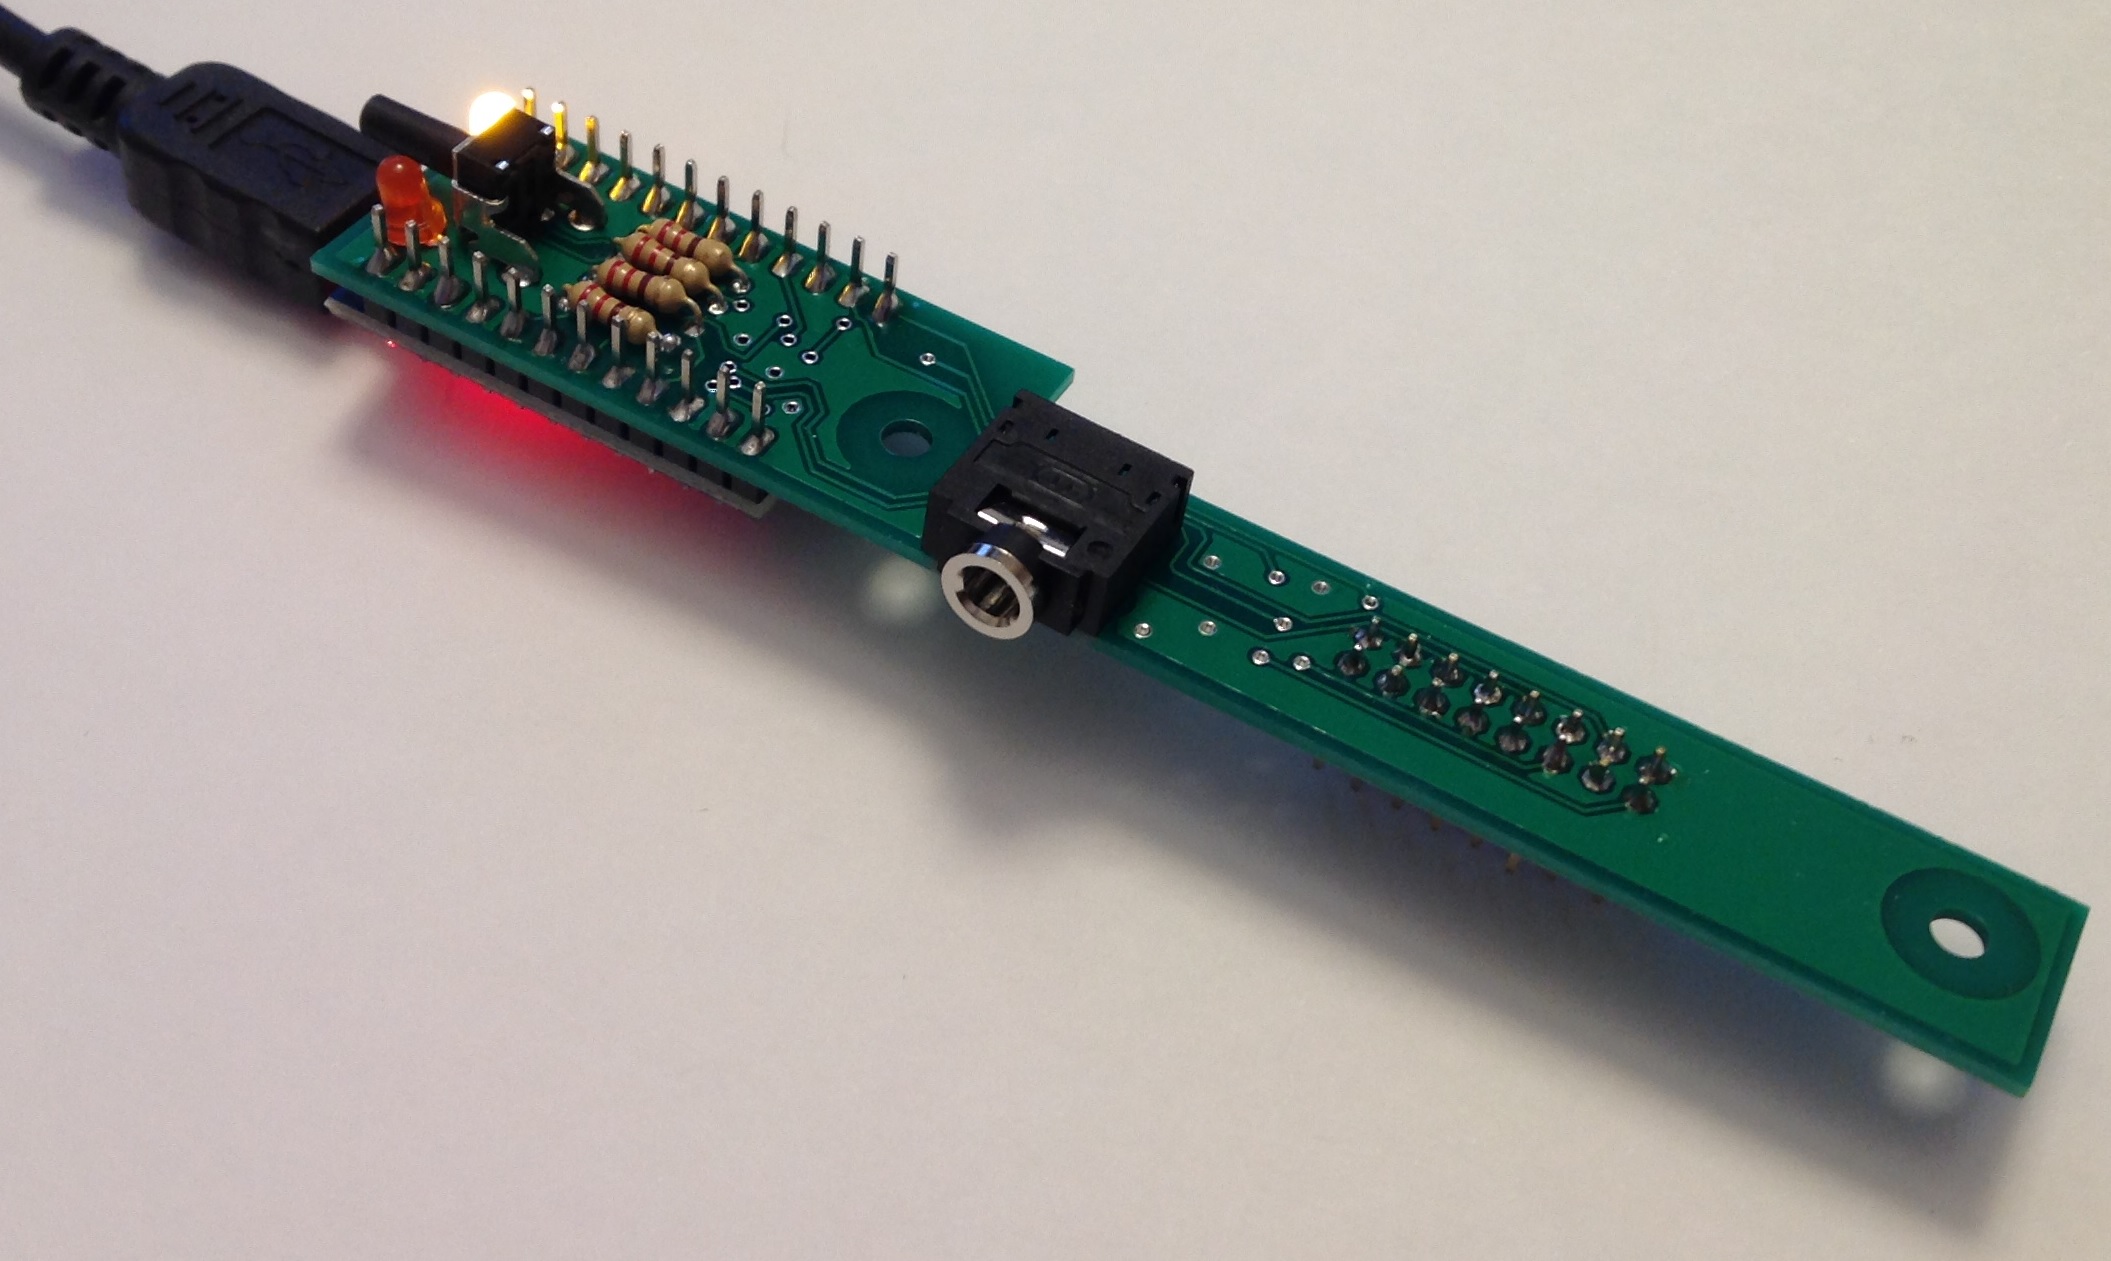
- One needs to bend the resistor leads quite close to the resistor body in order to fit them to the PCB holes. Be prepared for close work. Snip the leads as you go; don’t try to snip everything at the end. The pad spacing is that small.
- The assembly instructions note the correct placement (polarity) of the LEDs. Please also note that the short lead is also denoted by a flat edge along the side of the LED plastic. Be double sure of polarity.
- The DIL strip as shipped is actually two 1×8 strips. I prefer DIL when possible, so I substituted a 2×8 DIL from my component larder. It is much easier to mount a DIL than two 1x8s. I use a small bit of masking tape (painter’s tape) to hold the DIL in place until I can tack one or two pins.
- Fortunately, the SIL terminals were pre-installed on the Arduino Pro Micro. Sometimes ya lose and sometimes ya win!
- Crimp component leads to hold components against the PCB before soldering. This helps electrical contact between the leads and the PCB as well as holding the components in place while soldering.
Check the solder joints using a magnifying glass. Each joint should be nice and shiny. The morning sun helps — a lot.
DIY coders: Read this!
If you intend to write your own code, be sure to read the description of the sample Arduino script. You’ll find this info at the end of the assembly instructions. Be sure to read the fine print!
The sample script uses the USBMidi library and turns the D9U into a MIDI class-compliant USB controller.If you compile and download the script to the Arduino, Windows (or MacOS) will henceforth recognize the D9U as a MIDI device, not an Arduino.
Further complicating things, that tactile switch is not a reset switch. In order to reset the Arduino, you must short the reset pin to ground as shown in the instructions. Reset gives you a short window in which to download a new Arduino script.
Man, I’m glad that I read this now. I do not intend to use the D9U as a MIDI class-compliant device. I want to use it as a 5-pin MIDI controller. Plus, I know that I need to construct custom scripts for the Yamaha Genos/PSR and MODX. Development always involves trial and error (AKA “implementation and testing”). I don’t want to constantly reset the Arduino just to download a new script.
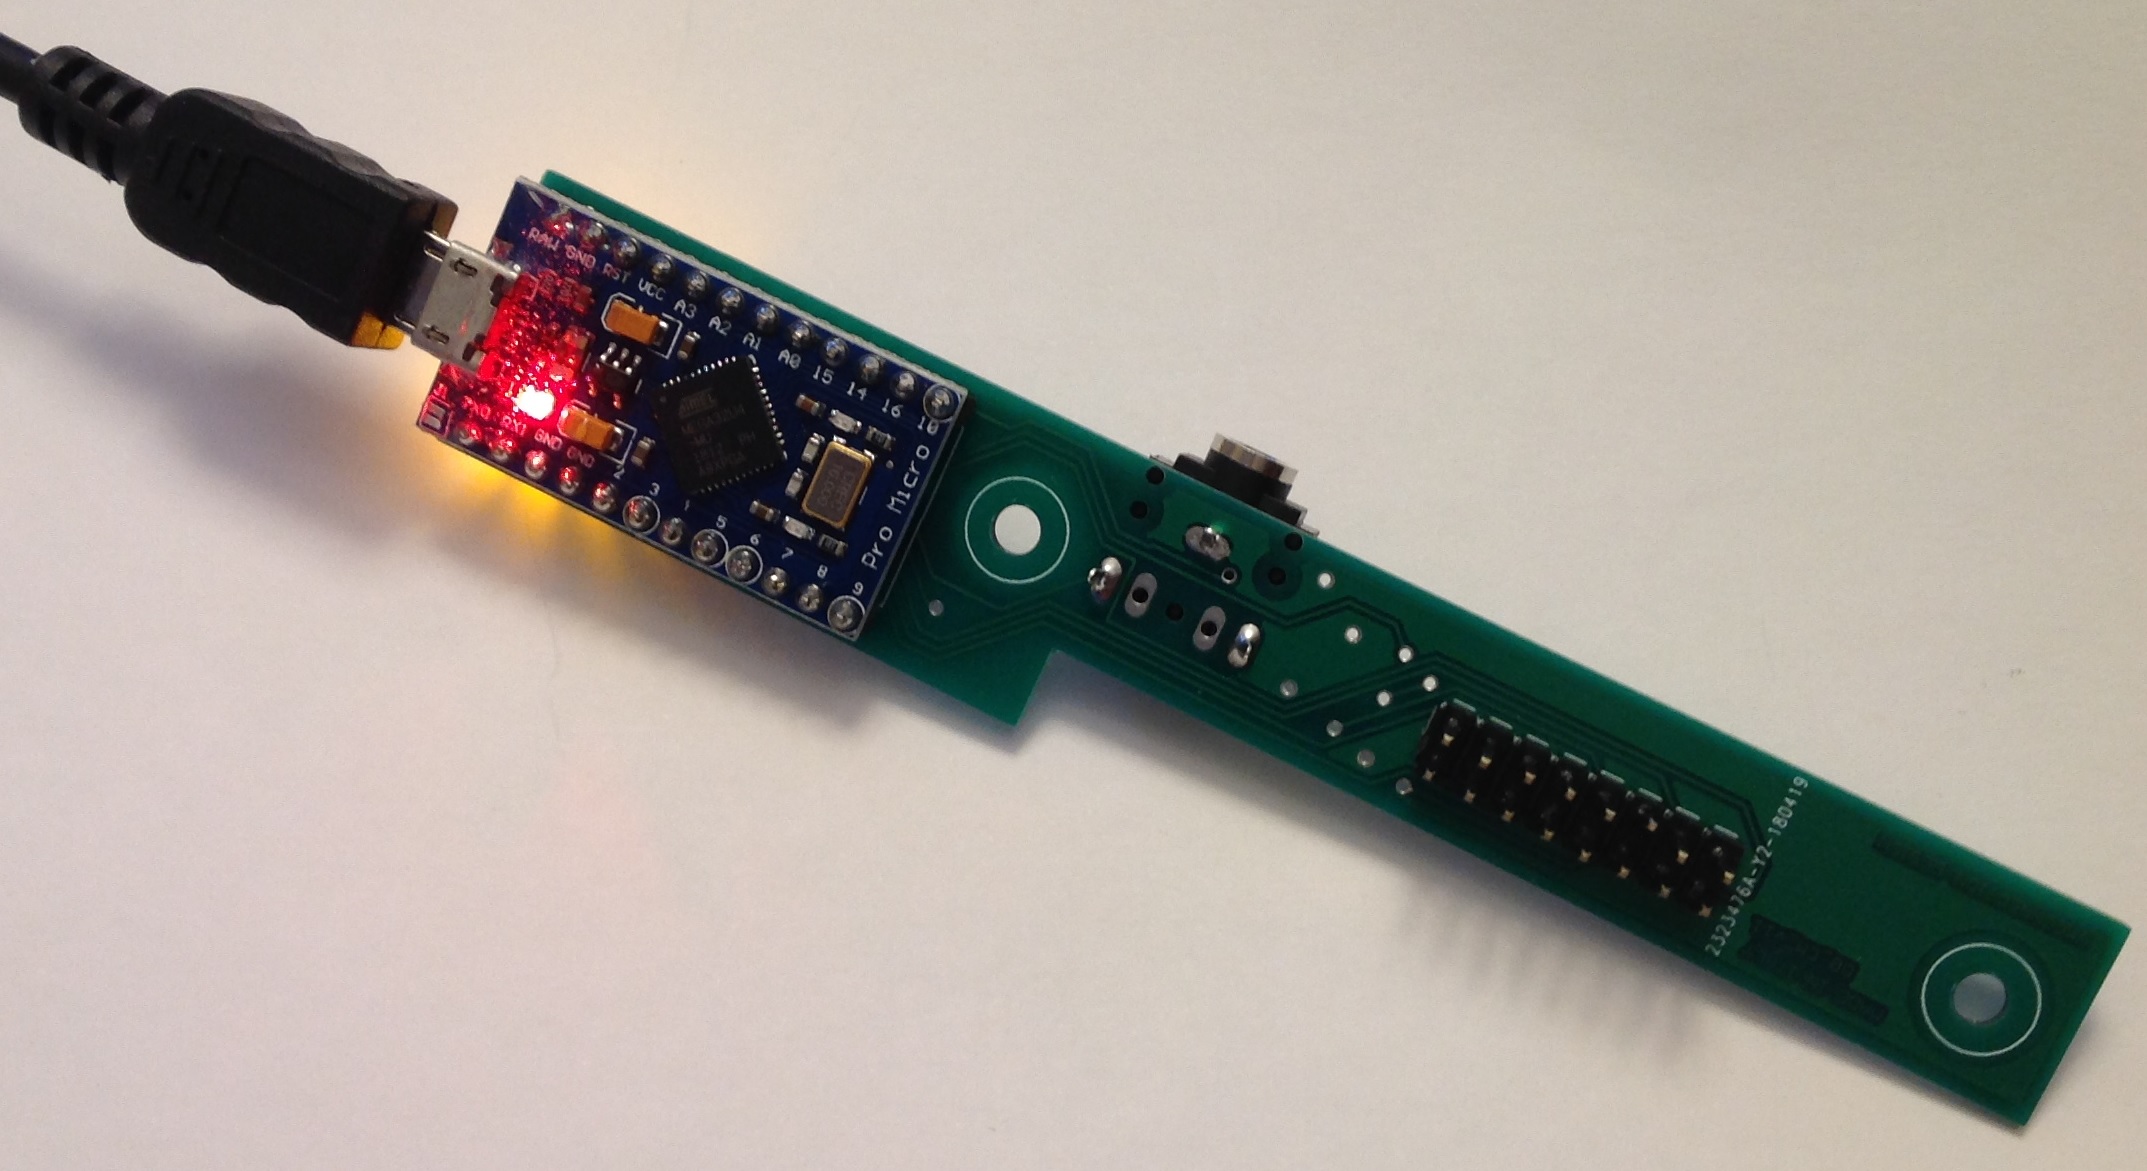
The lights are on
Once I assembled the Arduino control board, I downloaded the latest Arduino Integrated Development Environment (IDE v1.8.8) and wrote a quick test script. (See code below.) The script toggles the LEDs on and off using the tactile switch. Yep, the Arduino is an “Arduino Leonardo” board.
Next stop: Mounting the control board and the drawbars.
BTW, I’m not sure about the description of the MIDI 3.5mm jack cable wiring (“Type B”) as described in the instructions. Clearly, I’ll have to come to grips with the pin-out RSN.
Copyright © 2018 Paul J. Drongowski
/*
 * InitialTest.ino: Crumar D9U initial test
 */

/*
 * Author:  P.J. Drongowski
 * Address: http://sandsoftwaresound.net/
 * Date:    6 December 2018
 * Version: 1.0
 */

// Pin definitions
#define LED_RED    15
#define LED_GREEN  16
#define BUTTON     5

// Global variables
int colorMode = 0 ;

void changeColors()
{
  if (colorMode) {
    digitalWrite(LED_RED, LOW) ;
    digitalWrite(LED_GREEN, HIGH) ;
  } else {
    digitalWrite(LED_RED, HIGH) ;
    digitalWrite(LED_GREEN, LOW) ;
  }
}

 void setup() {
  // Set up pins
  pinMode(BUTTON, INPUT_PULLUP) ;
  pinMode(LED_RED, OUTPUT) ;
  pinMode(LED_GREEN, OUTPUT) ;

  colorMode = 0 ;
}

void loop() {
  if (digitalRead(BUTTON) == LOW)
  {
    colorMode = 0 ;
  } else {
    colorMode = 1 ;
  }

  delay(1000) ;
  changeColors() ;
}