The Yamaha synth folks recently posted an IdeaScale appeal for people willing to participate in a phone interview concerning Montage and synths. Fortunately, I was able to snag an interview slot.
Here’s just a few thoughts that are on my mind. I’m quite happy with both the MODX sound and user interface (UI) although I think there are a few ideas that they could take from the Yamaha Genos™ workstation.
First biggie. Both the Montage/MODX and Genos/PSR instruments would benefit from tighter integration and better direct support from Cubase, and especially, Cubasis. Quite a few users were upset when Yamaha dropped the relatively full featured Motif/MODX sequencer in favor of the Performance Recorder. The likely presumption is that most musicians will use a DAW instead of a built-in sequencer. Well, maybe Yamaha went to far for some users.
I’m not quite so bummed out about the Performance Recorder. But, I often get the impression that Steinberg and Cubase are marching in their own direction. When I spoke with Nithin Cherian at Music Expo Boston, he explained how Yamaha product groups need to come to Steinberg with requests in order to create the overall customer experience with a product. Perhaps it’s a matter of making requests to Steinberg? Yamaha have quite a good asset in Cubase and I’m surprised that it isn’t exploited more strategically across product lines.
Seems like Cubasis (yes, Cubasis) could be an important part of the solution for both synths and arrangers. [The arranger sequencer is showing its age and is sometimes difficult to work with.] Tight coupling with Montage/MODX could eliminate the need for a full-featured built-in sequencer. At the very least, users should be able to select Performances easily and to configure effects from Cubasis. It should be special to use a Yamaha synth or arranger via Cubasis (or Cubase, for that matter). The existing Montage/MODX UI covers much of the same territory as the old Motif/MOX iPad apps and that functionality doesn’t need to be duplicated.
Speaking of iPad (tablet-based) apps, Yamaha app development seems to be stalled. This is just a personal, subjective impression, of course. Mobile Music Sequencer has not been updated for Montage/MODX or Genos, for example. I understand that development resources (e.g., engineers) are limited, so maybe Cubasis is the right platform to invest in going forward?
BTW, when it comes to apps, I feel like there are too many islands and not enough bridges between islands. For example, I should be able to transfer a MIDI file developed in Cubasis to some other app without making a trip through iTunes or Dropbox.
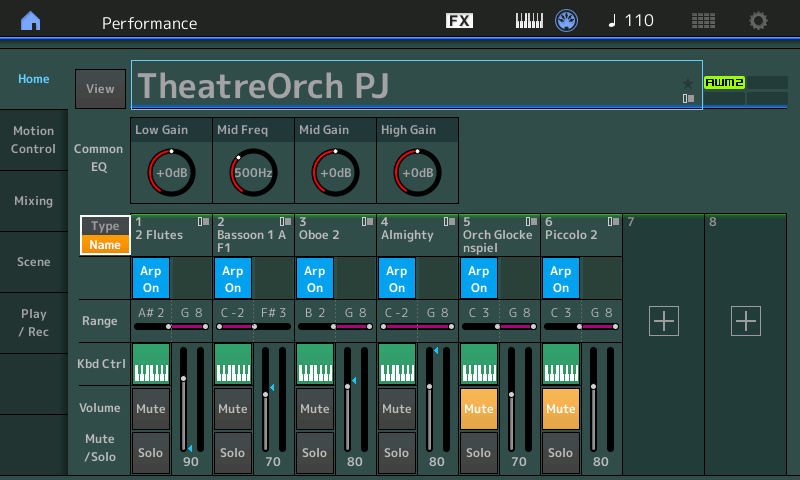
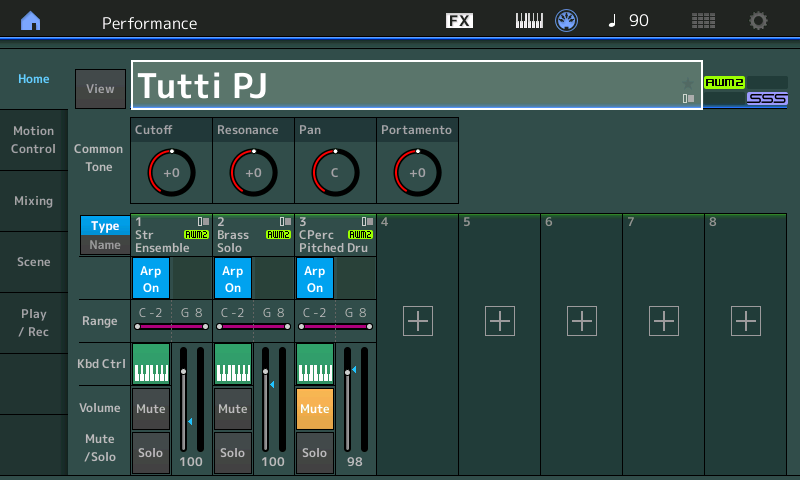
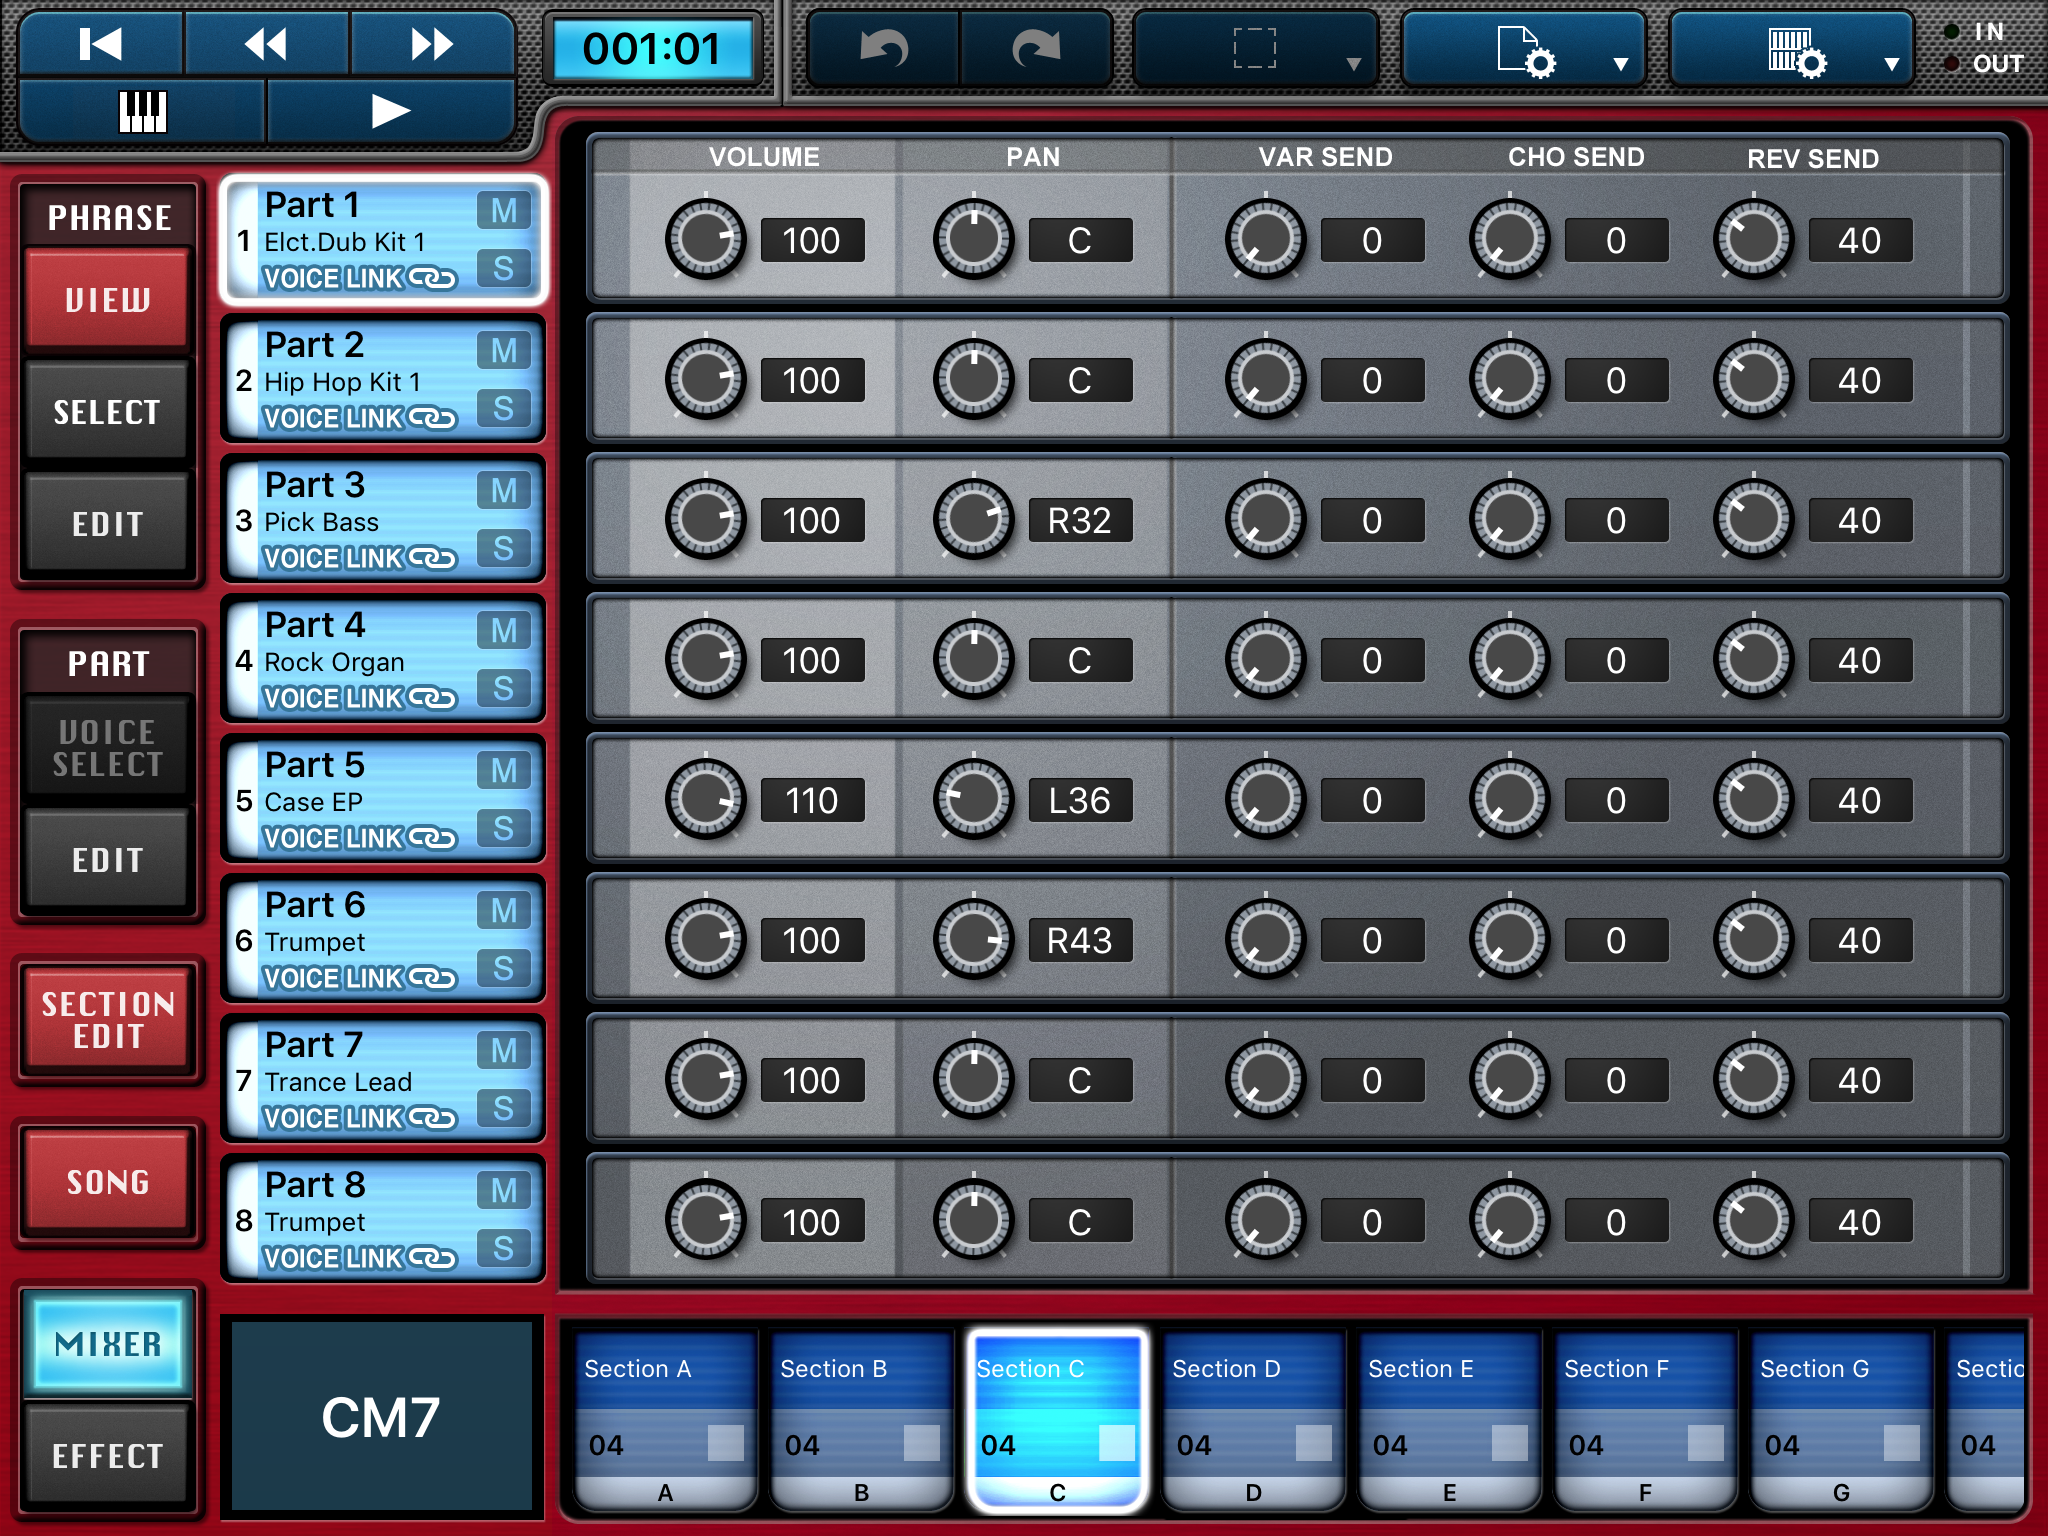
Second biggie. The Montage/MODX Live Set concept, Scenes and Motion Control are wonderful tools for live performance. In a few cases, however, the flow on Genos is smoother than the synths. Here’s an example. Many musicians play in a single or duo with backing tracks. Currently, it takes several steps to select a Performance, load a WAV file, set the audio volume level, and start play back. This is a very streamlined flow on an arranger thanks to the arranger registration concept. I’d love to see Live Set buttons be extended in a similar way. [Arranger registrations get to be a dumping ground for parameters that rightfully belong in a Performance, so a careful separation of concerns/features is appropriate here.] Perhaps Live Set buttons can be extended to remember the path to an audio file on a USB flash drive and the initial volume setting? Then, a user can select a Performance and load an audio file in one button touch.
I prefer WAV audio for backing tracks. For the past 3 to 4 years, I produce the backing track on an arranger and then record (freeze) the track to WAV. It simply is soooooo much easier to massage commercial tracks on an XG-based arranger. Yamaha Musicsoft is my favorite source for commercial tracks.
Here are several smaller suggestions.
- The MODX doesn’t have the big bank of front panel selection buttons like Montage. The Live Set buttons are too small and sometimes the touch screen isn’t responsive enough during live performance. I’ve got to switch Performances in a hurry when I play. (Please don’t suggest a foot switch. 🙂 )
- The front panel buttons have a nice positive feel. I may experient with Live Set button layout such that I can use cursor buttons to change Performance on the fly.
- I compensate for the loss of selection buttons (somewhat) by using Scenes. The sound cuts out when switching scenes. [Maybe this is something I need to fix in my Scene programming.] I would love to have Scene titles (i.e., a text name in a 24-point font) that is displayed on the screen — positive visual feedback that I’ve selected the correct Scene.
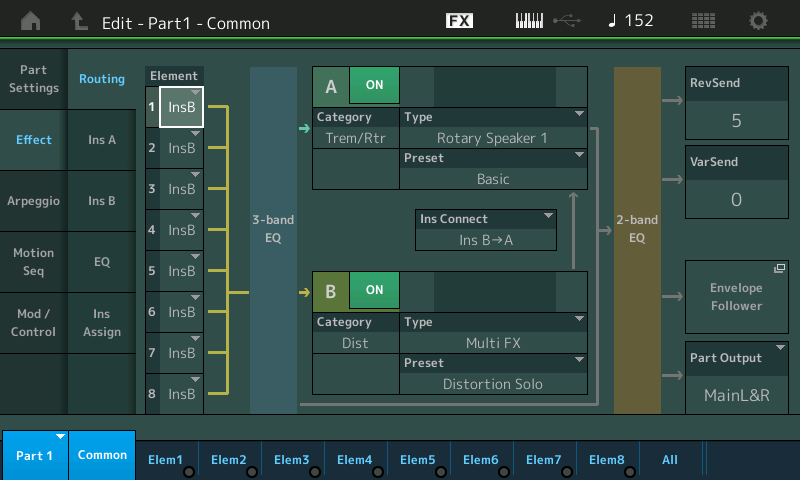
- The placement of some fields on control assignment pages is confusing. Usually I think of source first sending to a destination. Plus, I always mistake the control filter fields for actual parameter fields.
- Control Assign makes it very easy to set up new control relationships. However, it takes a lot of effort to deconstruct (reverse engineer) existing control relationships and edit them.
- In Live Set, SHIFT+INC and SHIFT+DEC change the Live Set page. This is a little awkward when making fast changes. Perhaps a way to change the page which doesn’t require SHIFT?
Third biggie. Sound.
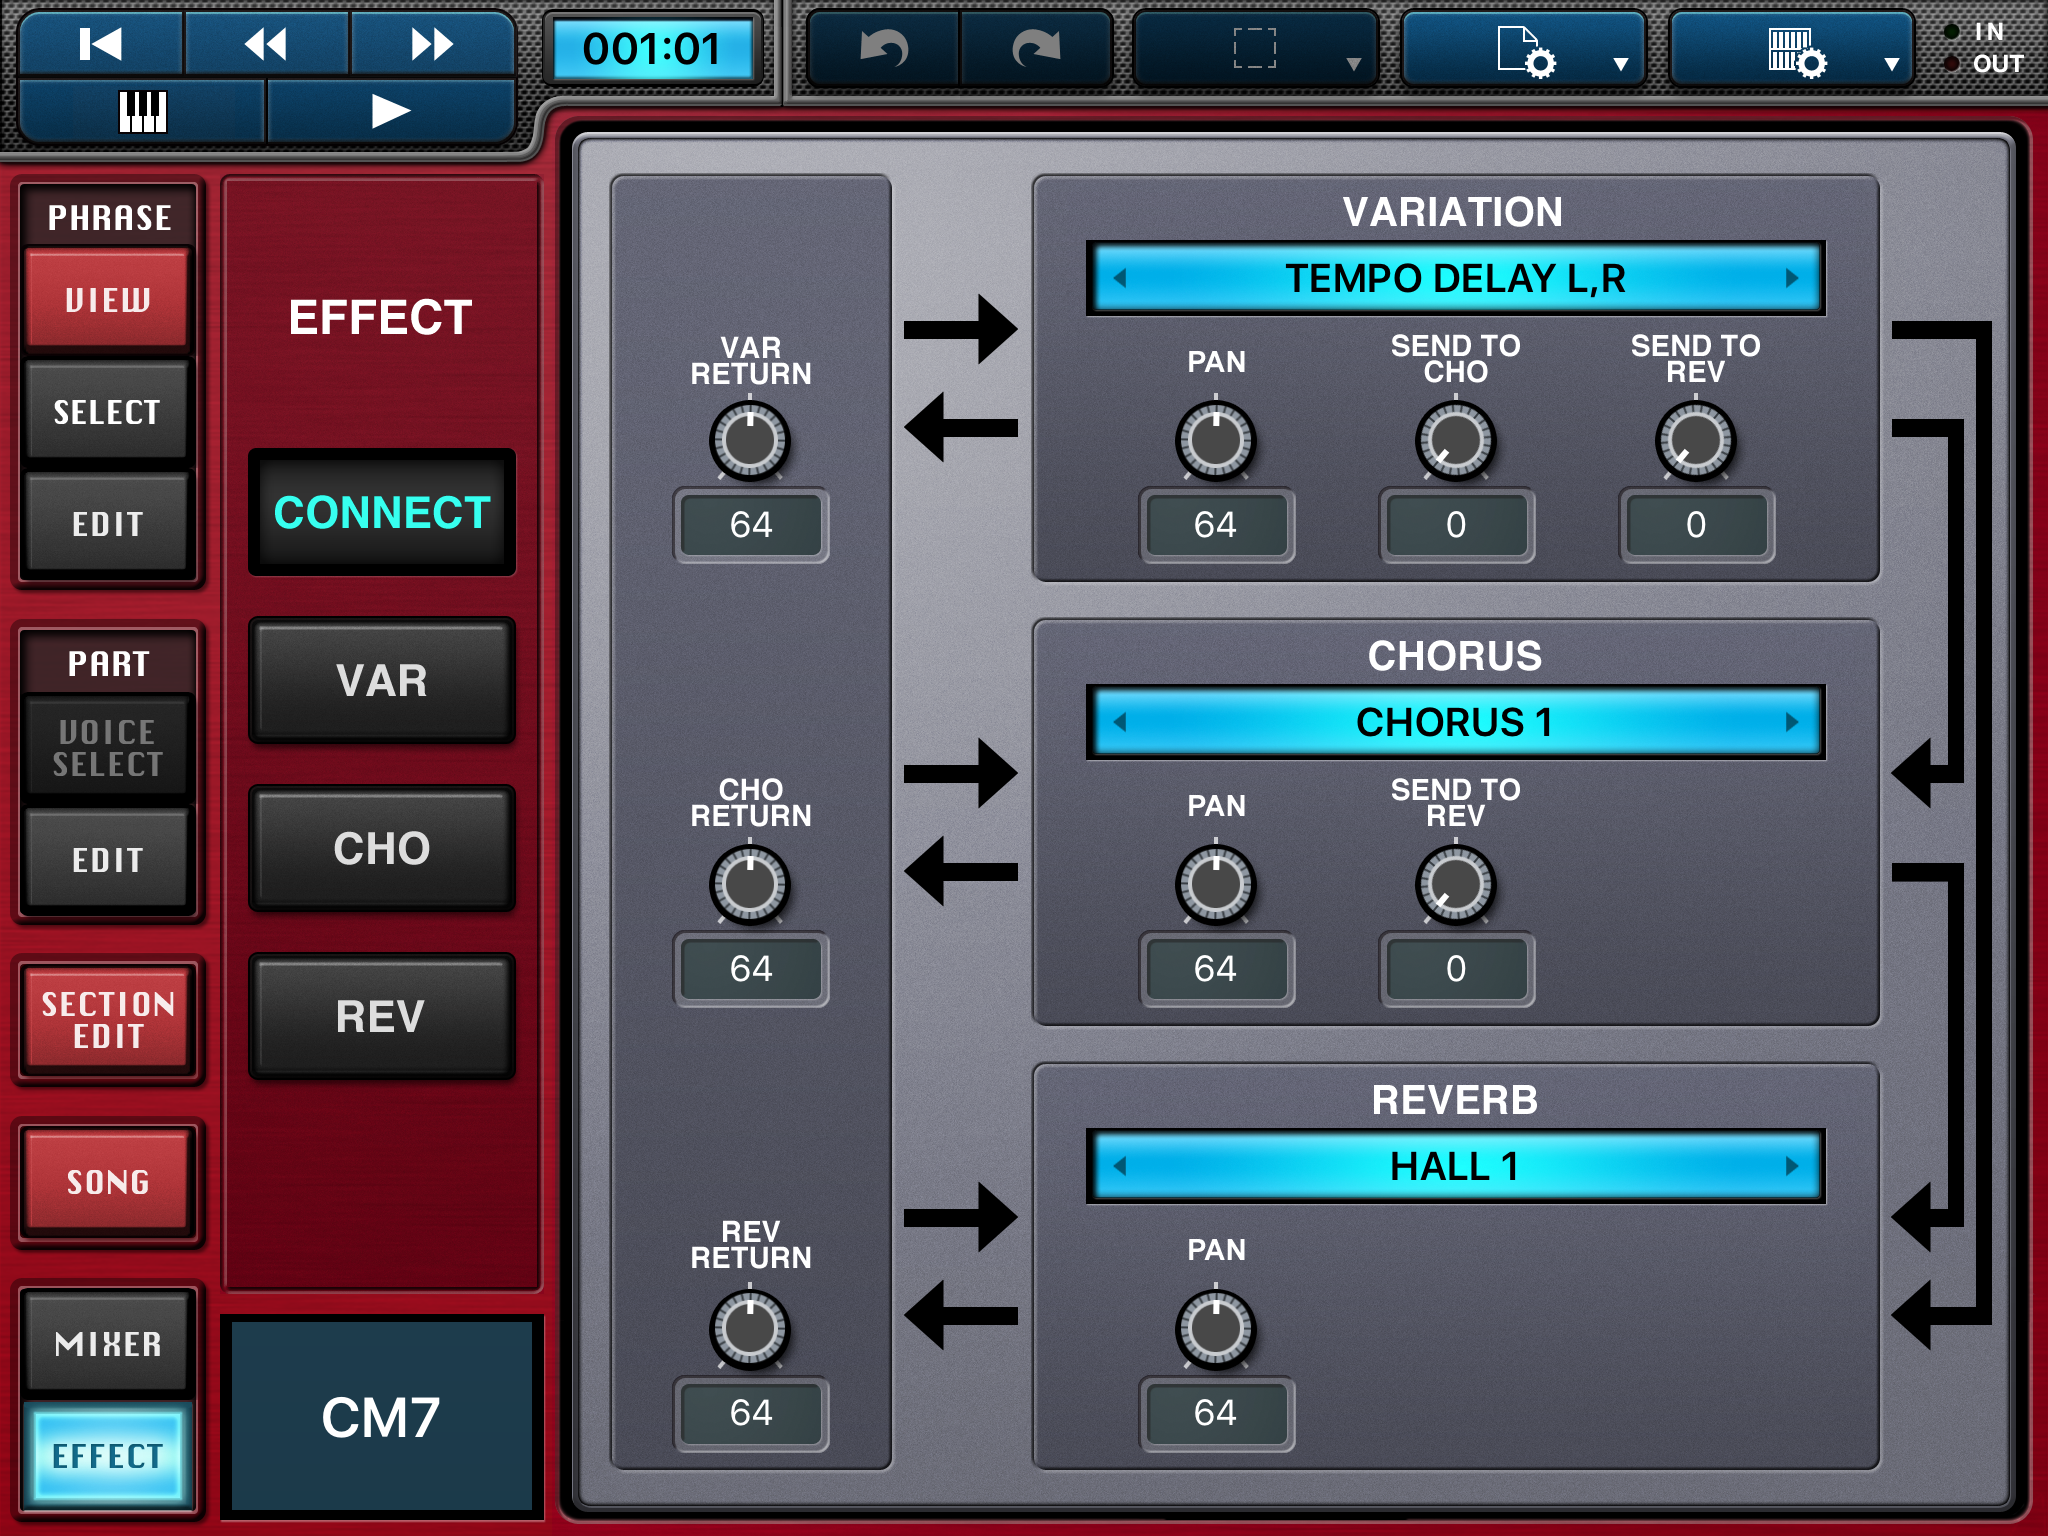
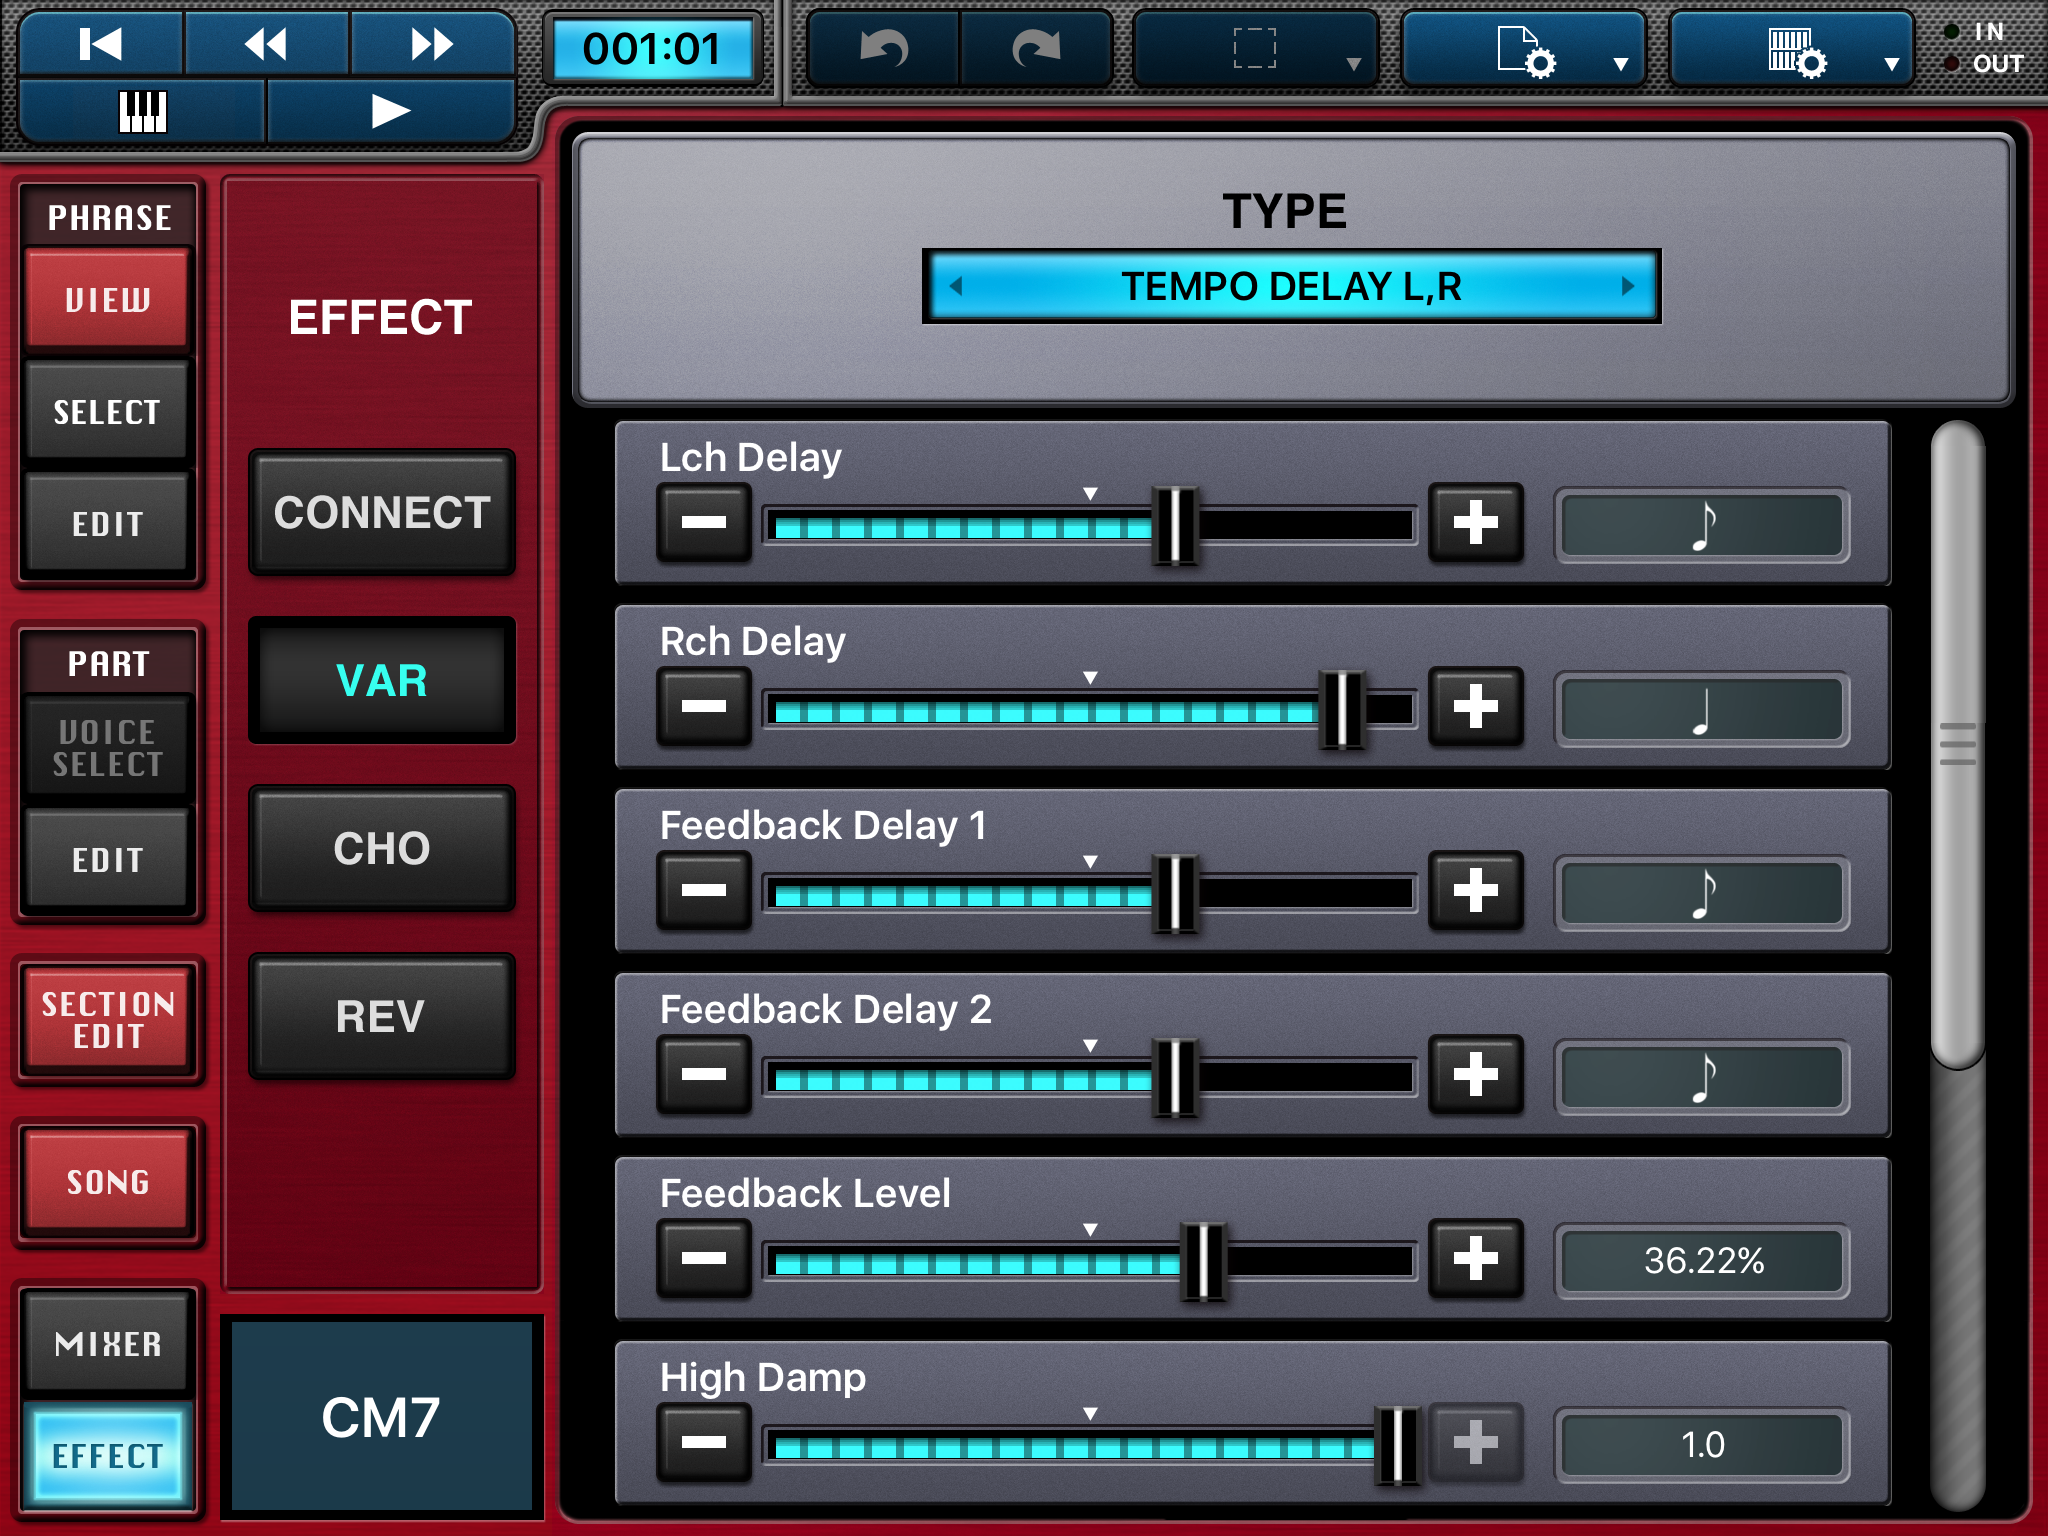
Montage/MODX sound quality is excellent. What can be done to make it better?
It would be great if the Montage/MODX adopted Articulation Element Modeling (AKA Super Articulation 2). I realize that it may be difficult to fully edit AEM through the synth UI. Maybe a computer-based application? I love AEM/SArt2 on Genos.
With respect to articulations (and control), here’s two wild ideas:
- In addition to assignable buttons for articulation control, add key switching similar to what’s found in VST-land.
- Allow user scripting. What else is a synth, but a MIDI controller and a tone generator. Why not make MIDI control programmable through user scripts?
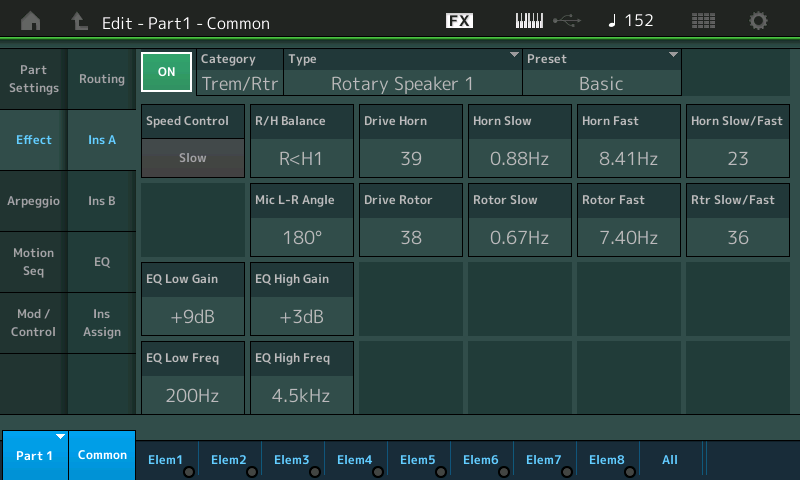
To my ears, Yamaha have clearly invested effort in B-3 organ and rotary speaker emulation. However, musicians on both synth and arranger forums still regard the Neo Instruments Vent II as the “gold standard” for rotary speaker emulation. If the next Montage is to be a clone-killer, it needs to beat the Vent II. [Will Yamaha exploit U.S. Patent 9,899,016?]
I would love to take a MODX Performance and automatically turn it into a Genos voice. Yeah, probably isn’t a problem for the synth people to solve. However, the voice editing in Yamaha Expansion Manager (YEM) really, really lags.
Fourth biggie. Sequencing multi-part Performances via MIDI.
I’m sure you’ve heard this one before. 🙂 I haven’t deep dived MODX sequencing (yet), but I understand there is an issue with sequencing multi-part Performances from a DAW. Perhaps the solution is a map from MIDI channel to one-or-more Parts? This solution breaks the hard binding between MIDI channel and Part.
Final Biggie. People love getting updates! Updates are truly a hit with the user base — including me. 🙂 Social media forums always chatter about the next update and updates are a great way to create continuing interest in Montage/MODX. Please keep the updates coming!
Whew! A longer and discussion than I thought! None-the-less, I really enjoy the MODX. It’s light weight and sound make it a terrific gig machine.
P.S. The last time I participated in an interview, I wrote an MOX retrospective. It describes some of my use cases, flow and general concerns.