Behringer UV300 pedal teardown

You’ve probably been wondering where I’ve been. Or, not.

My latest gedanken experiment is a small, lightweight effect chain to add chorus and reverb after the 1010Music Tangerine. Tangerine is a great little sampler, but its effects processing is very basic. An external effects chain would make up for its shortcomings.

I’m a fan of Yamaha’s approach to the stage/combo keyboards. The Stage CP, Stage YC and CK have control-studded front panels. The effect chain is laid out in plain sight and knobs/switches control the most essential parameters. Internally, a host processor reads out the knobs/switches and pokes the tone generator hardwaare pipeline.

I’d like to have a similar interface using discrete effects (AKA “guitar pedals”) instead. Guitar pedals are built to a rugged standard adding size and weight, however. Most guitar multi-FX require a lot of menu-diving and I’d like to avoid that and discrete effect units put knobs/switches on top.

I looked into modular effects first. Unfortunately, the form factor (Eurorack) isn’t what I had in mind. Plus, modular requires a +12V/-12V power supply; good old +9V center negative (“pedal standard”) is cheap and readily available.

Instead of making a floor-standing pedal board, I want a box that resides comfortably on top of a controller keyboard. Rugged build is not required and therein lies an opportunity to reduce weight.

There are so many guitar pedals on the market that it doesn’t make sense to design and build the electronics from scratch. So, why not buy a few pedals and tear them down?

Now, nobody in their right mind will buy a bunch of expensive $400 pedals for scientific experiment. I did a quick survey of the bottom-feeder pedals — Mooer, Donner and Behringer. I put a Donner mini MOD pedal on order. Meanwhile, I got the itch to tear something apart.

Behringer tear down

The one thing I will say for Behringer, you can’t beat the price! They offer a wide range of discrete effect pedals for $25-$40 USD retail. Three or four pedals will run about $100 and that ain’t bad.

While waiting for the Donner to come in, I tore down a Behringer UV300 Ultra Vibrato. I used this pedal in a different project and it was time that it gave its life for science.

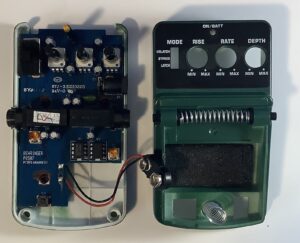
Behringer UV300 bottom (PCB) and top

The UV300 comes apart without too much difficulty. If you have a Behringer pedal, you already know that the 9V battery compartment is hidden under the foot treadle. You’ve probably sworn a blue streak while trying to get the treadle back on after replacing the battery. πŸ™‚ The 9V battery clip passes up through a hole in the main chassis top-plate. When you go to remove the plastic top, don’t forget to remove the knobs; the knobs press onto flatted potentiometer shafts.

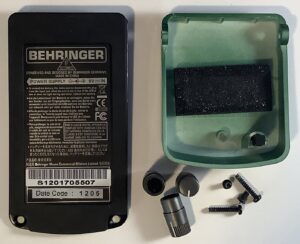
Behringer UV300 metal bottom plate and foot treadle

Behringer pedals have some heft when you pick one up. Kind of surprising, because the chassis (case) is molded plastic. A heavy bottom-plate provides the heft. Once the metal bottom-plate is removed, the rest of the pedal assembly nearly floats away! Four screws attached the metal bottom-plate to the plastic chassis bottom-plate. The plastic bottom plate holds the printed circuit board (PCB) in place.

The foot treadle has a protruding stem on its bottom side. The stem pokes through a hole in the case top-plate and pokes a tactile switch on the PCB. Thus, Behringer gets away without a mechanical panel switch.

There you are. One could reduce a Behringer pedal of this type to its PCB and plastic bottom-plate without much difficulty thereby shedding a lot of weight. Not as compact as a custom PCB, but a few such assemblies could be housed in a small project box and are easily daisy-chained into a multi-effect with independent stages and controls.

Plus, it’s only $25 a stage!

BTW, IC1 is a CD3207GP (1024 stage BBD) and IC2 is a Coolaudio V3102D (Two-phase CMOS BBD clock generator).

Copyright © 2024 Paul J. Drongowski

Inside Akai MPK Mini Play (mk1)

Akai MPK Mini Play (first generation). Let’s take a look inside.

The Akai MPK Mini Play splays open just like an Akai MPK Mini. Check out one of the fine MPK Mini disassembly videos if you want to crack open your MPK Mini Play. Here are a few quick tips:

  • Gently remove the knobs from the pots. You will need to pry under each knob with a super small screwdriver or some other flat blade.
  • You need to remove the red rubber cap from the center of the joystick. The rubber cap is held on by adhesive.
  • Once the red rubber cap is removed, unscrew the joystick knob and set it aside along with the cap.
  • Remove all twelve screws from the bottom. These screws hold the bottom to the top.
  • Pry up the back of the Mini Play first and expect to sneak the top past the underside of the keys.
  • Mind the ribbon and battery cables when opening the chassis. Be slow and gentle. Do not aggressively flip the case open!

Splaying the case is good enough to expose the main electronics. Unless you are going to fix or mod the pads, you do not need to remove the main printed circuit board (PCB).

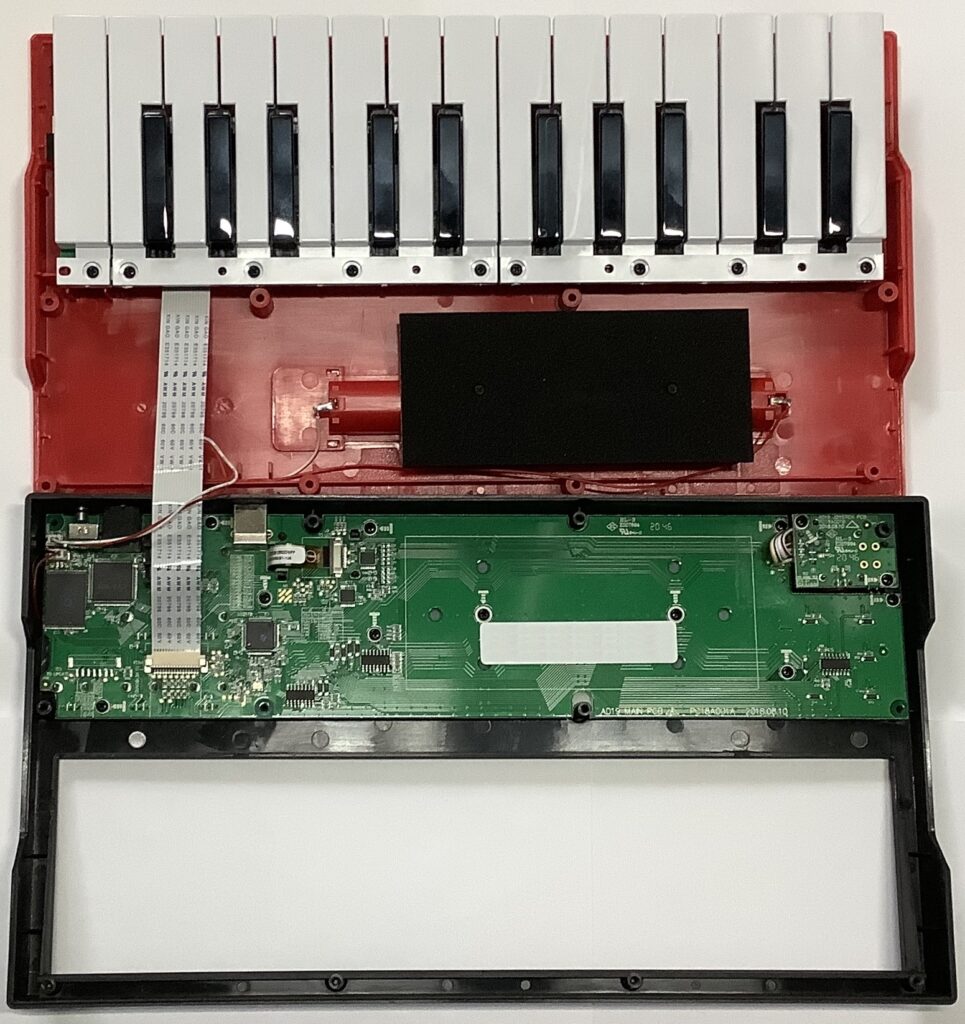
Akai Mini Play (Mk1) splayed open

As you can see in the picture, the keybed is mounted on the bottom tray. The battery compartment is molded into the bottom. A ribbon cable connects the keybed switch matrix (rows and columns) to the main PCB. In the future, I’d like to personalize my Mini Play by replacing the standard black on white keybed with a white on black keybed — Vox Continental envy. πŸ™‚

The main PCB has left, middle and right parts. The middle looks empty, but the rhythm pads are on the other side in this region. The rubbery black pad in the case bottom provides mechanical support to the PCB beneath the rhythm pads.

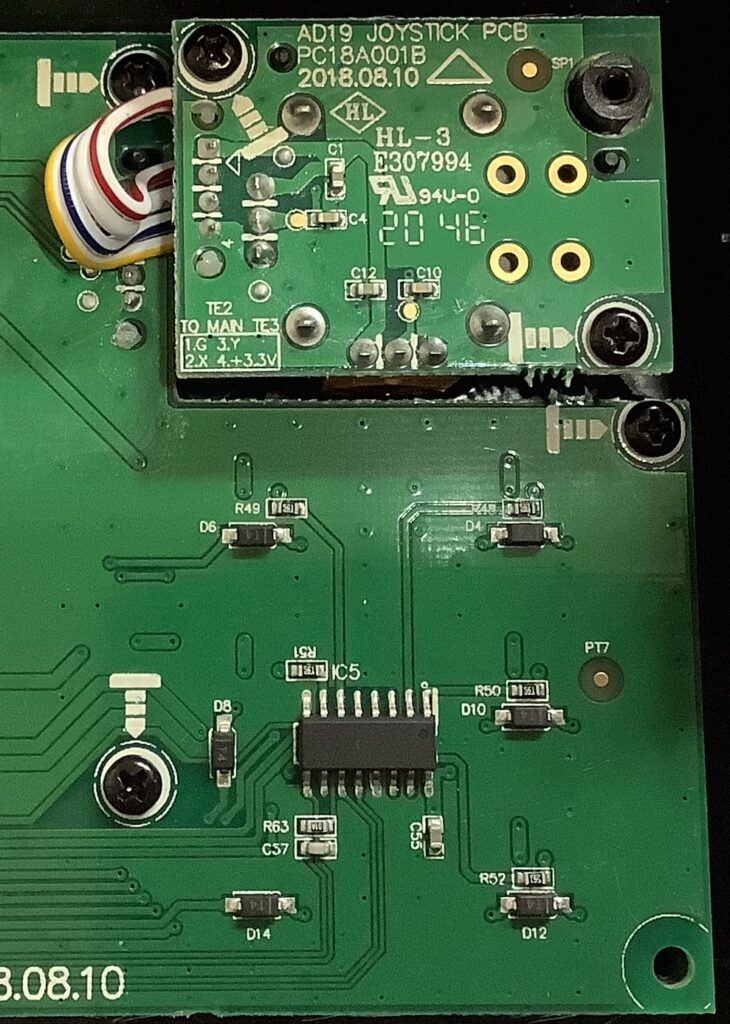
Akai Mini Play main PCB joystick

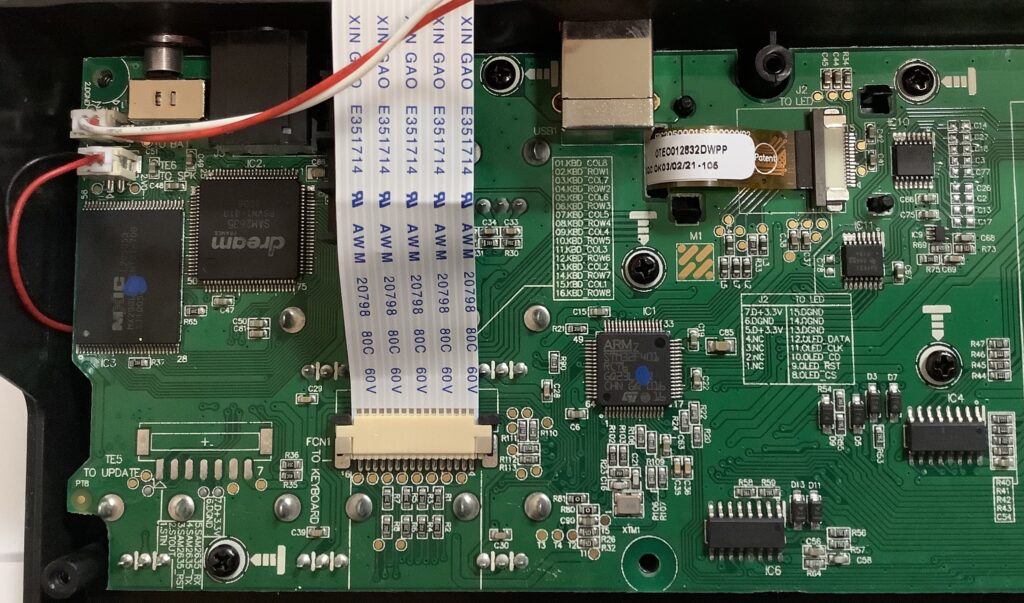
The right part of the main PCB has the arpeggiator switches and joystick subassembly. The legend on the integrated circuit (IC) is super faint and is barely readable with a strong light and magnifying glass. IC5 appears to be a CMOS 595D 8-bit serial-in, serial- or parallel-out shift register. Signals from the right part of the PCB travel over a gazillion traces to the left part.

Akai Mini Play PCB (Arm and Dream synthesizer)

All the really fun stuff is on the left part of the main PCB. Here you will find the back panel components: battery/USB power switch, 3.5mm headphone jack, sustain pedal jack, and USB-B port. The sustain pedal jack is hidden beneath the ribbon cable in the picture. [You’re not really missing anything.]

The ribbon cable near the USB-B connector connects the OLED display to the main PCB. IC10 and IC11 are TI HJ4051 8:1 multiplexer/demultiplexers. Akai conveniently printed cable signal tables on the PCB. Signals for the OLED display (J2) are:

     Pin Signal       Pin Signal 
--- --------- --- ---------
1 NC 8 OLED_CS
2 NC 9 OLED_RST
3 NC 10 OLED_CD
4 NC 11 OLED_CLK
5 D +3.3V 12 OLED_DATA
6 D GND 13 D GND
7 D +3.3V 14 D GND
15 D GND

The legends on IC4 and IC5 are quite faint. They are either 74HC595D or 74HC395D. My eyes are old and sore. πŸ™‚ This logic is probably related to the rhythm pads and signals from the right side of the main PCB.

Signal assignments are given for the keybed ribbon cable (FCN1):

     Pin Signal       Pin Signal 
--- --------- --- ---------
1 KBD_COL8 9 KBD_COL4
2 KBD_ROW1 10 KBD_ROW5
3 KBD_COL7 11 KBD_COL3
4 KBD_ROW2 12 KBD_ROW6
5 KBD_COL6 13 KBD_COL2
6 KBD_ROW3 14 KBD_ROW7
7 KBD_COL5 15 KBD_COL1
8 KBD_ROW4 16 KBD_ROW8

Typical key scanning drives a row (or column) signal and reads back a column (or row) group. Holy smokes! The Mini Play PCB may support eight groups of eight keys. If the proper software support is implemented, one might be able to attach a 61-key keybed to the main PCB! (A big “IF”.)

The 64 pin surface mount (SMT) device near the two printed tables is the main CPU: an ST Microelectronics STM32F401RCT6 Arm Cortex-M4 microcontroller. This device has a single core, 64KB RAM and 256KB flash memory. The blue dot may indicate that the device was programmed before installation. (Dunno.) I can’t read the top of the crystal XTIM1, so I don’t know the clock speed.

Finally, we get to the synthesizer (IC2): a Dream S.A.S. SAM2635. The Macronix IC (IC3) at the left edge of the PCB is NOR flash containing the Dream waveforms. Again, the blue dot may signify preload status. Near the SAM2635, we find JST connectors for the battery and the speaker.

In my view, the most exciting and interesting part of the main board are the test points in the lower left corner. The signals are:

    Pad Signal        Dream function 
--- ----------- ---------------------------
1 STIN Serial test input
2 STOUT Serial test output
3 SAM2635_RST Master reset and power down
4 SAM2635_TX MIDI OUT
5 SAM2635_RX MIDI IN
6 D GND Digital ground
7 D +3.3V Digital +3.3V

I verified these connections using a continuity tester. The SAM2635_RX and SAM2635_TX pads are connected to the Arm microcontroller:

    Pin  Function       Test POINT  Pad 
--- ------------ ---------- ---
42 USART1_TX SAM2635_RX 5 I/O 5V tolerant
43 USART1_RX SAM2635_TX 4 I/O 5V tolerant

So, boys and girls, we may be in business!

In my opinion, Akai botched the MPK Mini Play by hiding the Dream synthesizer behind software on the Arm. The Arm makes the Mini Play look like a semi-crazed synth of its own, not the SAM2635. The test points may — may — provide a way to get at the Dream synthesizer directly. The INTERNAL SOUNDS button acts like a MIDI LOCAL CONTROL button. So, I’m hoping to disable internal sounds and hijack the MIDI IN and OUT test pads (signals) to the SAM2635.

Come for the teardown; Stay for the mods:

Copyright Β© 2022 Paul J. Drongowski

Pocket Miku pictures

Thanks very much to our friends at japan24net on eBay! They did a superb job of packing and Pocket Miku arrived at our house in record time. γ©γ†γ‚‚γ‚γ‚ŠγŒγ¨γ†γ”γ–γ„γΎγ—γŸ

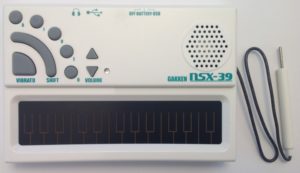
Now, the obligatory pictures! Please click on the images for higher resolution. Front:

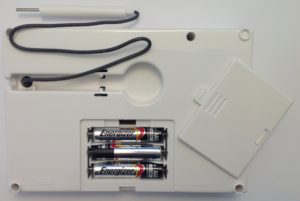
The back:

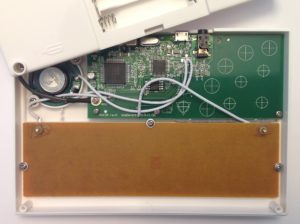
With the rear cover off:

And finally, the money shot:

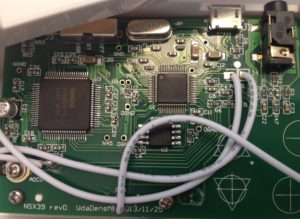
That looks like a 12.000 MHz crystal. Sorry, I didn’t have time to work through the data sheet and compute the CPU clock frequency. (96MHz maximum)

Copyright © 2017 Paul J. Drongowski