
Yesterday, I took a quick look inside the Akai MPK Mini Play MIDI controller and synthesizer. I would like to discover a way to drive fully the Dream S.A.S. SAM2635 synthesizer chip without interference by the Arm microcontroller.
My initial investigation concentrated on the set of test points connected to key SAM2695 inputs and outputs:
    Pad Signal        Dream function
    --- -----------   ---------------------------
     1  STIN          Serial test input
     2  STOUT         Serial test output
     3  SAM2635_RST   Master reset and power down
     4  SAM2635_TX    MIDI OUT
     5  SAM2635_RX    MIDI IN
     6  D GND         Digital ground
     7  D +3.3V       Digital +3.3V
If I can read and drive the SAM2635 MIDI IN and OUT, it should be possible to control the Dream synthesizer directly.
First, I need easy access to the relevant test points. I started with a 4-wire ribbon cable with male prototyping pins at both ends. These ribbon cables are easy to find and are generally used to connect a group of signals from one prototyping connector to another. In this case, I cut off the pins at one end with the intention of soldering the wires to the test points on the Mini Play main printed circuit board.
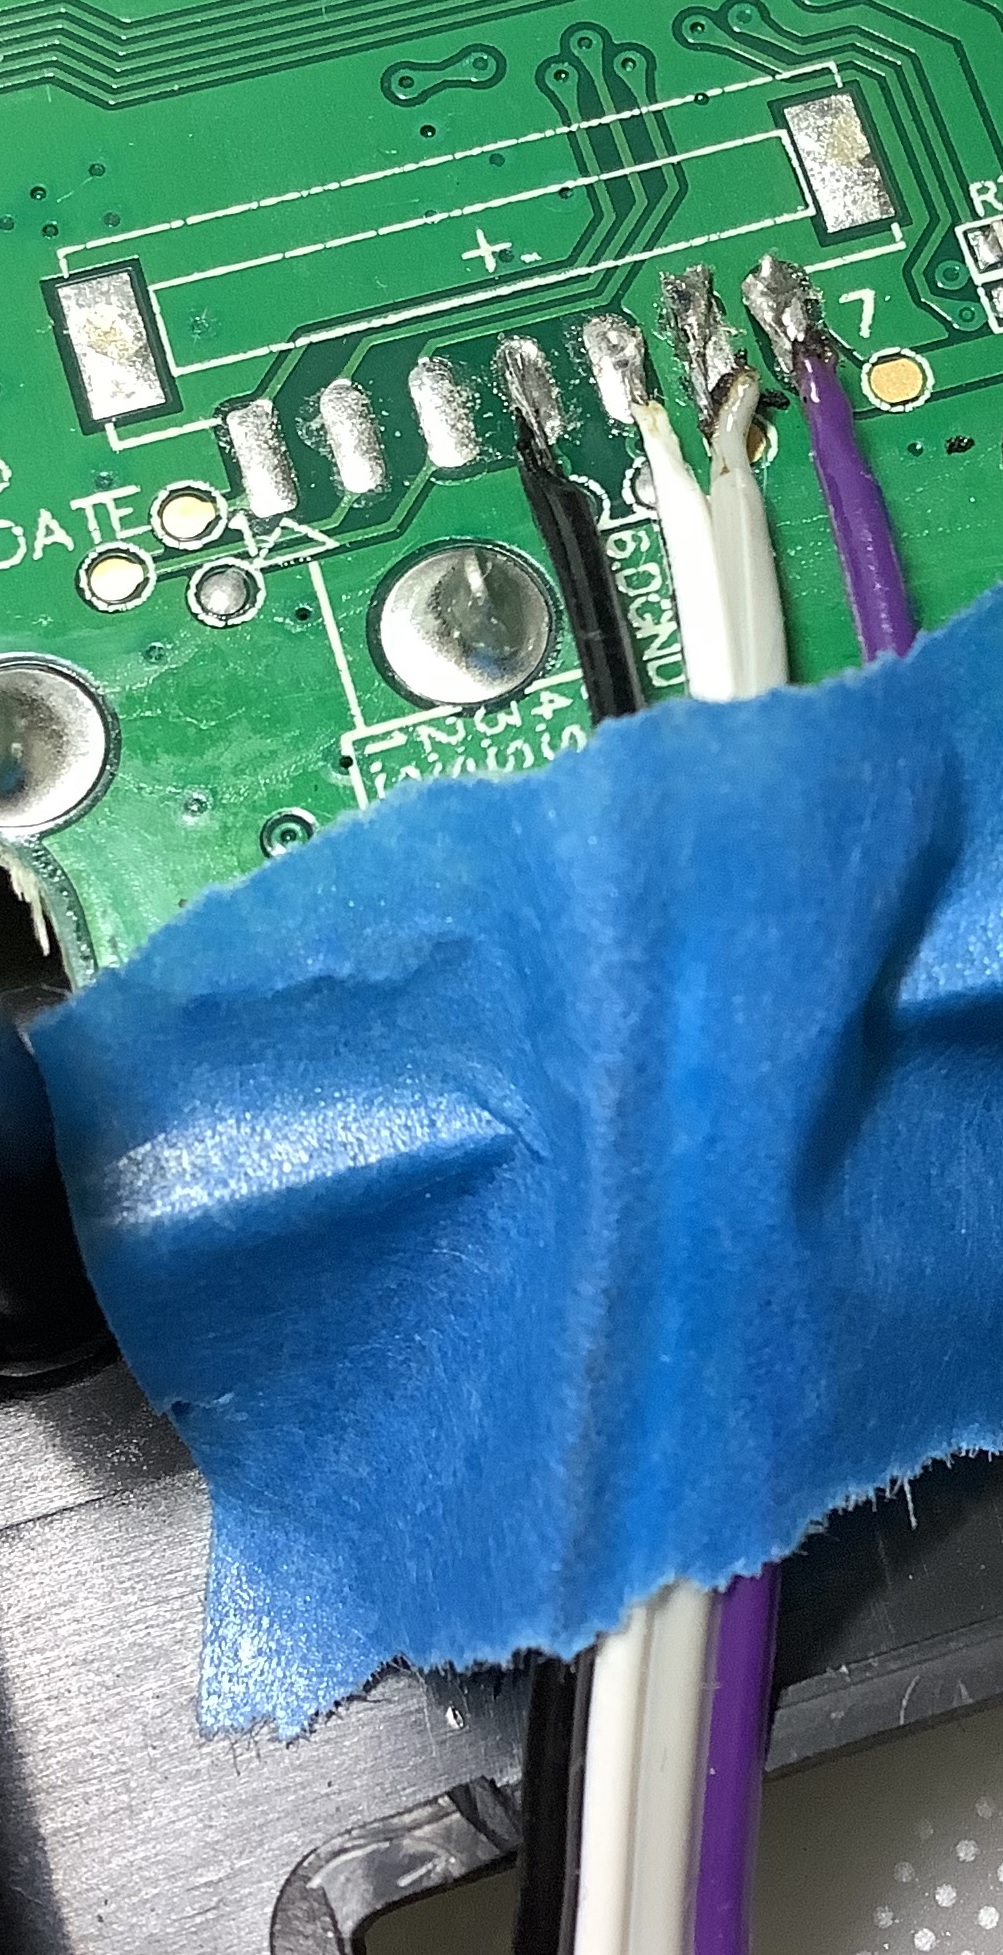
The picture above shows the test points after soldering. The soldering job ain’t pretty, but the joints are functional. The color coded connections are:
    Pad Signal        Dream function  Color
    --- -----------   --------------  -----
     4  SAM2635_TX    MIDI OUT        Black
     5  SAM2635_RX    MIDI IN         White
     6  D GND         Digital ground  Grey
     7  D +3.3V       Digital +3.3V   Purple
After inspection, I took a deep breath and powered up. The Mini Play functioned correctly, thank goodness.
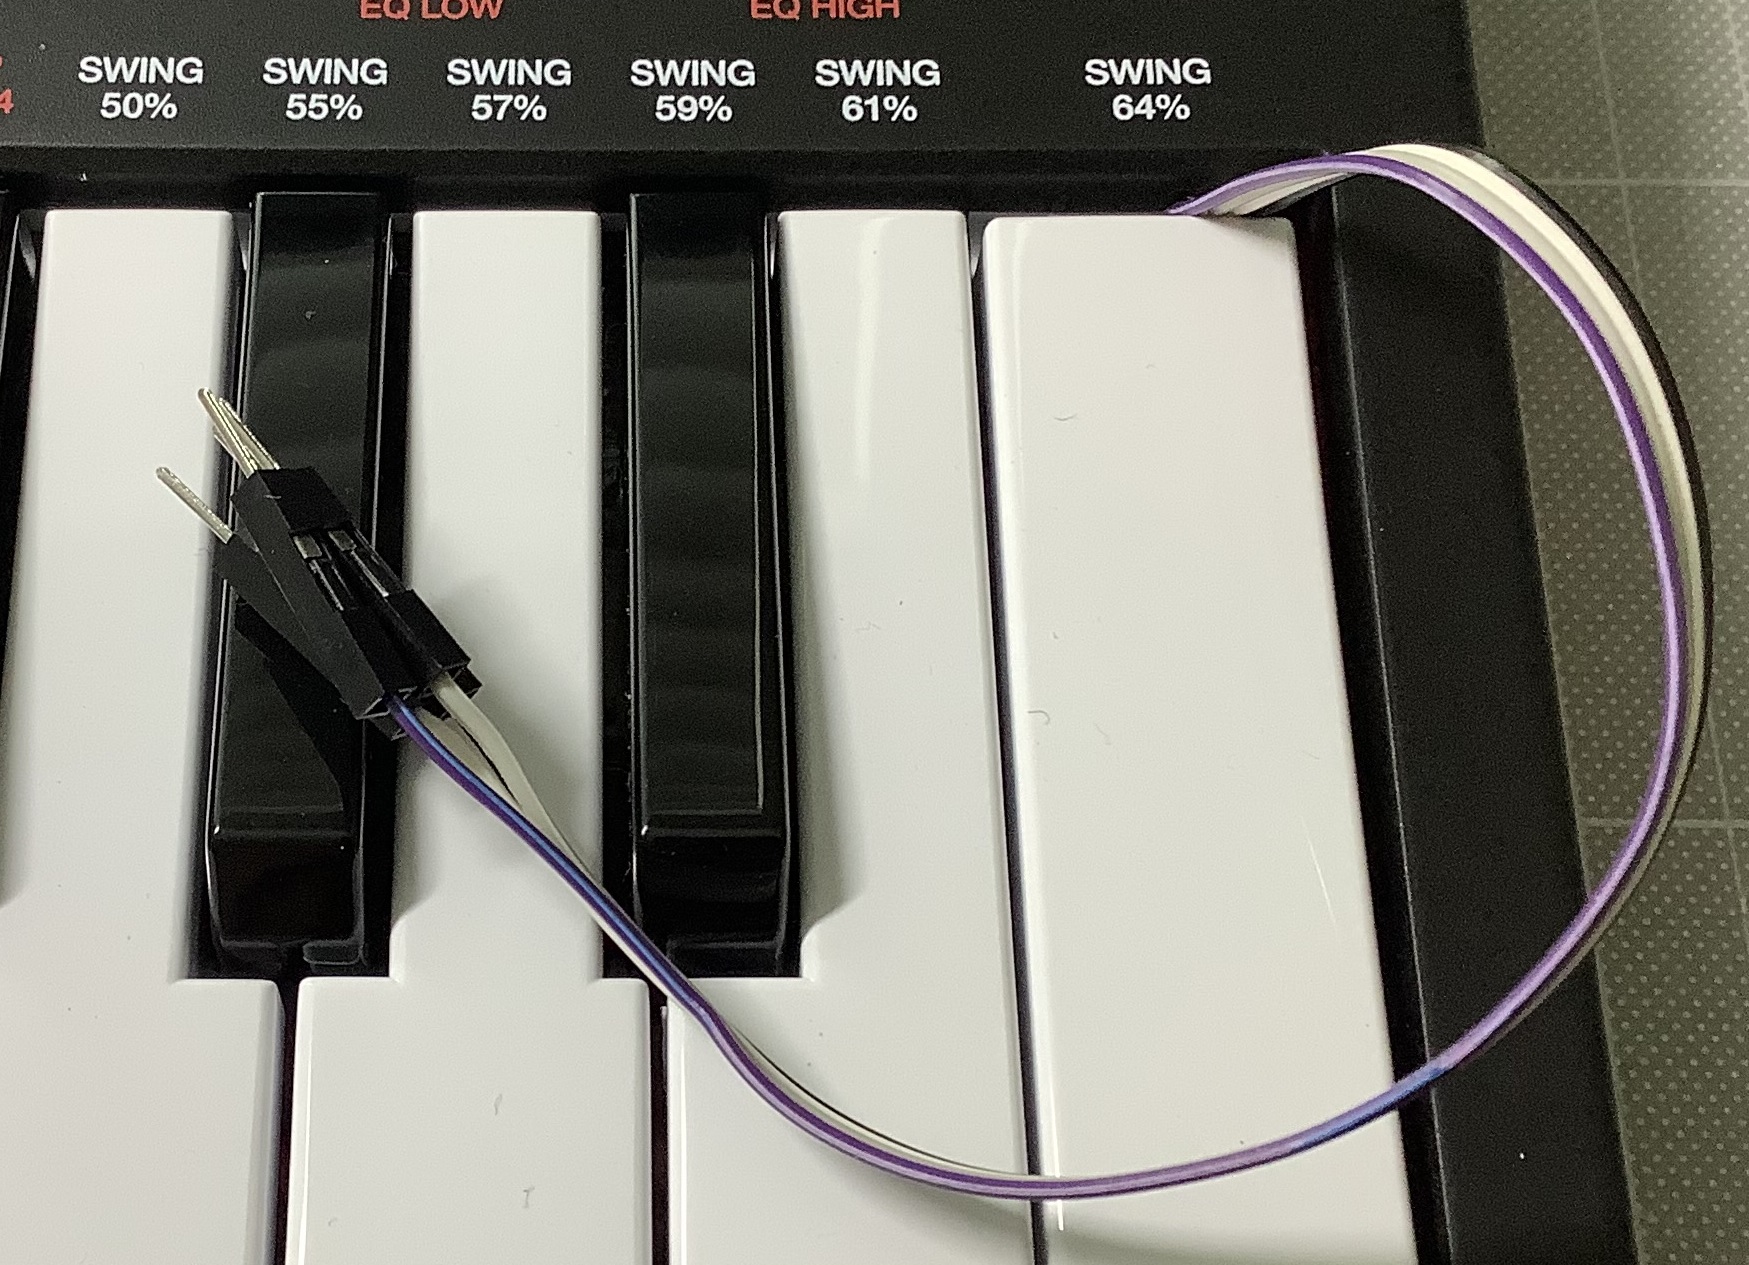
I created a small, unobtrusive notch in the plastic top panel and routed the ribbon cable through the gap above the high C key. If I ever go to sell or trade the Mini Play, I should be able to unsolder and remove the cable while leaving the case visibly intact. As you can see in the picture above, the ribbon cable terminates at four male prototyping pins.
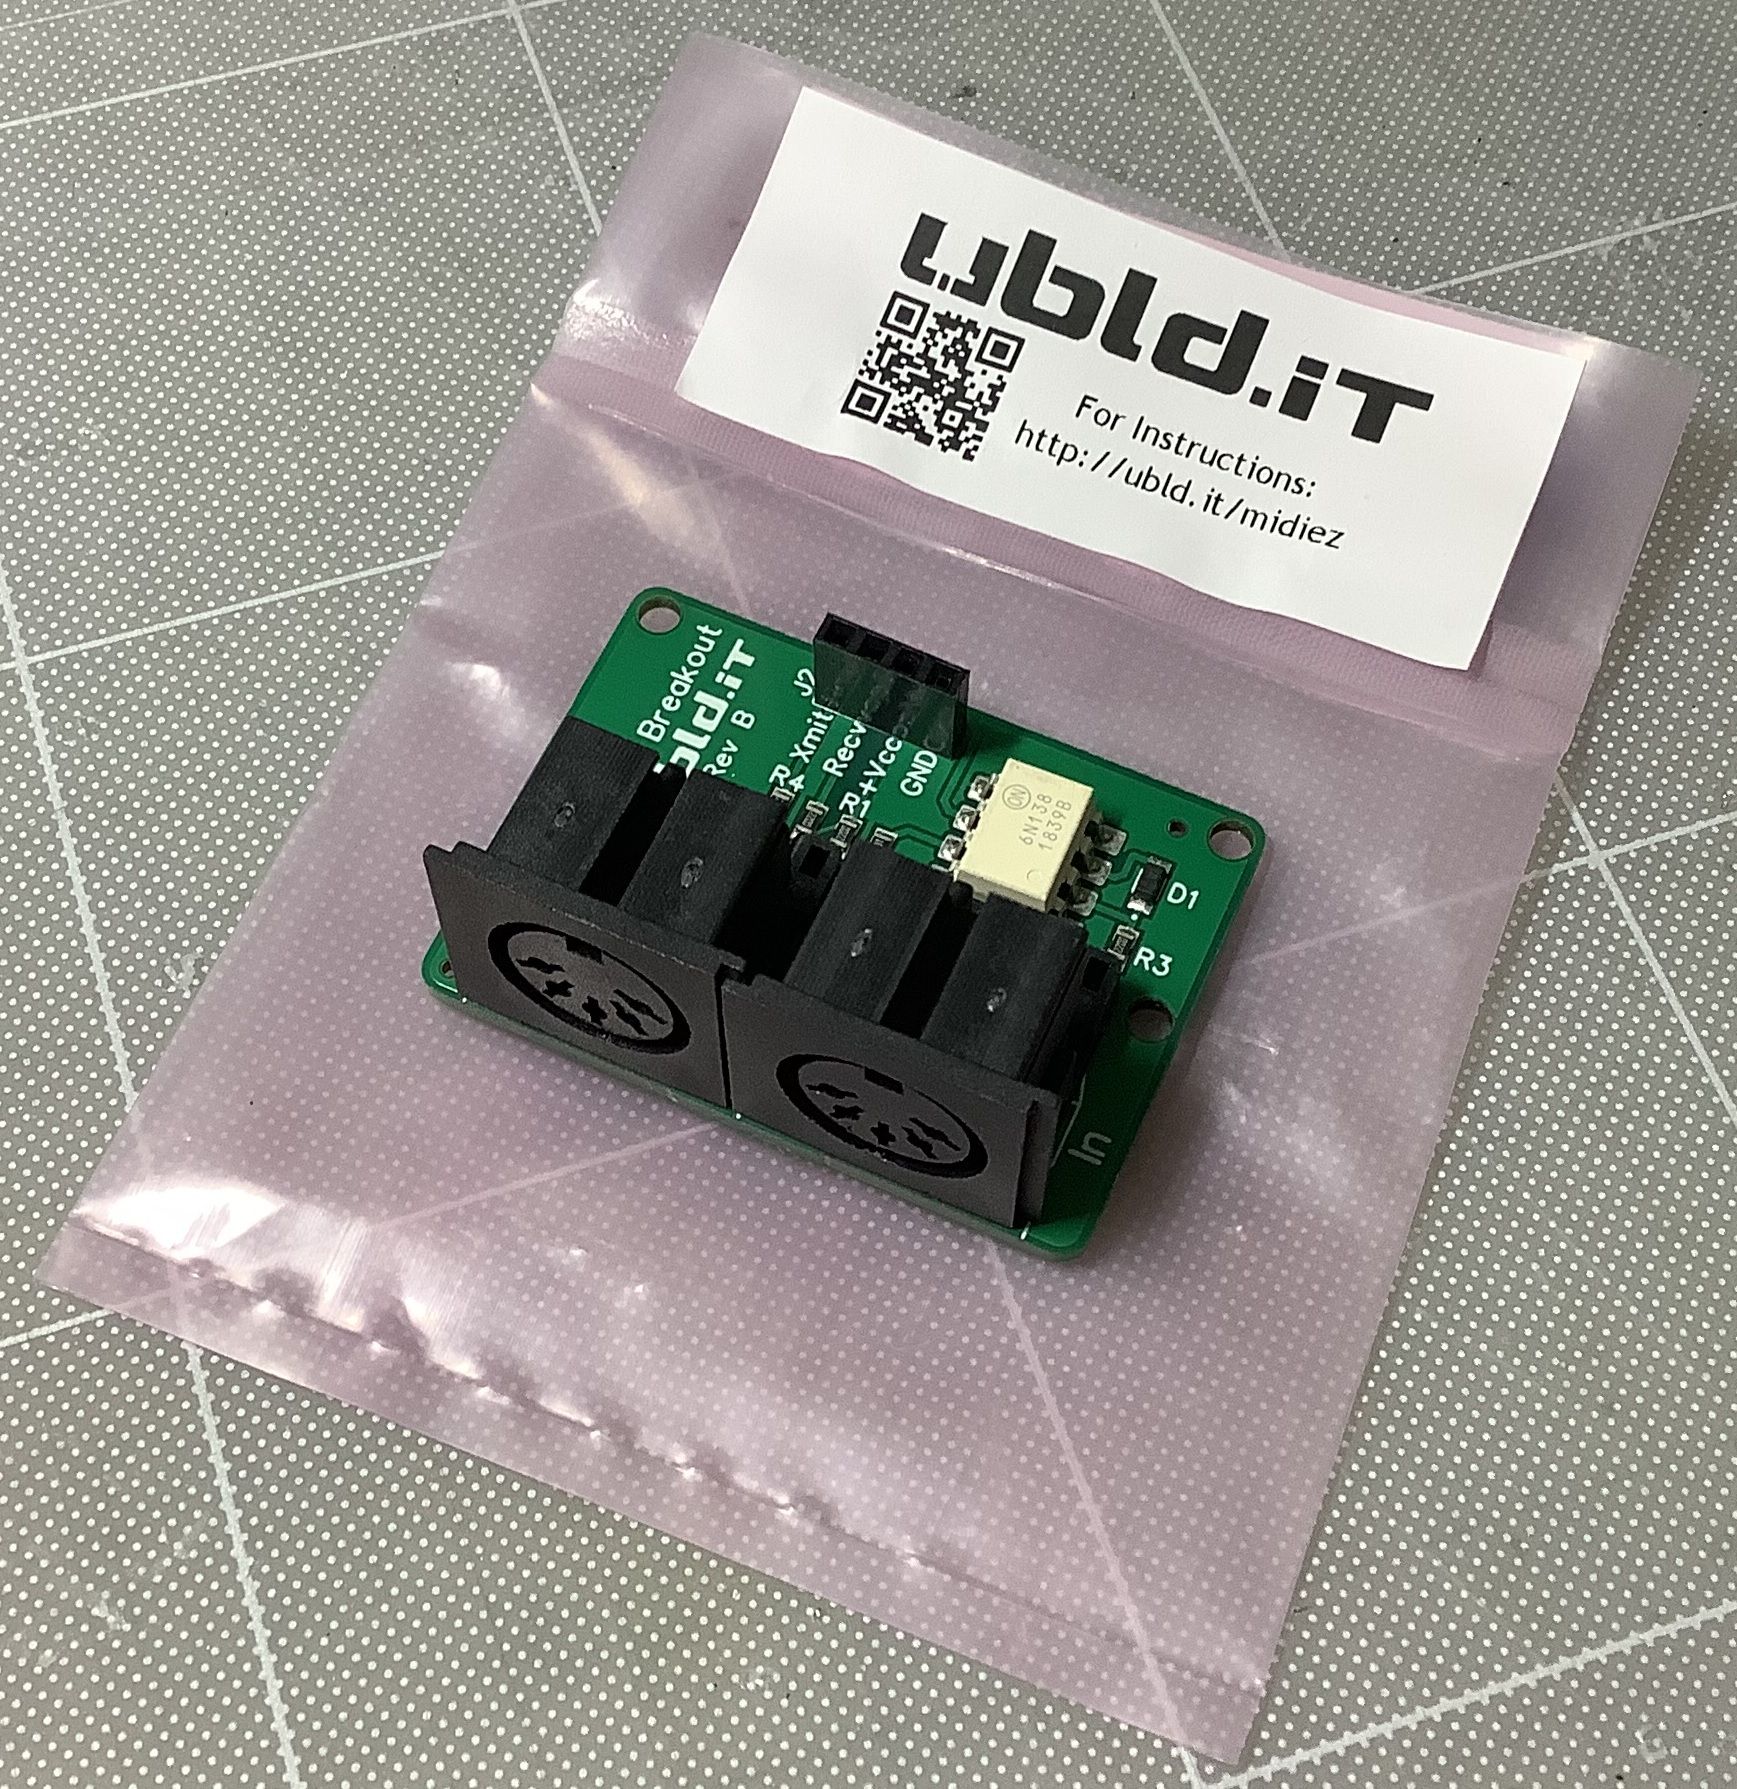
Next up, I assembled a UBLD.IT MIDI breakout board and interface. I bought the UBLD.IT board from Amazon. Unfortunately, the board is now out of stock. Bummer, cuz it’s a nice one.
The UBLD.IT has a 4-pin female header:
    Pin   Function
    ----  --------------
    Xmit  MIDI OUT
    Recv  MIDI IN
    Vcc   Positive voltage rail
    GND   Ground
I connected the ribbon cable to the UBLD.IT board and connected the UBLD.IT to a Windows PC through a 5-pin Roland MIDI interface.
Power up. No joy. The Mini Play worked properly, but I wasn’t able to monitor the MIDI traffic from the Arm microcontroller to the Dream SAM2635 synthesizer via MIDI-OX. Nor was I able to drive the SAM2635. So much for the quickest and dirtiest solution!
Since nothing smoked and the Mini Play is healthy, it’s time for methodical investigation. First goal, I would really like to monitor the MIDI traffic from the Arm to the SAM2635. It might help me figure out what the heck the Akai software is doing to incoming USB MIDI messages. Once I ace this problem, I’ll try driving the SAM2635, again.
One further observation. I attached SAM2635_RX and SAM2635_TX to a Gabotronics USB oscilloscope. After futzing with the scope controls, I observed what looks like serial data bytes (MIDI) on the SAM2635_RX line. The Arm drives this line when it sends MIDI messages to the SAM2635. Serial bytes are sent in response to note ON/OFF, control knobs, and the joystick. Ooooo, so close!
By golly, there ought to be a way to monitor this MIDI traffic! I conjecture that the logic signal is inverted. Another possibility is a non-standard data rate, that is, something other than 31,250 baud. Probably ought to test the UBLD.IT in isolation, too.
Copyright © 2022 Paul J. Drongowski