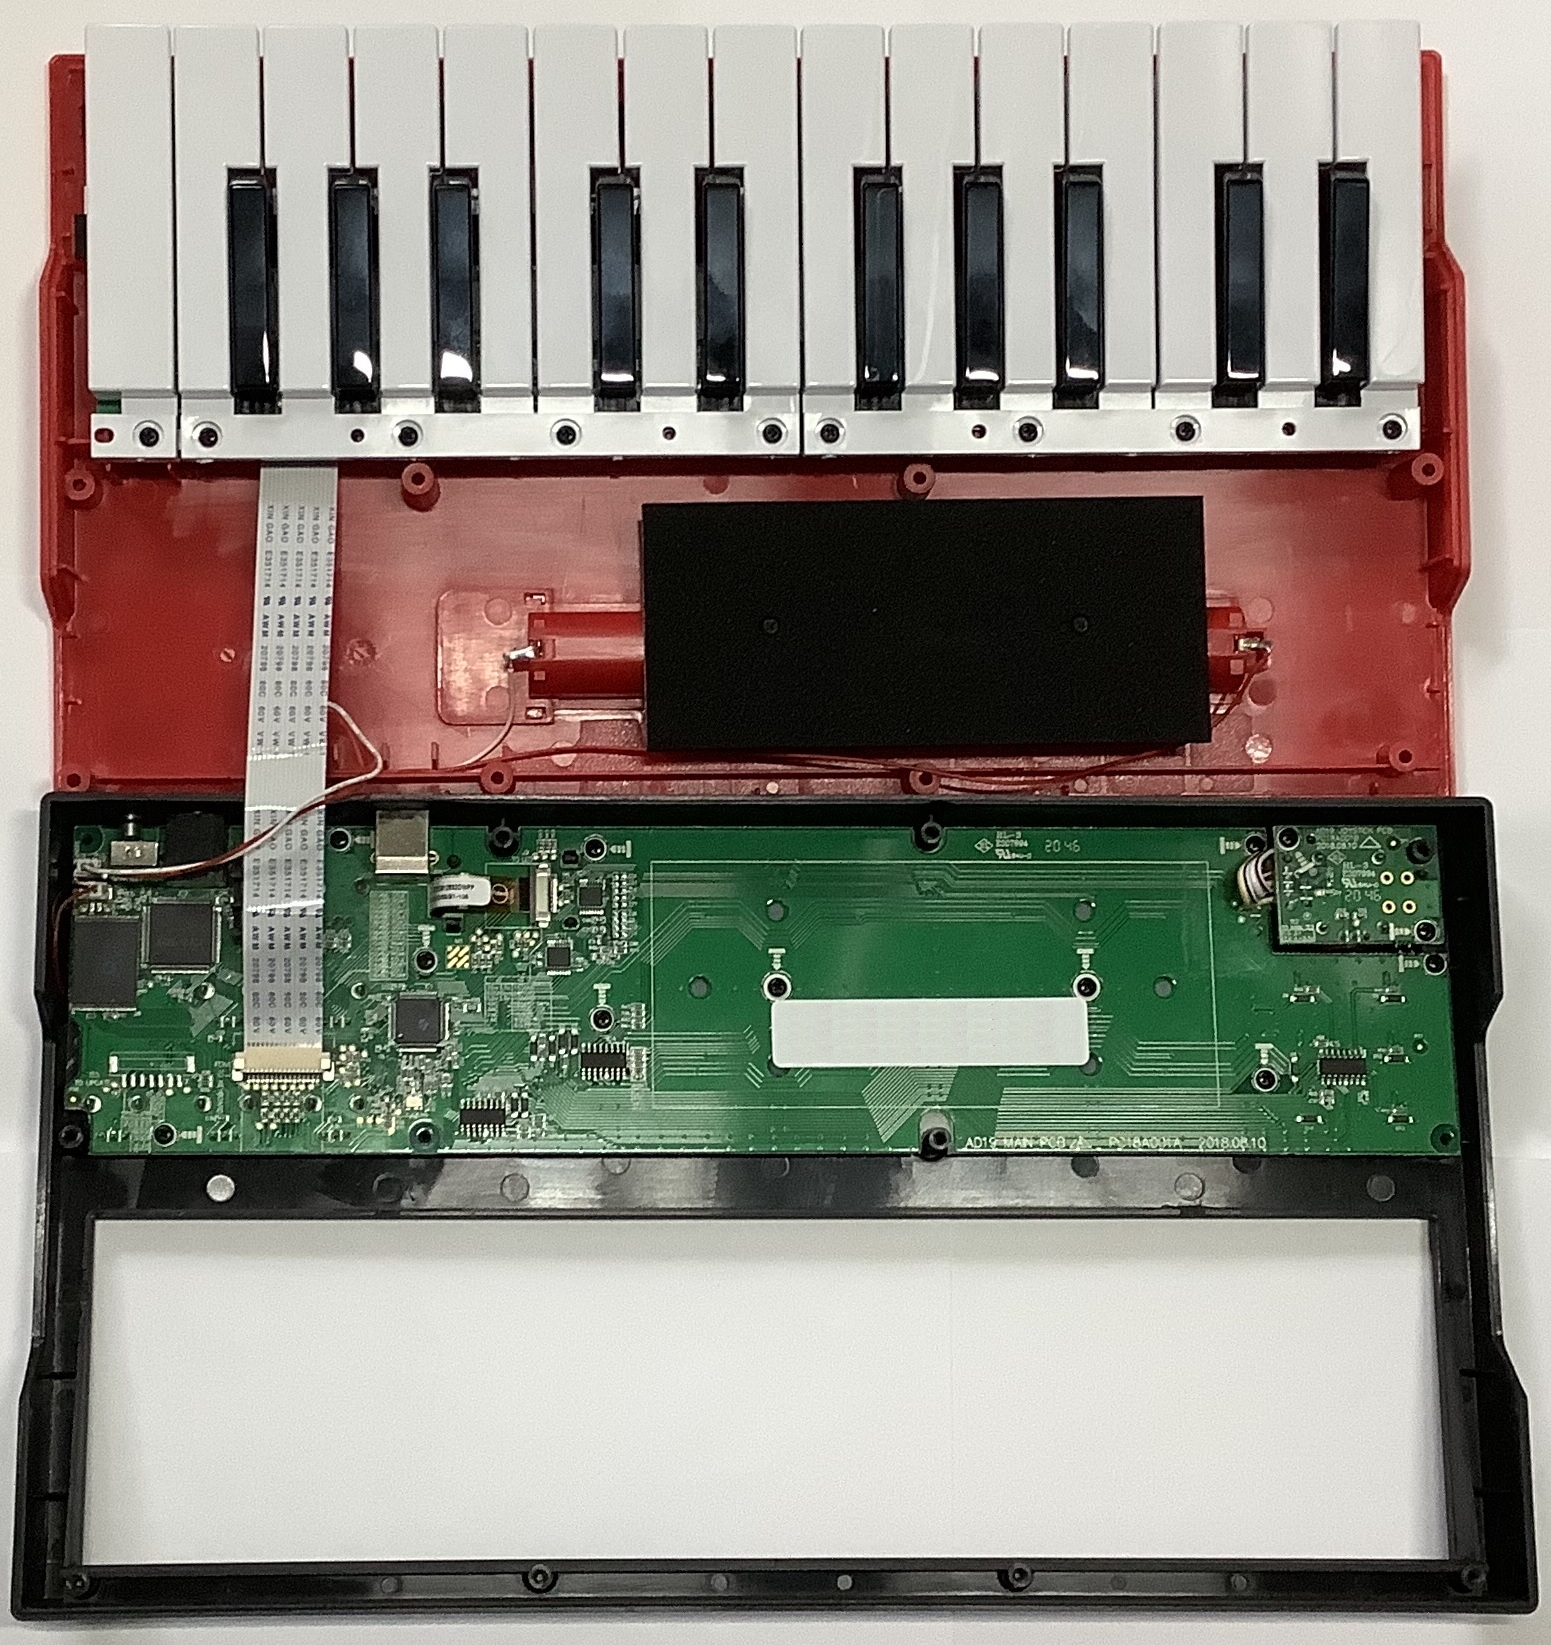
The Yamaha A50 keyboard and the M5Stack U187 MIDI Unit (synthesizer) are based on two different ultra-low cost chips: the Yamaha SWLL (YMW830) and the Dream S.A.S. SAM2695, respectively.
The SAM2695 implements the full General MIDI (GM) sound set replete with Roland GS control and System Exclusive (SysEx) MIDI messages. The A50 implements forty voices from the GM sound set and a subset of the Yamaha XG MIDI standard. Because the A50 is a subset, it seems only fair to compare equivalent voices and see which synth is stronger.
The table at the end of this post is a voice-to-voice comparison. Neither instrument will have you ditching your Montage or Kronos. 🙂 The price points are definitely entry-level — $120 USD for the A50 (if can find one) and $15 for the M5Stack U187 MIDI Unit.
Surprisingly, the main grand piano voices are nearly identical! Both pianos are single strike and key velocity simply makes the underlying multi-sample louder or softer. Unexpectedly, the A50 electric grand is darker than the main grand. I prefer the darker tone as it is less likely to shatter glass.
The A50 electric pianos correspond to dark Rhodes and FM DX tones. The SAM EP has a bell-like chime, even its attempt at Rhodes.
The organs aren’t going to knock you out being the typical GM fare. The A50 drawbar organ has more low-mid tone and guts. The SAM rock organ is annoying and is especially buzzy in the low end. (An attempt at overdrive?) It’s unusable.
The A50 acoustic guitars have more mid-range body tone. The SAM clean and overdriven electrics are thin and the SAM overdrive (OD) is unconvincing. I selected A50 voices through its front panel and Yamaha may be adding the chorus effect to the clean guitar. Both jazz guitars need chorus to get the classic JC120 effect.
The SAM basses sound like a sampled electric. The SAM acoustic bass is not very jazzy (authentic). The A50 slap bass nails “Seinfeld” and the A50 synth bass almost nails “Chameleon”. The SAM synth bass is all punch and no sustain — doesn’t sound very rezzy.
The SAM solo violin and cello have more attack and body than the A50. Didn’t see that coming! The SAM pizzicato string voice has reverb sampled in, resulting in playback artifacts. The A50 harp low notes are unrealistic.
My biggest knock against SAM is the ensemble string voice. There is a bad, very audible loop lump in the octave about middle C. This gaffe should have never shipped.
Trumpet and trombone are what one would expect of GM solo brass — kind of real, but one-dimensional. Again, it’s a single multi-sample made louder and software by velocity. The A50 French horn is mellower than SAM. The SAM brass section sounds like a sampled synth brass patch, not real horns.
The A50 tenor sax is breathy although it won’t fool anyone. The SAM tenor sounds like a snake-charmers reed recorder. Yuck. I prefer the warmer A50 oboe. The clarinet and flute voices are nearly identical.
What can you say about synth leads and pads? They are what they are. The A50 has a few nasty, aggressive lead voices and the SAM has a few, too. Yamaha nails a few of the classic GM synth voices, but they were there at the beginning of General MIDI, weren’t they? 🙂
Overall, it’s a split decision. I lean Yamaha A50 over SAM2695. Yet, I keep repeating “15 dollars” over and over again. Remember, SAM is a full GM sound set and you might be able to substitute an alternative GM voice in place of a weaker voice.
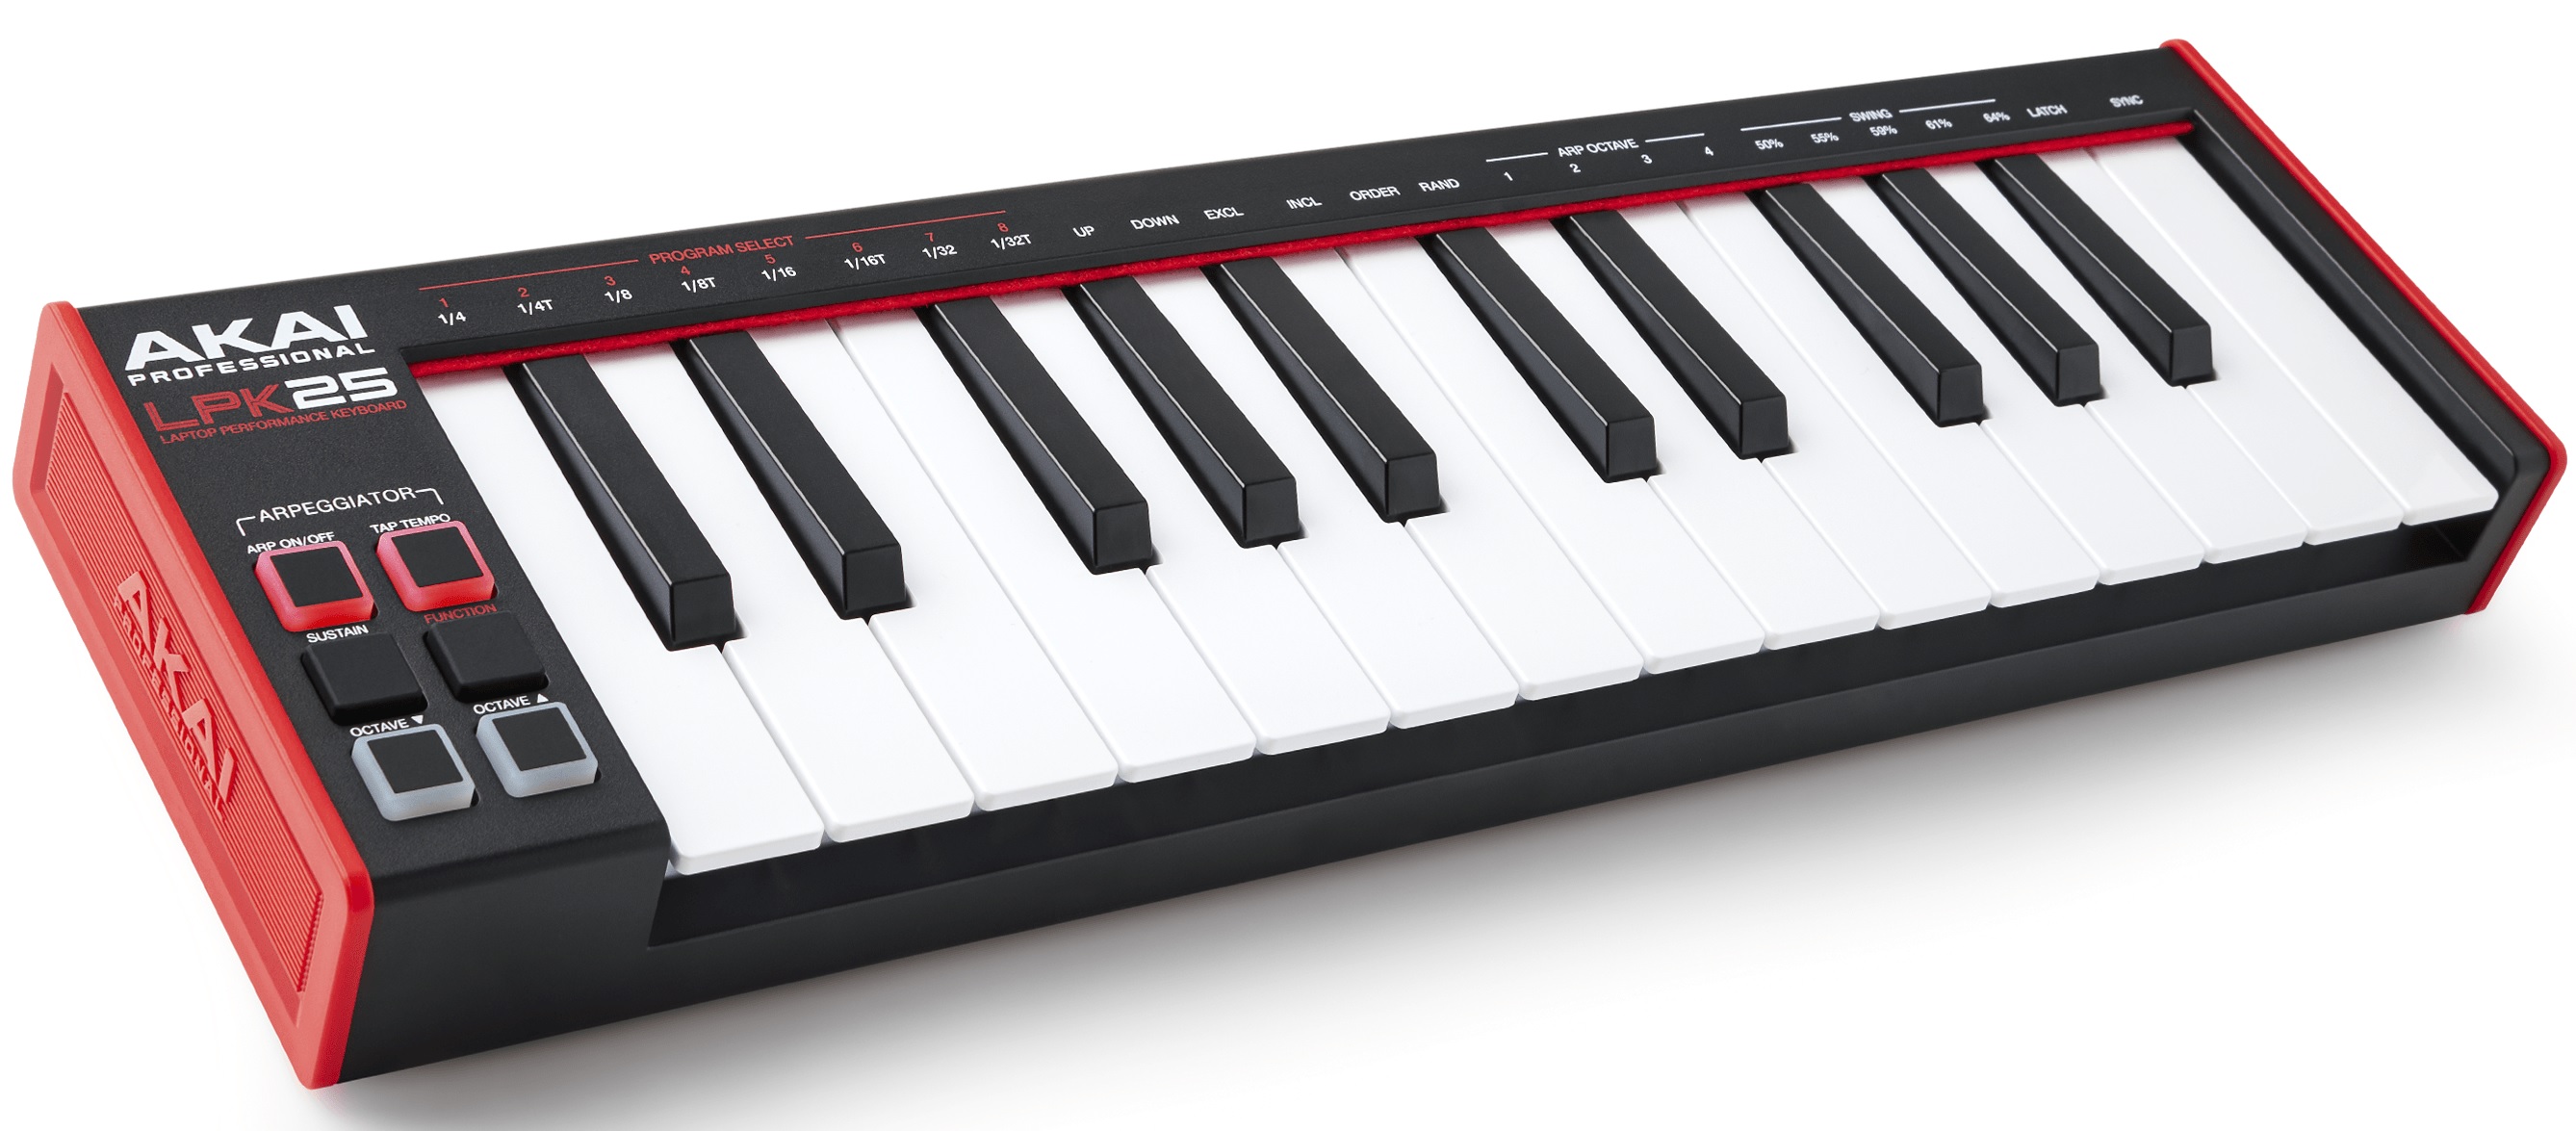
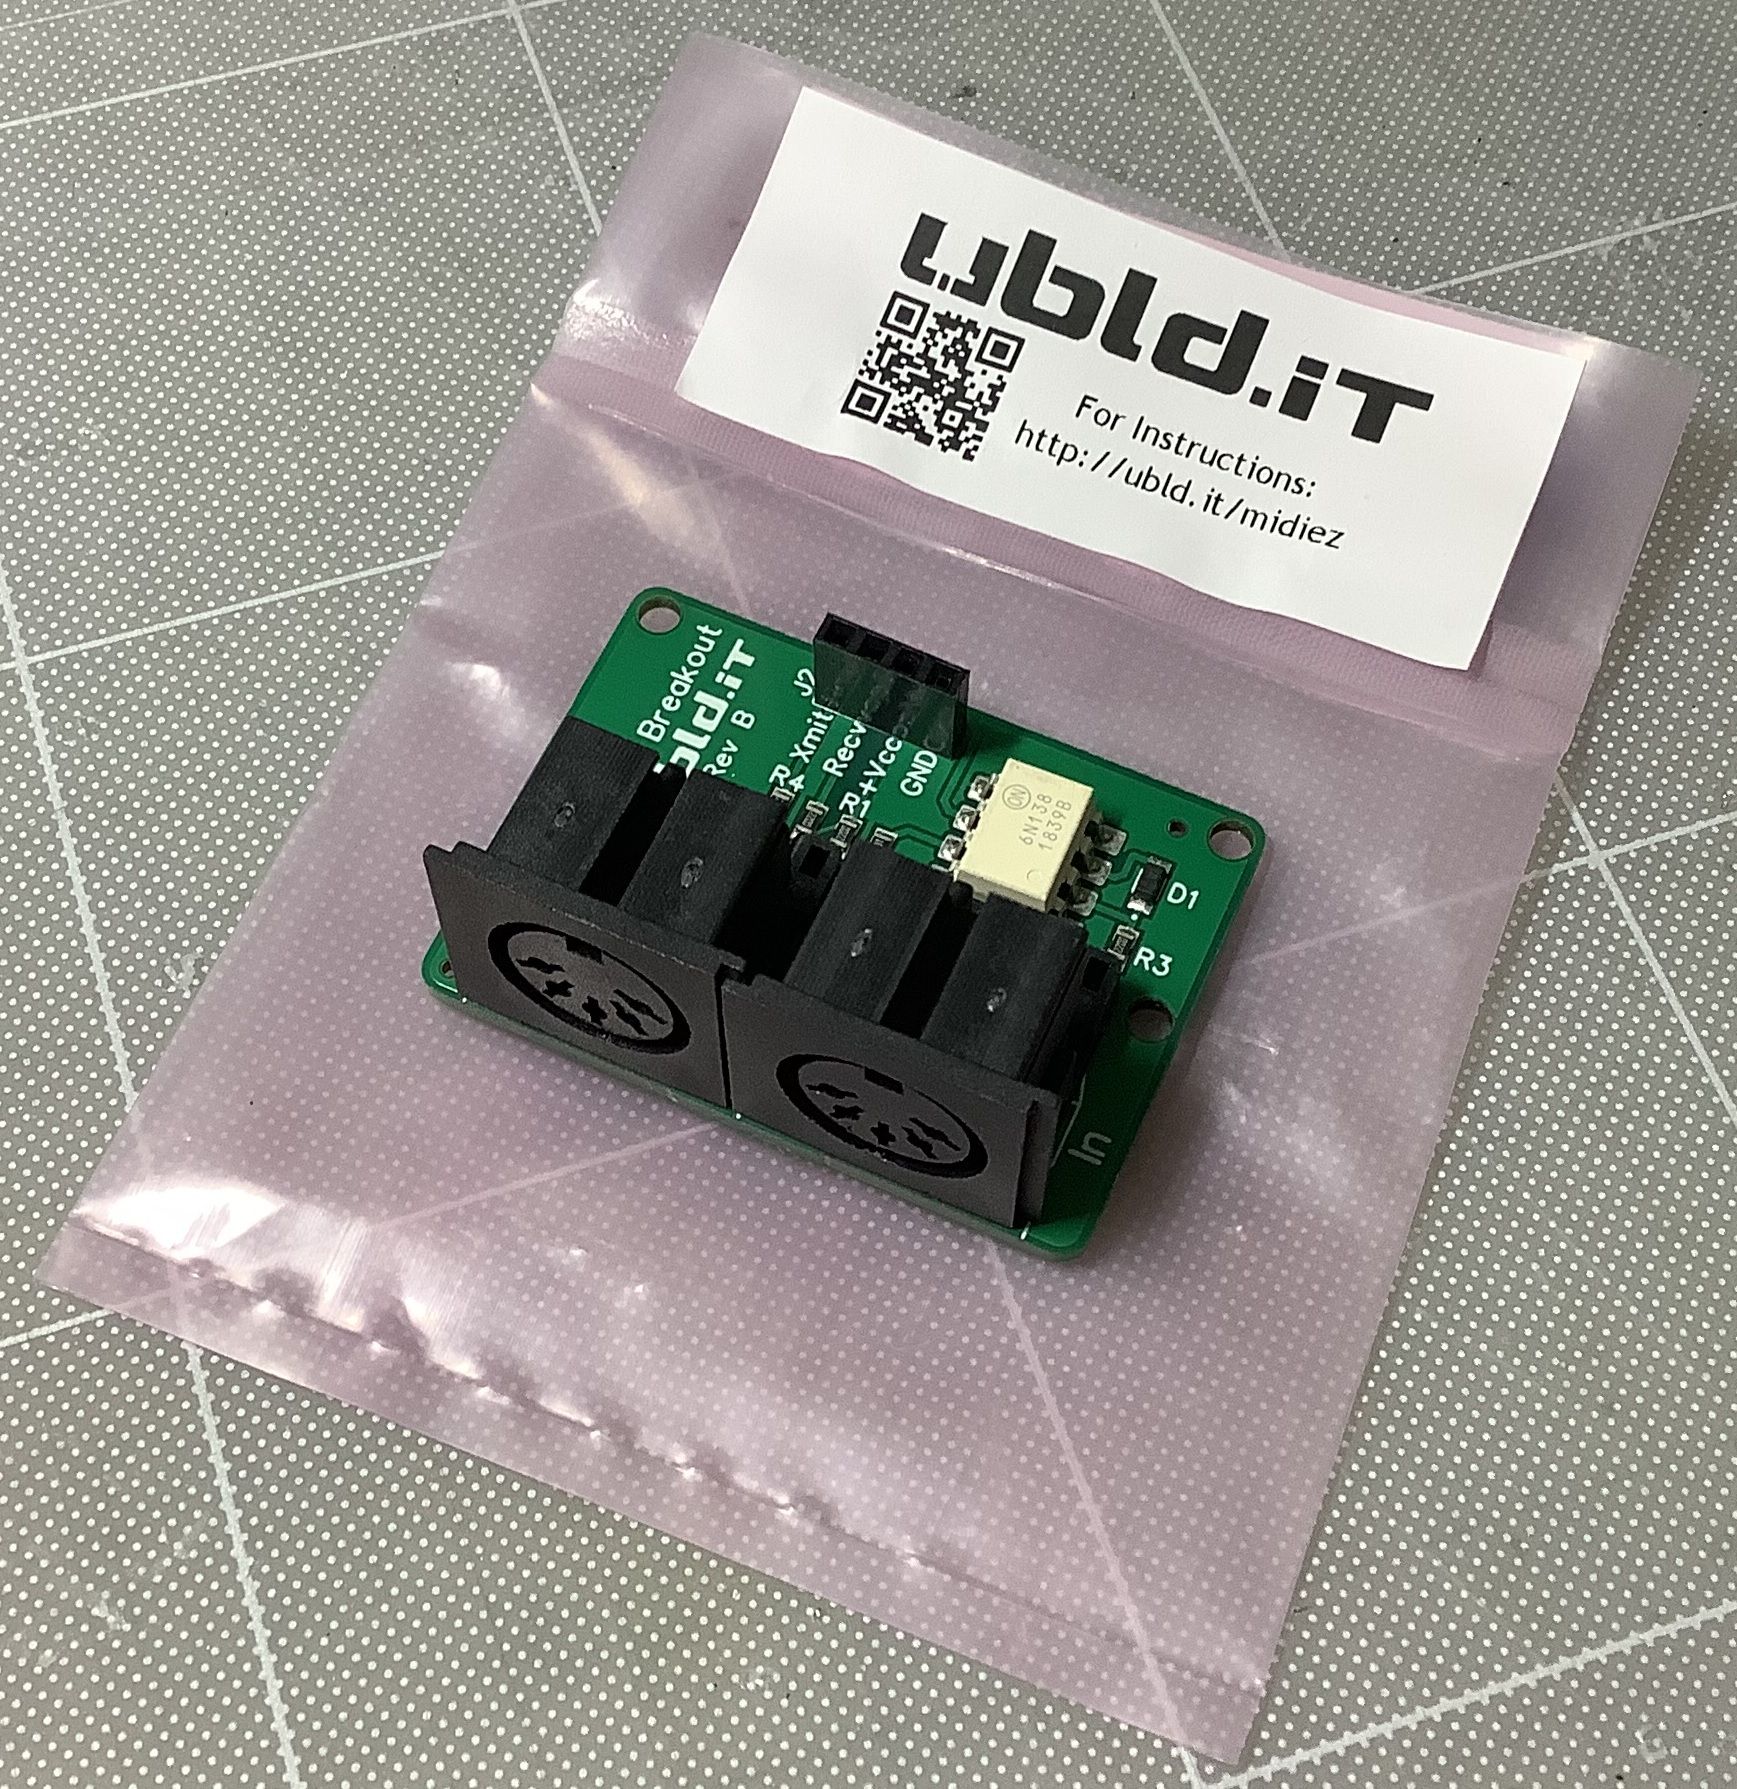
If you like Akai MPK Mini and want an A50-like experience, I recommend the Akai MPK Mini Plus 37 combined with the M5Stack U187 MIDI unit. The M5Stack gives you a complete GS-compatible synth module (for $15!). Avoid the Akai Mini Play and its brain-damaged SAM implementation.
Copyright © 2025 Paul J. Drongowski
+ mark means "generally useable for a low-price instrument"

PC1  Voice name            A50 SAM  Comments
---  --------------------  --- ---  --------------------------
1    Grand Piano            +   +   Same
3    Electric Grand Piano   +       SAM: bright; A50: dark
5    Electric Piano 1       +       SAM: chimey tines; A50 dark Rhodes
6    Electric Piano 2           +   SAM: Rhodes; A50 DX EP

12   Vibraphone             +   +   Same
13   Marimba                        SAM: more hammer tone

17   Drawbar Organ          +       A50: more low-mid freq
19   Rock Organ             +       SAM: sampled chorus is annoying, buzzy
22   Accordion              +       SAM: thin; A50: chorus/octaves
23   Harmonica                  +   A50: thin

25   Nylon Guitar           +       A50: body tone/resonance
26   Steel Guitar           +       A50: body; SAM: not bad!
27   Jazz Guitar            +   +   A50: dark; SAM; bright; both need chorus
28   Clean Guitar           +       SAM: thin; A50: built-in chorus, sustain
30   Overdriven Guitar      +       SAM: too clean, OD fake-y

33   Acoustic Bass          +   +   SAM: sampled electric?
34   Finger Bass            +       SAM: picked bass?
37   Slap Bass              +       SAM: picked fretless? A50: Seinfeld
39   Synth Bass             +   +   SAM: no sustain; A50: Chameleon

41   Violin                     +   SAM: more attack, body
43   Cello                  +   +   SAM: more body
46   Pizzicato Strings      +       SAM: sampled reverb, artifacts
47   Orchestral Harp            +   A50: low notes unrealistic
49   Strings                +   +   Similar; SAM: Can hear loop point

57   Trumpet                +   +   SAM: slightly warmer; A50: more real
58   Trombone               +   +   A50: more attack blat
61   French Horn            +   +   SAM: brighter, more attack; A50: mellow
62   Brass Section          +       SAM: sampled synth brass?
63   Synth Brass                    Very similar

67   Tenor Sax              +       A50: breathy; SAM: snake charmer
69   Oboe                   +       SAM: bright, almost synthetic
72   Clarinet               +   +   Very similar
74   Flute                  +   +   Very similar

81   Square Lead                    A50: pure; SAM: nasty, chorus/distort
82   Sawtooth Lead                  A50: clean; SAM: nasty, chorus/detune
83   Gemini                         A50: nasty; SAM: Calliope
85   Punchy Chordz          +       A50: nasty; SAM: kind of weak

89   New Age Pad                    SAM: bell-like; A50: classic GM
90   Warm Pad               +   +   Both good; A50: classic GM
101  Brightness                     What can I say?