Most of my live playing adds orchestral instruments or B-3 organ to our liturgical church group (synth plus 12-string guitar plus grand piano). Thus, I don’t dip into either acoustic piano or electric piano too often.
Recently, we prepared a number of gospel tunes in honor of Dr. Martin Luther King. Rather than jump to B-3, I decided to practice a few songs on electric piano. The release of the new Yamaha CP73/CP88 was nearly coincident, and naturally, I became curious about the implementation of acoustic and electric piano on MODX, the closest cousin to the CP73/CP88. It also gave me a chance to explore EP on Genos™ and to try using Genos as a controller for MODX.
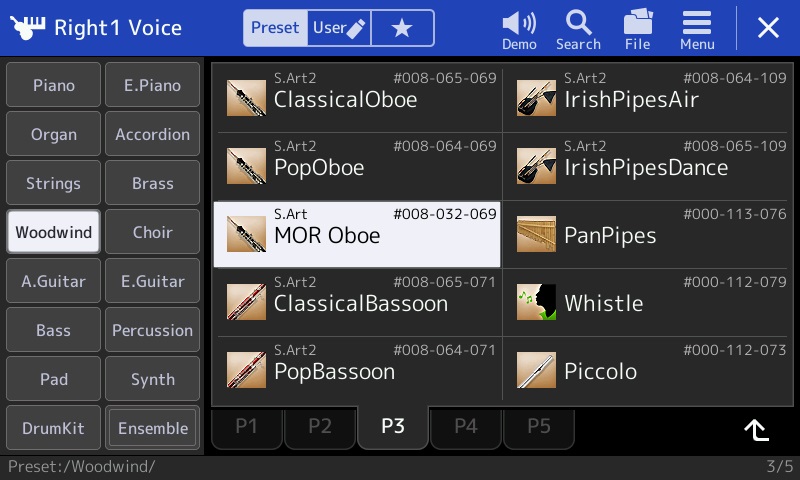
MODX acoustic pianos
First, a dive into MODX acoustic pianos. Montage and MODX essentially have the same sound engine, modulo differences in polyphony and a few other details that aren’t relevant to this discussion. Therefore, anything I say about MODX should apply to Montage, too.
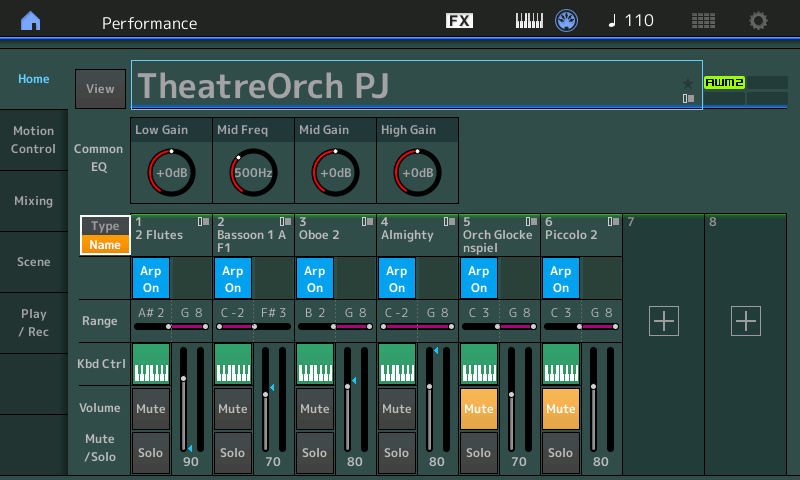
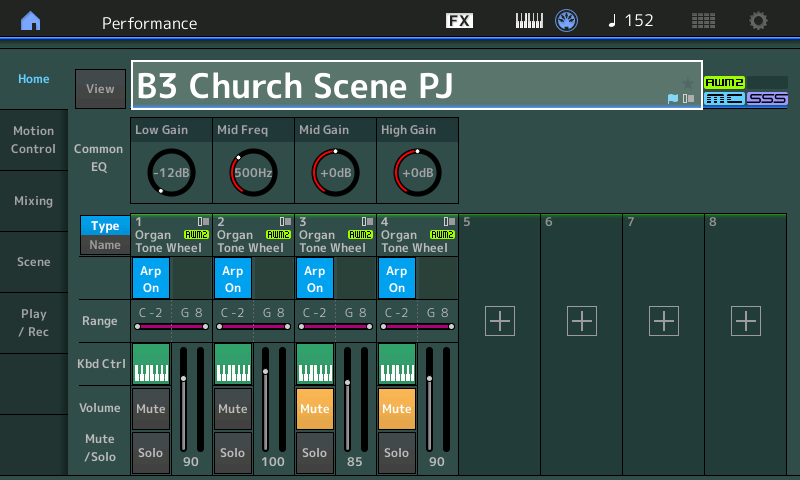
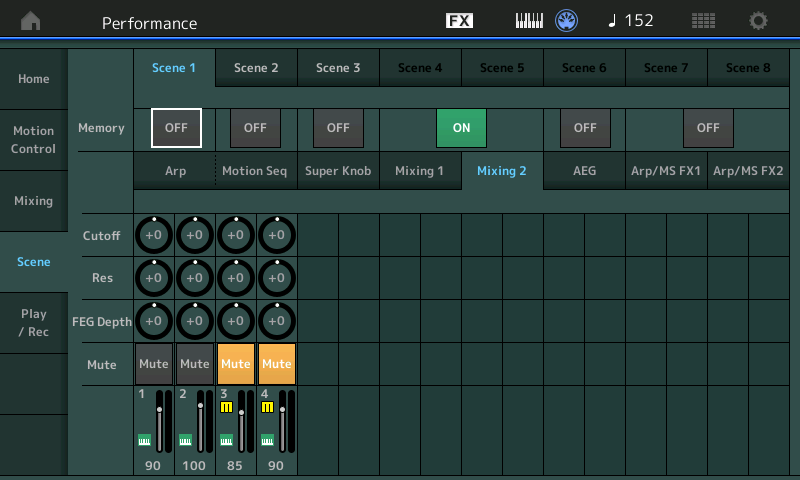
The basic voice programming unit in MODX is a Performance. A Performance is a versatile “container” for up to 16 Parts. Parts can be split, layered, mixed and so forth. Each Part is itself a powerful programming unit consisting of up to eight Elements, where each Element is a mini, sample-playback synthesizer. (Yeah, yeah, or it could be FM.) That, in a nutshell, is the hierarchical programming breakdown. In Yamaha-speak, each Element plays back a Waveform.
The deal is, contemporary high-quality piano voices need several levels of velocity switching in order to generate the wide dynamic range and timbre of an acoustic or electric piano. These voices are sometimes called “multi-strike” because each note is struck and sampled at several, carefully controlled velocities.
In the Yamaha voice architecture, each strike level is encoded in a Waveform. One Waveform (i.e., the samples associated with a single strike level) is assigned to an Element.
Let’s say that you want to create a highly detailed acoustic piano (e.g., Yamaha CFX) with nine strike levels and key-off sounds. Right away, you need more Elements than a single Part can provide! Thus, Yamaha implement the piano as a Performance consisting of multiple Parts.
Take the Montage/MODX CFX Concert Performance, for example. This Performance consists of four Parts:
Part 1 (six elements)
El# Waveform VLo VHi NLo NHi
--- ------------- --- --- --- ---
1 CFX ppp St 2 25 C-2 G8
2 CFX pp St 20 35
3 CFX p St 36 45
4 CFX mp St 46 59
5 CFX mf St 60 74
6 CFX f St 75 92
Part 2 (three elements)
El# Waveform VLo VHi NLo NHi
--- ------------- --- --- --- ---
1 CFX ff St 93 110 C-2 G8
2 CFX fff St 111 125
3 CFX ffff St 126 127
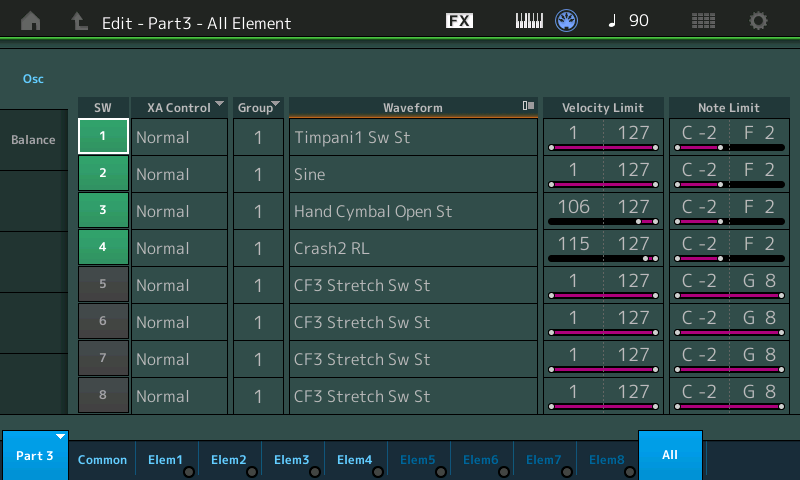
Part 3 (eight elements)
El# Waveform VLo VHi NLo NHi
--- ------------- --- --- --- ---
1 CFX pp St 2 35 C-2 G8
2 CFX p St 36 45
3 CFX mp St 46 59
4 CFX mf St 60 74
5 CFX f St 75 92
6 CFX ff St 93 110
7 CFX fff St 111 125
8 CFX ffff St 126 127
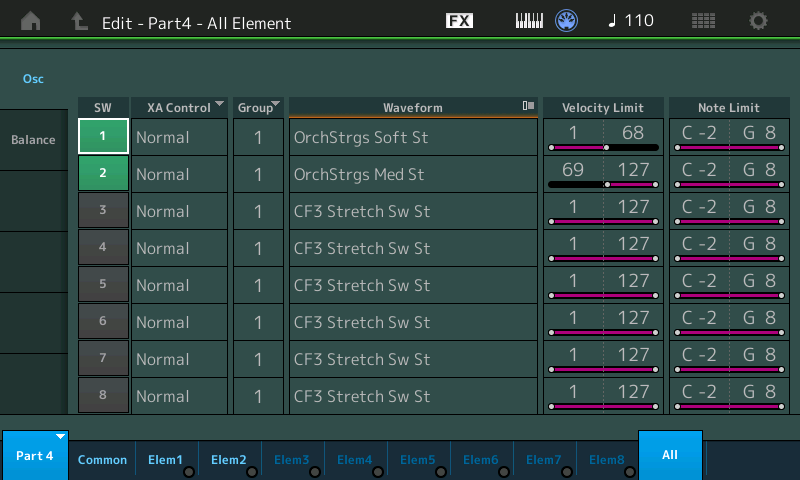
Part 4 (one element, XA control: Key Off)
El# Waveform VLo VHi NLo NHi
--- ------------- --- --- --- ---
1 CFX KeyOff St 1 127 C-2 G5
That’s 18 Elements total. The Elements in Part 3 are a layer on top of the Elements in Parts 1 and 2. The Elements in Part 3 have different filter programming (and maybe something I haven’t discovered yet…)
Perhaps the voice programmer could have squeezed everything into three Parts, but in for a penny, in for a pound. In terms of versatility and re-usability, it makes sense to split the Elements (and their Waveforms) into four Parts.
By the way, the Montage/MODX CFX Concert Performance employes the Damper Resonance DSP effect, which is the same algorithm (effect type) as Genos. Damper Resonance is [u]not[/u] the same as Clavinova’s Virtual Resonance Modeling (VRM). VRM is a step up. This is another topic which comes up frequently in forums.
On the other hand, the single part MODX CFX Stage Performance consists of eight elements:
    El#  Waveform       VLo  VHi  NLo  NHi
    ---  -------------  ---  ---  ---  ---
     1   CFX pp St        2   35  C-2   G5
     2   CFX mp St       36   59  C-2   G5
     3   CFX f St        60   92  C-2   G5
     4   CFX fff St      93  125  C-2   G5
     5   CFX ffff St    126  127  C-2   G5
     6   CFX mf St        2   59  G#5   G8
     7   CFX fff St      60  127  G#5   G8
     8   CFX KeyOff St    1  127  C-2   G5
Please take note of the key ranges. Up to G5, the CFX Stage has five strike levels. Above G5, the CFX Stage is a two strike piano. Good enough for rock and roll.
The Genos voice programming structure is more restricted than MODX. Each Genos voice has eight Elements. Thus, there is a fundamental limit to the number of strikes in a single Genos voice. I wouldn’t be surprised if the Genos CFX Concert Grand voice has similar programming. Proving this hypothesis would require carefully controlled experimentation and A/B listening.
Using Genos as a controller
Genos has a rather nice FSX action keybed which is better suited for acoustic and electric piano than MODX6 or MODX7. A weighted action is even better, of course. [I did rather enjoy playing the MODX8.] I don’t play piano often enough to deal with the extra physical weight of a hammer action keybed. You make your own bed and have to lay it in! With Genos on hand, it’s worth exploiting its FSX action as a controller.
MODX assigns a MIDI channel to each Part. The CFX Concert Performance has four Parts on MIDI channels 1, 2, 3 and 4. [This assignment is sometimes a source of frustration when sequencing with multi-Part Performances, but that’s a topic for another day.]
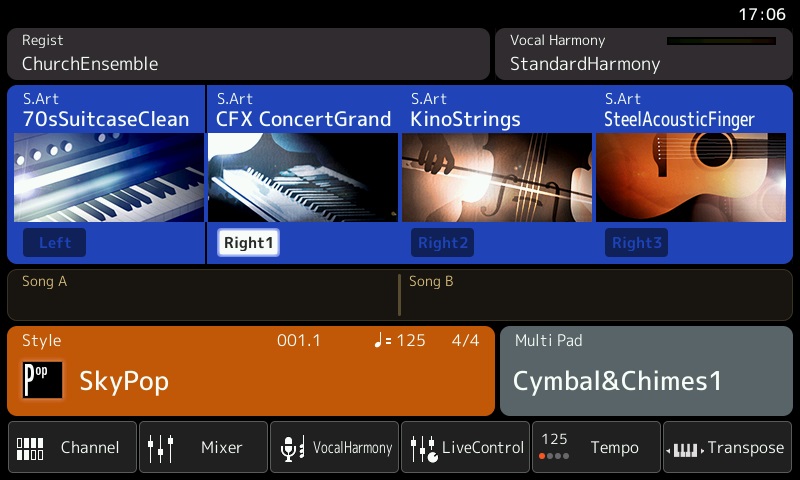
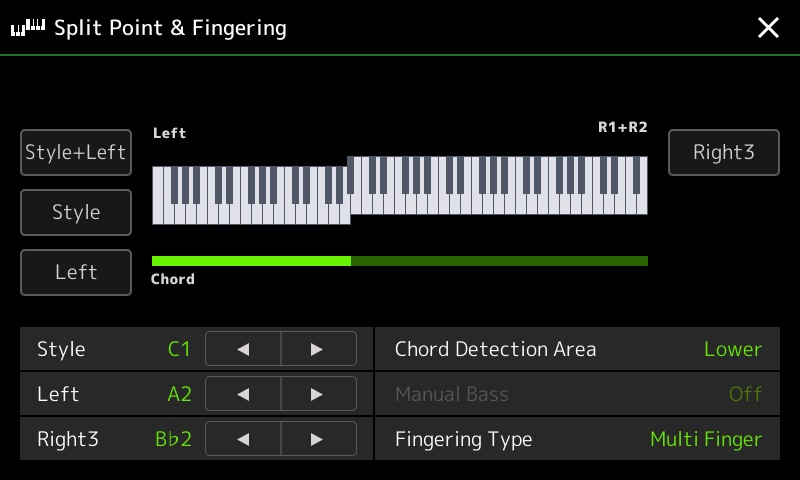
If we want to use Genos as a controller, we need to know the MIDI transmit channel assignments. By default, the Genos sends RIGHT1, RIGHT2, RIGHT3 and LEFT on MIDI channels 1, 2, 3, and 4 respectively, all on Port1 (AKA “MIDI A”).

First, connect the Genos MIDI A OUT to the MODX MIDI IN using a standard 5-pin DIN MIDI cable. Select the MODX Performance. Next, turn on the Genos Parts (RIGHT1, etc.) which will send MIDI data to the MODX, using the PART ON/OFF buttons in the left right corner of the Genos front panel. Finally, play.
If you get surprised by what you hear, i.e., sounds are missing, then check the Genos MIDI transmit settings and the MODX MIDI receive settings. Use the Transmit Monitor on the Genos side to make sure that you are transmitting on the correct channels via MIDI A (Port 1).
When I connect Genos to MODX, I can the first three MODX Parts in the CFX Grand Performance by sending RIGHT1, RIGHT2 and RIGHT3 on MIDI channels 1, 2 and 3. You get a pretty decent concert grand. You won’t hear any of the key-off sounds because the Genos is not transmitting on channel 4.
MODX electric piano
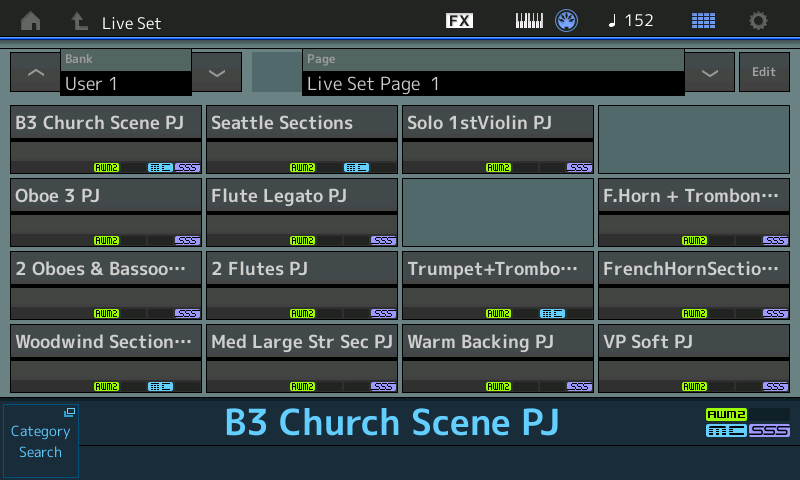
Let’s take a brief look at one of my favorite MODX Rhodes piano Performances: Case 73 Soft. The Case 73 Soft Performance has two Parts:
Part 1 (eight elements)

    El#  Waveform       VLo  VHi  NLo  NHi
    ---  -------------  ---  ---  ---  ---
     1   Rd73 p           1   49  C-2   G8
     2   Rd73 mp         50   85  C-2   G8
     3   Rd73 mf         86  108  C-2   G8
     4   Rd73 f         109  119  C-2   G8
     5   Rd73 ff        120  127  C-2   G8
     6   Rd73 KeyOff      1  127  C-2   E3
     7   Rd73 KeyOff      1  127   F3   C7
     8   EP2 Hard1+     107  127  C-2   G8

Part 2 (five elements)

    El#  Waveform       VLo  VHi  NLo  NHi
    ---  -------------  ---  ---  ---  ---
     1   Rd KeyNoise p    1   84  C-2   G8
     2   Rd KeyNoise mf  85  116  C-2   G8
     3   Rd KeyNoise f  117  127  C-2   G8
     4   Rd KeyOff mf    86  116  C-2   G8
     5   Rd KeyOff f    117  127  C-2   G8
Part 1 produces the main Rhodes sound while Part 2 adds the key noises. Part 1 is probably good enough by itself for sequencing. Performance Rd73 has similar programming, but adds bark when struck hard.
In order to play this two part MODX Performance from Genos, turn on RIGHT1 and RIGHT2 in order to send MIDI data on Port 1 channels 1 and 2.
Just for grins, here’s the basic programming for the Neo R&B Clean Performance — another favorite.
Part 1 (five elements)

    El#  Waveform       VLo  VHi  NLo  NHi
    ---  -------------  ---  ---  ---  ---
     1   EP3 Soft1        2   80  C-2   G8
     2   EP3 Soft2       81  101  C-2   G8
     3   EP1 Med        102  127   F2   G8
     4   EP3 Hard1      102  127  C-2   E2
     5   EP Key Off       2  127  C-2   G8

Part 2 (five elements)

    El#  Waveform       VLo  VHi  NLo  NHi
    ---  -------------  ---  ---  ---  ---
     1   Rd KeyNoise f  119  127  C-2   G8
     2   Rd KeyNoise mf  76  118  C-2   G8
     3   Rd KeyNoise p    1   75  C-2   G8
     4   Rd KeyOff f    119  127  C-2   G8
     5   Rd KeyOff mf     1  118  C-2   G8
You can see that Part 2 is essentially a ready-made patch for dropping in key noises. I love the shimmering auto-pan coupled with the ensemble detune effect.
Genos commentary
These experiments invite comparison between Genos and MODX, of course.
The featured Genos electric piano is a Rhodes Suitcase. You get the same Rhodes in darker and brighter timbres, and processed by a variety of effects (tremolo, phaser, etc.) You need to dig back into the Legacy EPs to find other Rhodes-like variations. The MODX effects give it the edge over Genos; Montage/MODX allow a longer effects chain. The Genos Suitcase EP is good, but sounds like a one-trick pony after a while. The MODX offers a broader range of Rhodes sounds immediately.
Piano aficionados on the PSR Tutorial Forum sometimes complain about a “lack of depth” in the Genos CFX grand voices. Their complaints may be grounded in fact. A Genos voice is equivalent to an eight Element MODX Part. (Warning, the mix of product terminology may becoming confusing here.) Thus, Genos is limited to the complexity of the single-Part CFX Stage Performance, lacking the “beauty layer” (Part 3) of the CFX Concert Performance. This layer would add depth to the sound as it unrolls dynamically.
Given what we know about the CFX Concert programming, Yamaha could release a full CFX expansion pack for Genos. The full CFX voice would need RIGHT1, RIGHT2 and RIGHT3 to handle all of the extra elements and their layering. Only three parts are needed if the CFX key off waveform is moved to the second part which currently has only three active elements. The Genos player would need to enable RIGHT1, RIGHT2 and RIGHT3 to make all parts active, but this is a small price to pay and could be easily configured into a registration.
Summary
Well, there you have it. I hope that my analysis will help you to understand and better appreciate both MODX and Genos piano voices. The MODX waveform set is quite rich in EP sounds, so get cracking!
Copyright © 2019 Paul J. Drongowski