With the pandemic raging, I’m searching for ways to reduce my physical gig footprint and schlep factor. I thought I would share my adventure in battery-lowered, almost wireless keyboard-land.
Months ago, I had a good experience with Korg Module Pro. It has the range of high quality sounds that I need for my church gig. So, I decided to eschew battery-powered MIDI modules like the MidiPLUS miniEngine USB and go iPad and Korg Module Pro.

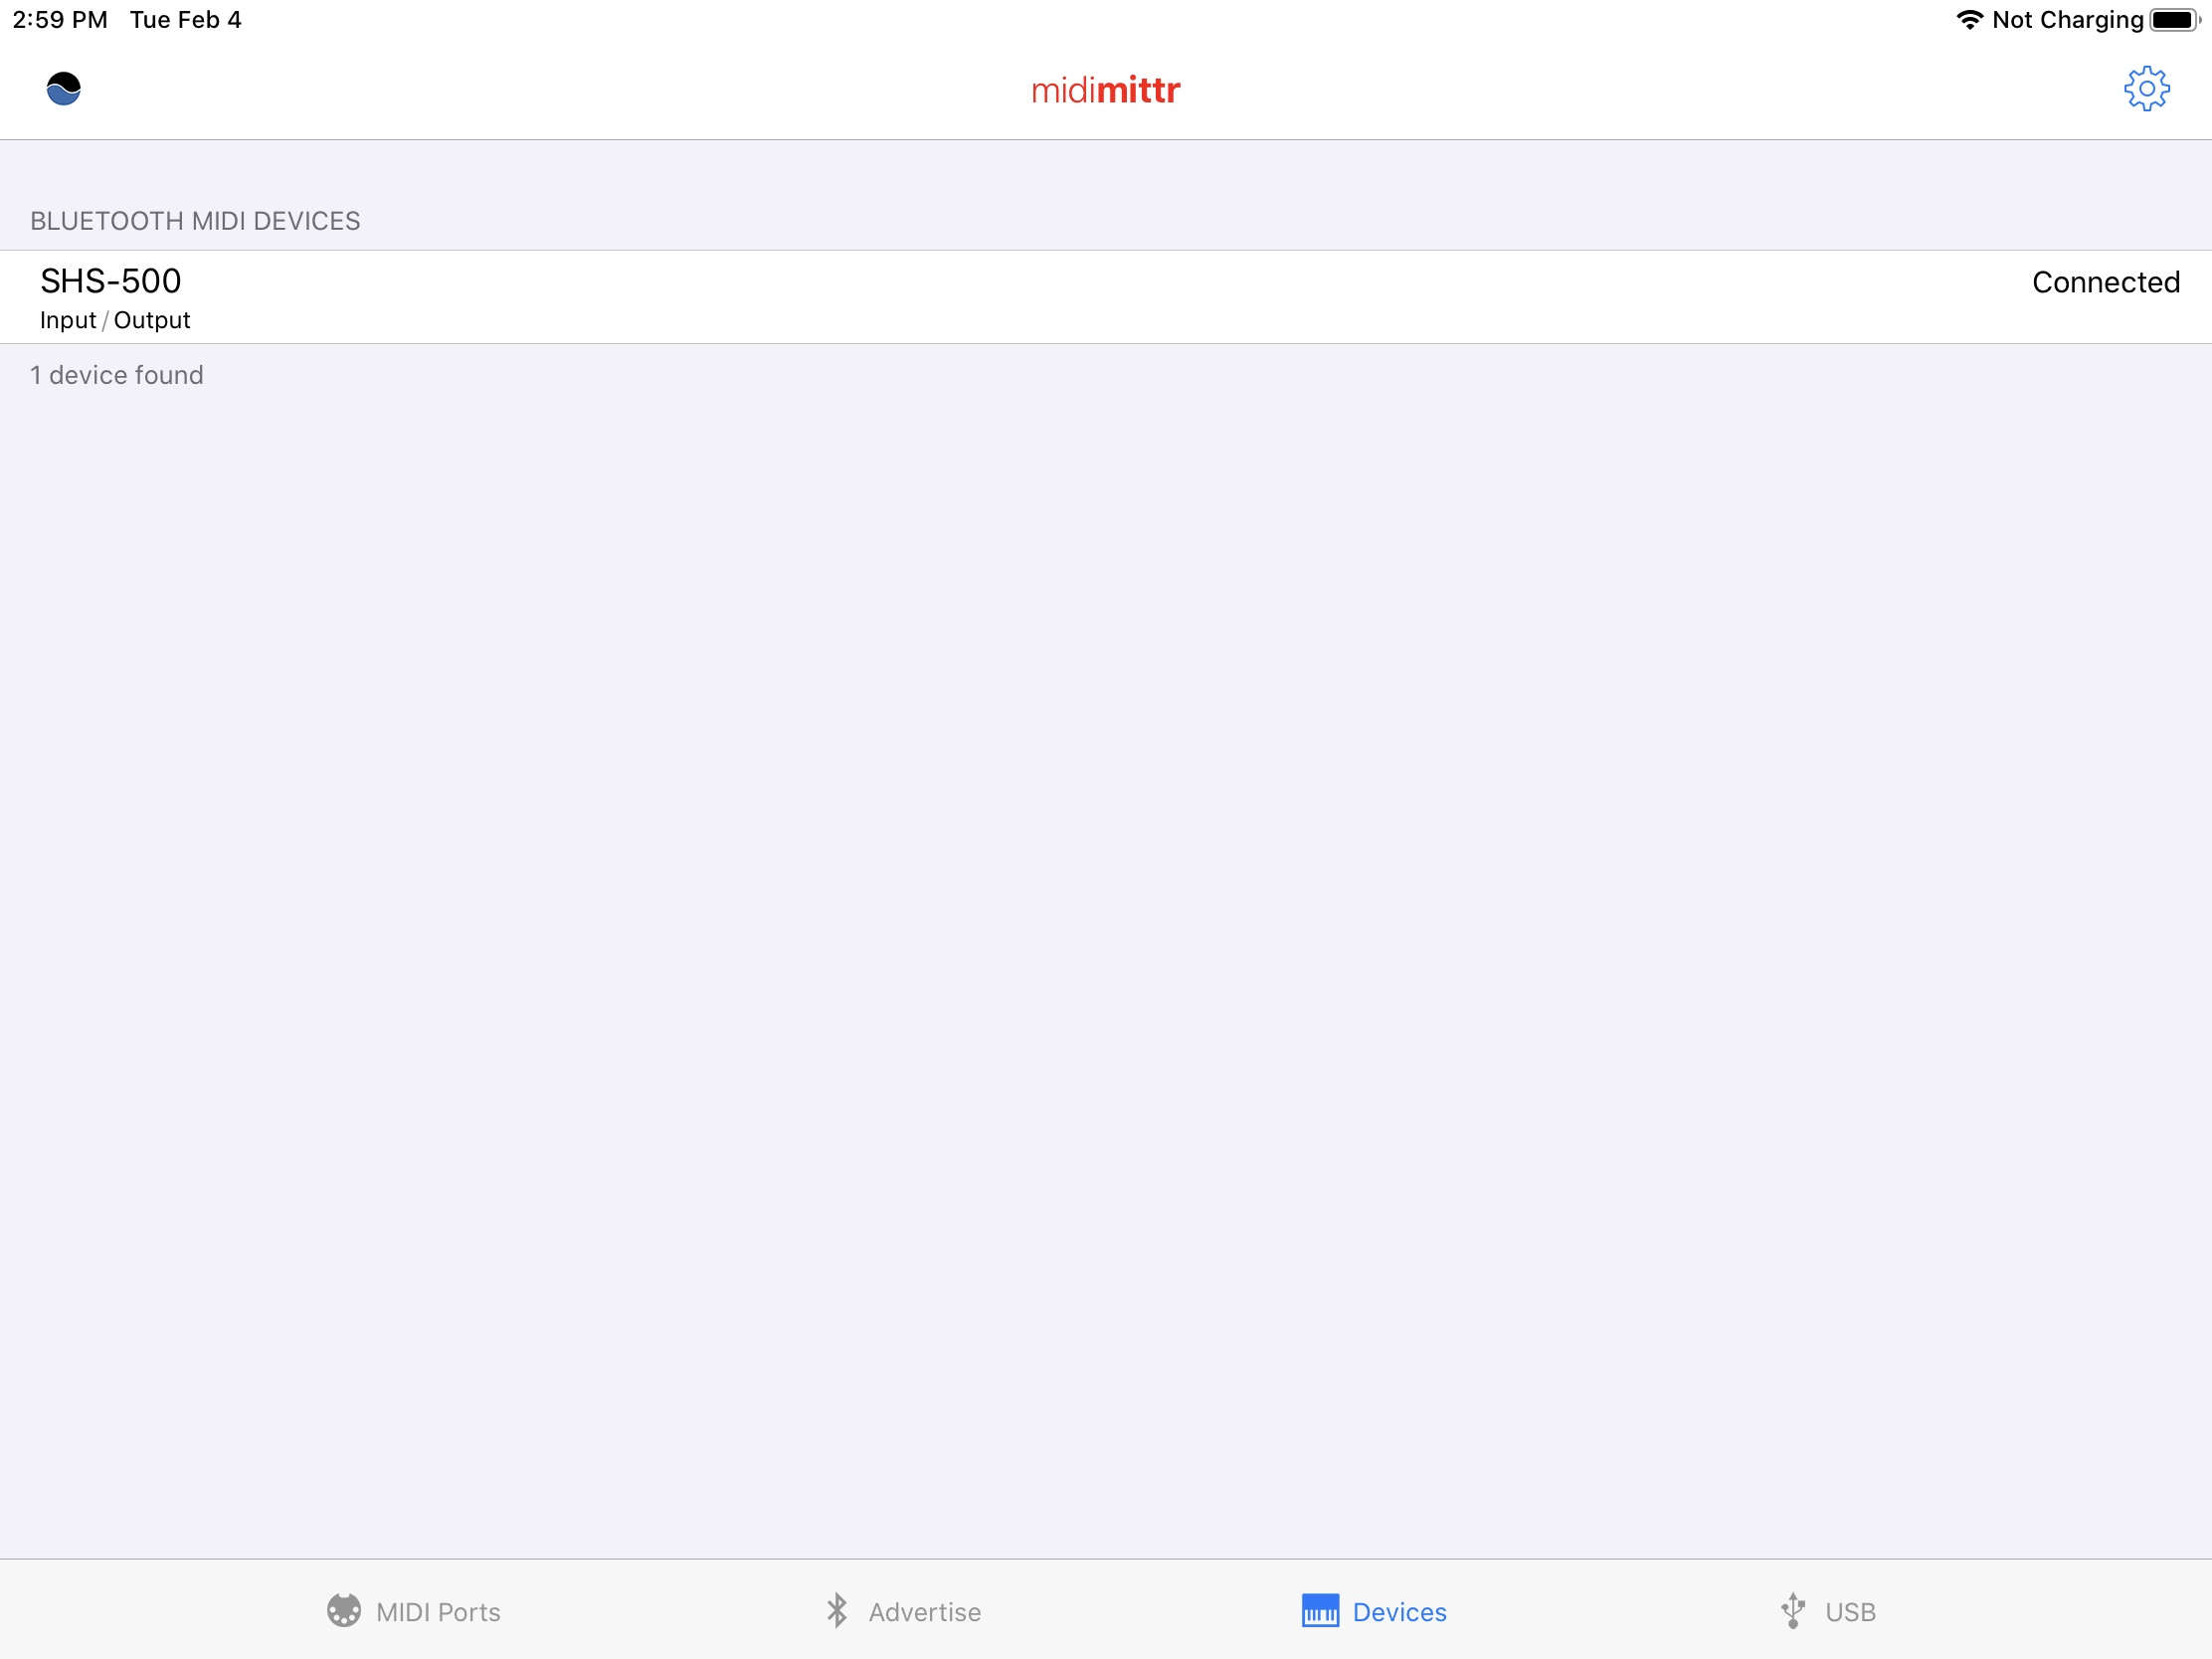
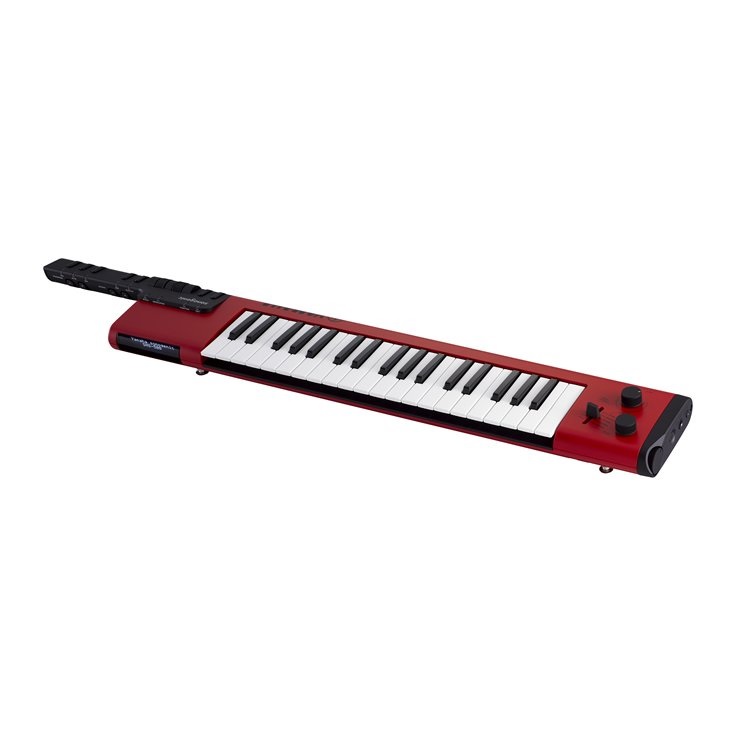
I tried a bunch of controller candidates. (See the end of this post for more info.) I had the best experience and minimal number of wires with built-in Bluetooth MIDI. The SHS-500 Sonogenic, in particular, is nearly ideal:
- Pluses: Built-in Bluetooth, pitch bend and mod wheels, decent mini-keys, narrow depth is good for a lap-board.
- Estimated battery life is OK (10 hours); AC adapter jack is well-placed and secure.
- Minuses: 37 keys (3 octaves), no expression pedal input, mod wheel works backwards when played in one’s lap.
No, I am not playing the SHS-500 as a keytar. I find the whole keytar thing to be gimmicky and not appropriate for church. I intend to play the controller in my lap, thereby keeping my physical profile small. (Social distancing!) A lap-board lets me ditch the keyboard stand, minimizing schlep.
Mini-keys deserve comment. Mini-keys enable short, lap-held keyboards. They are very lightweight and easy to transport. If the basic key feel is good, I make peace with play-ability.
My trouble isn’t so much with key size. It’s that three octaves (37 keys) are too short. Many melody and bass lines require two octaves and a player needs two octaves below middle C and two octaves above. Otherwise, I do unnecessary mental and hand gymnastics in real-time to fit the music onto the keyboard. That ain’t right.
Just me? Watch Harry Connick Jr. rock a 3 octave Reface CP. Harry sez, “There’s not a lot of room here.” [Tonight Show: Jimmy Fallon, NBC, 1 September 2016, Playing starts at 3:00.]

In the end, I broke down and bought a Korg Microkey Air 49. It is a good size for a lap-board and the Korg Natural Touch mini-keys ain’t too bad. The Microkey Air firmware was already at v1.04 when it arrived and it connected with Korg Module Pro under IOS 14.1 without a problem. [More on this in a future post.]
The Microkey Air 49 has an estimated 30 hour battery life. Good thing, because Bluetooth operation must use battery power (two AA batteries). Be sure to have two spare AA batteries at the gig; there isn’t a USB powered safety net.
The Microkey Air has a footswitch input. Expression input would be better. Of course, connecting a pedal to the Microkey Air adds a cable. Fortunately, Bluetooth pedals like the Airturn BT200-S4 get the job done. I have a BT200-S4 and found it easy to switch sustain, etc. via Bluetooth in Korg Module Pro. The BT200-S4 is small and light, not any worse than schlepping a wired sustain pedal.
I made a few advances with iPad wiring along the way. The Korg Microkey Air 49 is working out pretty well and I’m practicing with it every day. I have a few custom layers in Korg Module Pro and the day is coming when I’ll try out the rig in front of a congregation.
Going native
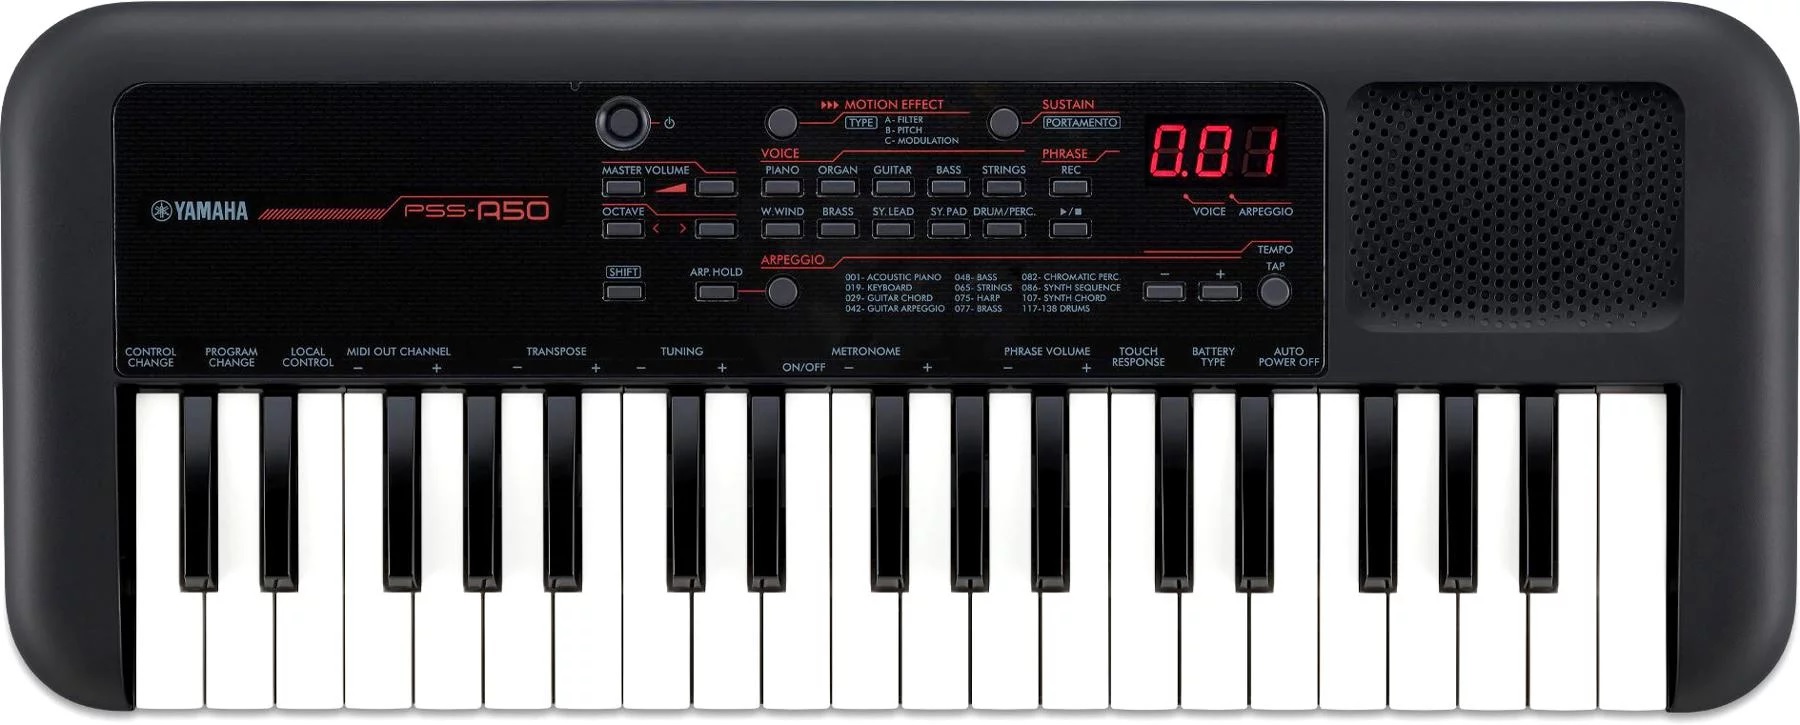
For completeness sake, I tried “going native” with sounds built into the Yamaha SHS-500 Sonogenic, Yamaha Reface YC, Yamaha PSS-A50 and Korg microKorg XL+ — all fine battery-powered instruments in their own right with sounds appropriate for rock, soul, jazz, and pop, but not church. I need good strings, reeds, classic organ and gospel B-3. Before moving on, I give props to the Reface YC as it is truly gig-worthy and have play it on the job.
Blooming BLU
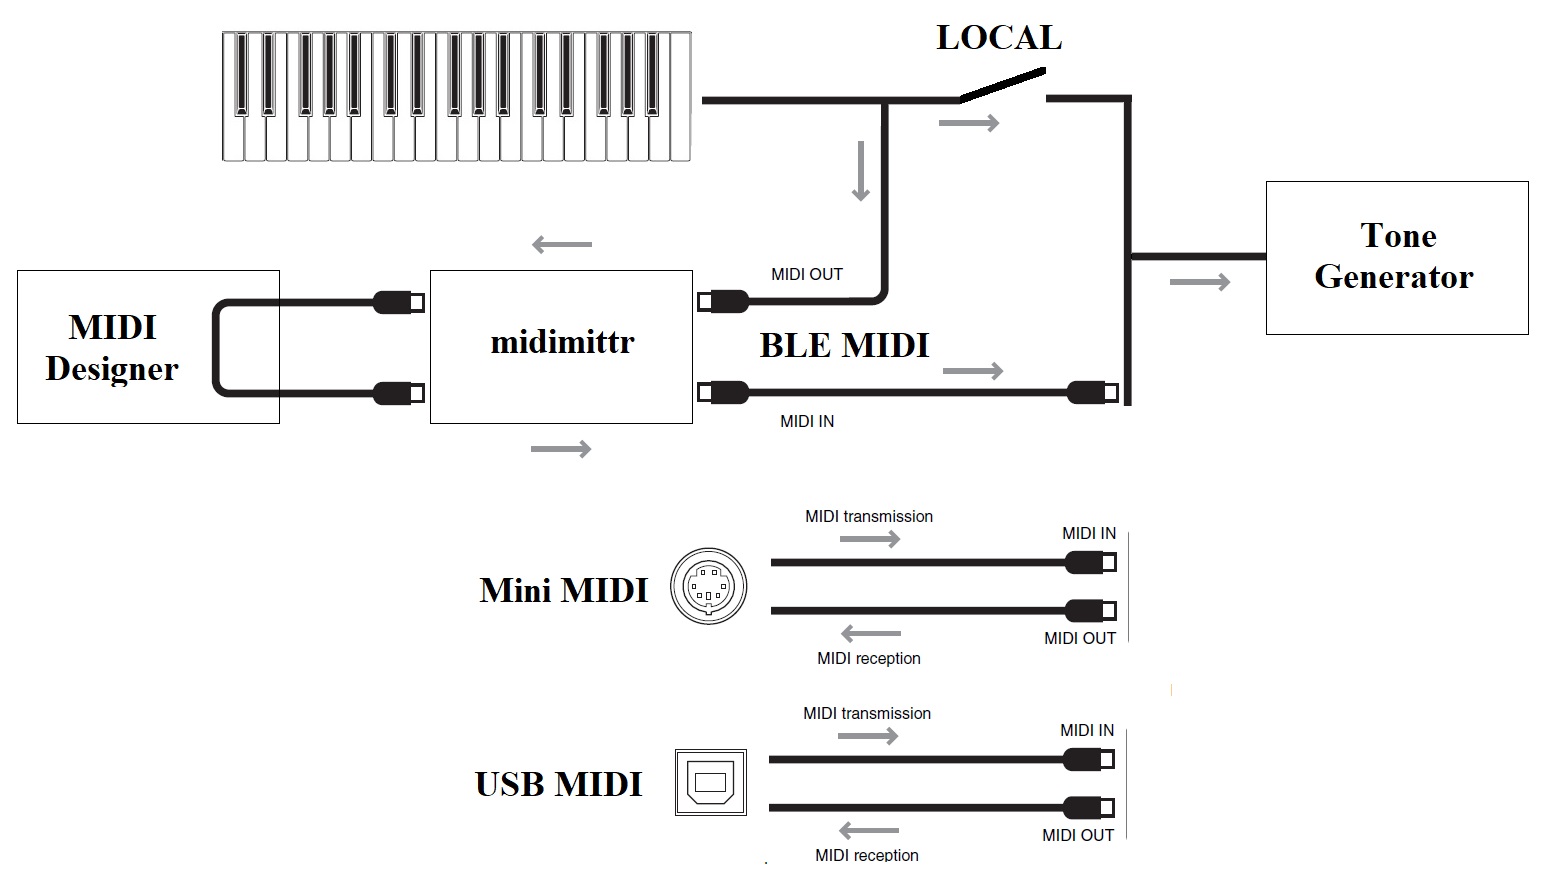
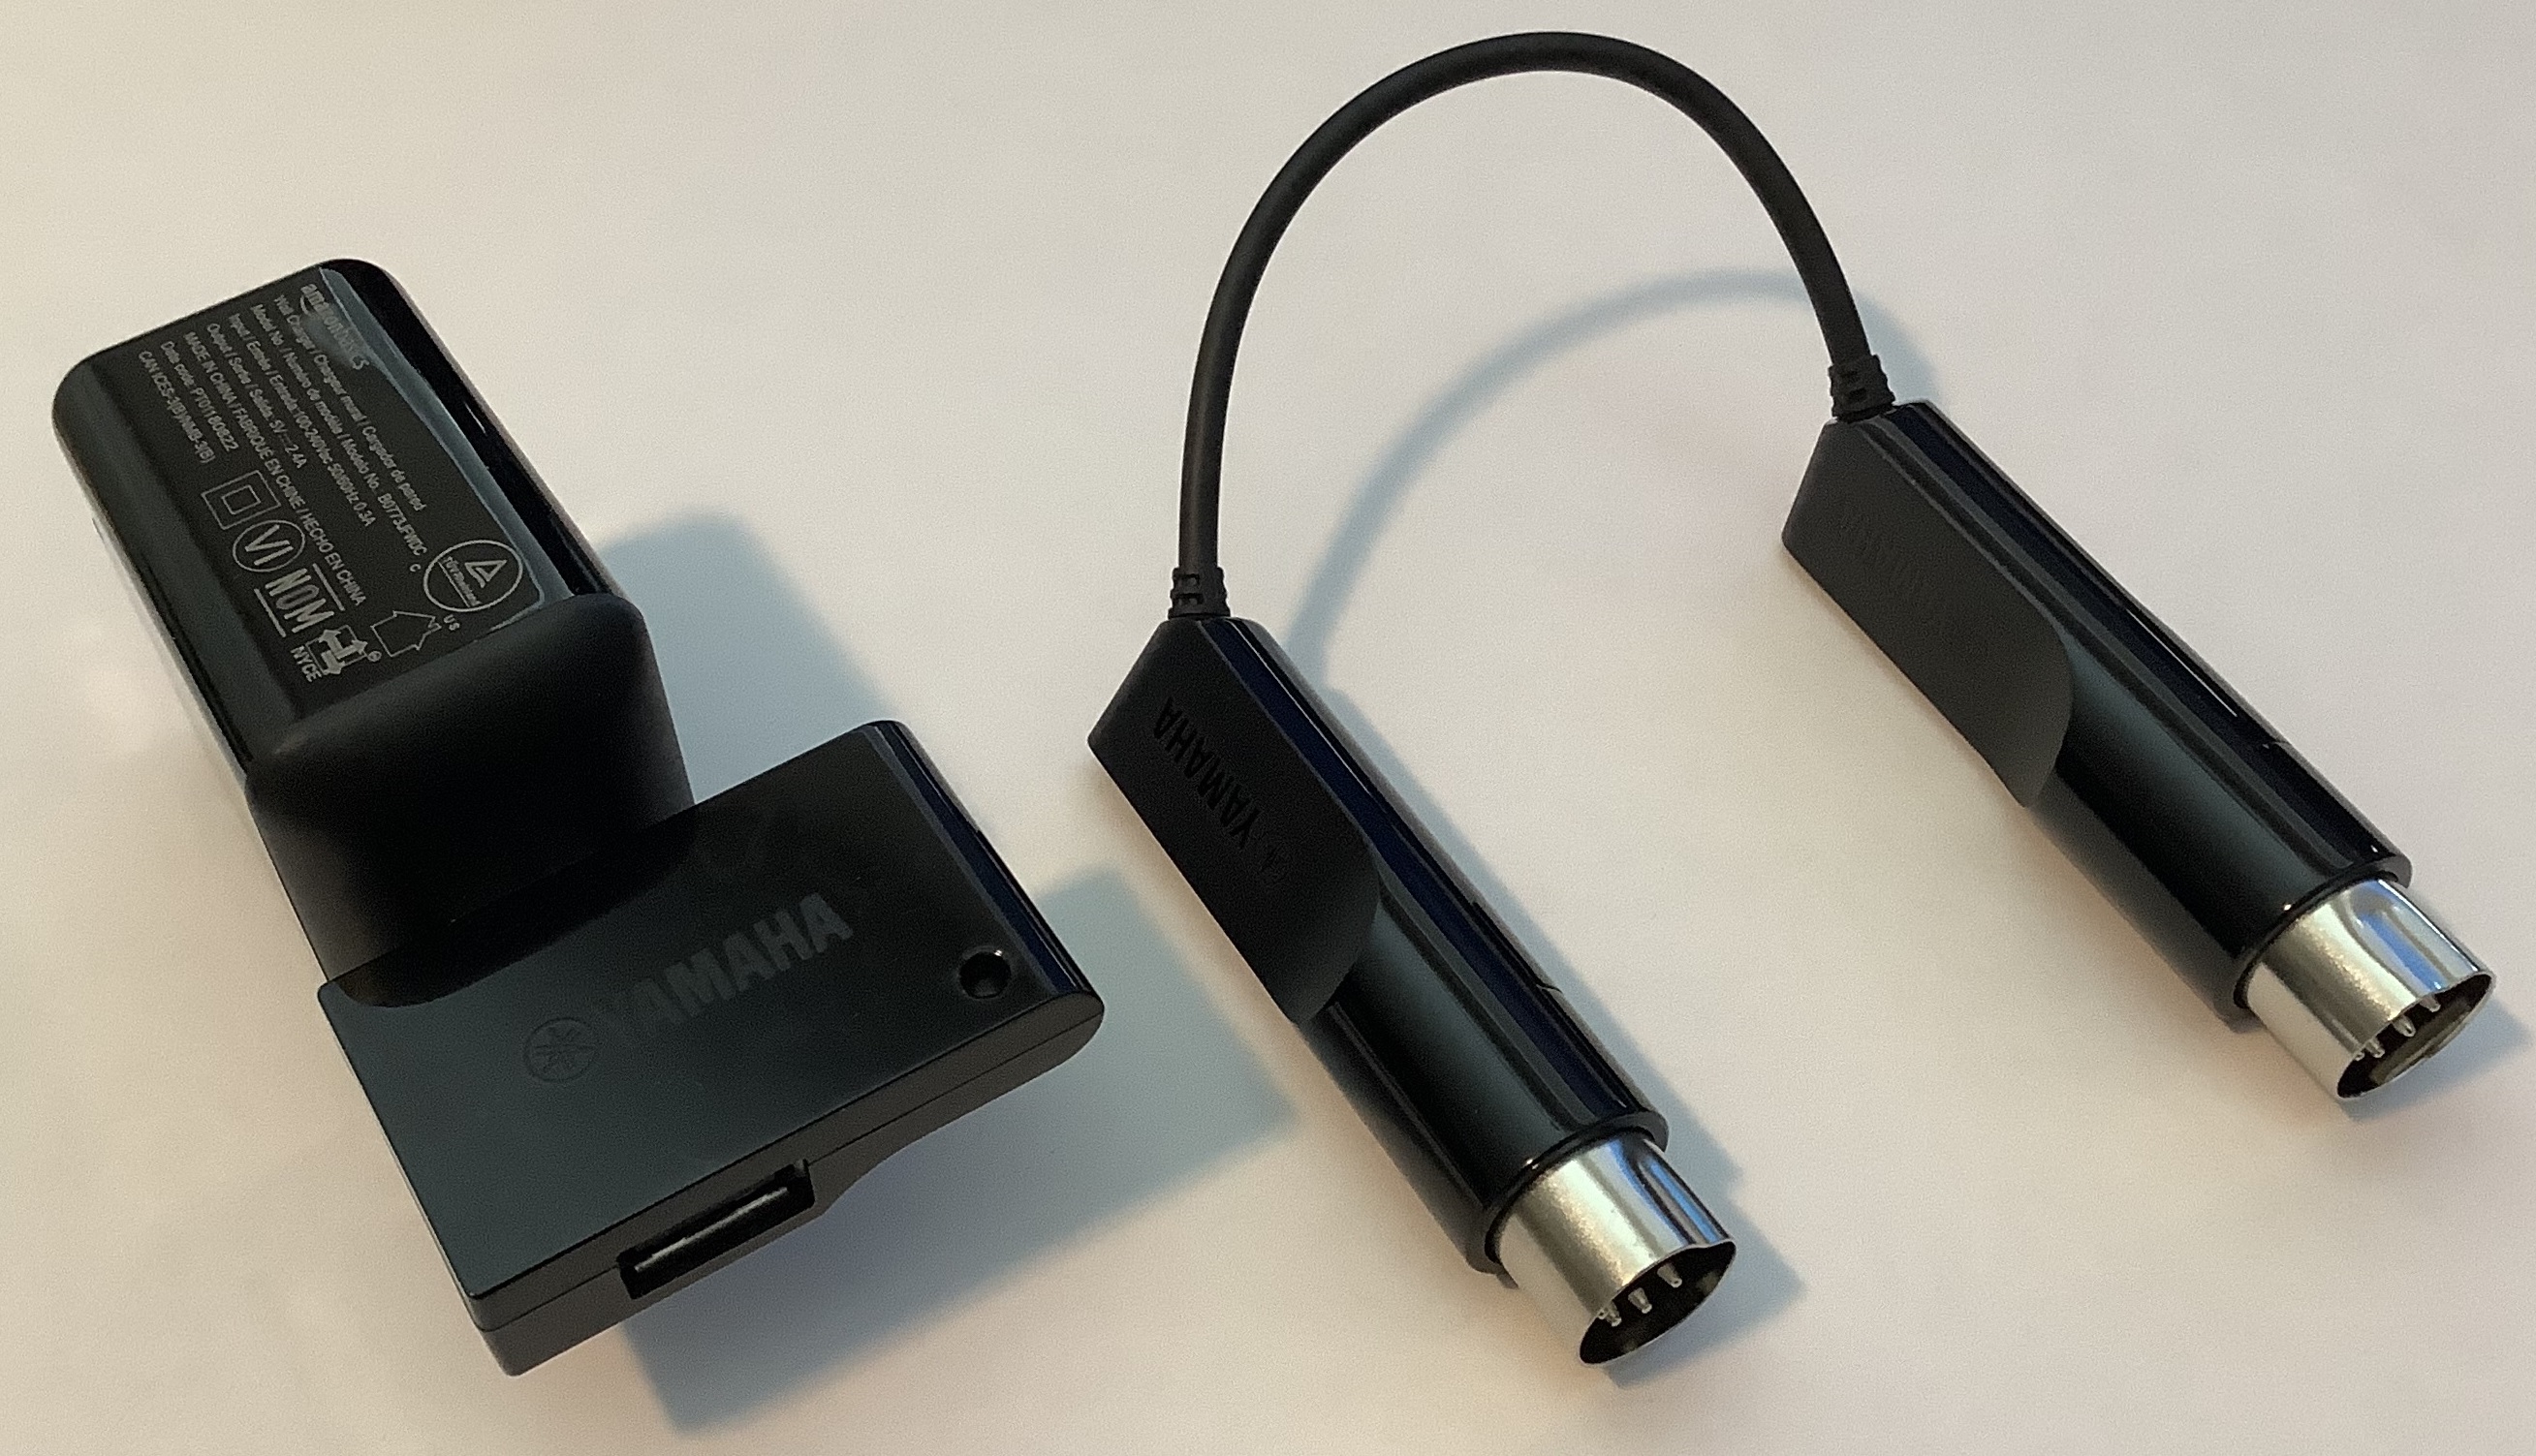
I also tried using “the natives” as Bluetooth MIDI controllers. All of the candidates have USB and/or 5-pin MIDI DIN ports, and can be fitted with Yamaha UD-BT01 and MD-BT01 wireless MIDI adapters. The candidate keyboards are battery-powered, so what the heck!
To make a long story short, all candidates worked well with the Yamaha adapters and with Korg Module Pro on iPad — even the lowly, dirt-cheap PSS-A50. A few specific observations:
- The Yamaha UB-BT01 not only does Bluetooth MIDI, it supplies power to the PSS-A50. If you must add a cable to connect the A50 to the UD-BT01, you might as well get power, too, and save batteries. If you own a PSS-A50 and want to go Bluetooth MIDI, don’t hesitate!
- The Reface YC has the added bonus of an expression pedal input. An expression pedal is a vital part of my gig toolkit. Korg Module Pro will connect simultaneously to more than one Bluetooth MIDI source (like the BT200-S4 previously mentioned). In one experiment, I used Reface YC as my expression source while playing the black and whites on the SHS-500. Neat. I might add the new Boss EV-1-L wireless expression pedal once it ships.
- I looked into expected battery life. The Korg Microkey Air is the best at 30 hours estimated life. The other solutions are burdened by tone generation and DSP. The added power-burn is unnecessary if we’re not using the internal synthesis engines.
Even though you take a power hit, an internal engine is a good back-up in case there is a technical problem with Bluetooth, the iPad or Module Pro.
    Instrument     Estimated battery life
    -------------  ----------------------
    Microkey Air          30 Hours
    PSS-A50               20 Hours
    SHS-500               10 Hours
    Reface YC              5 Hours
    microKorg XL+          4 Hours
In terms of key feel and play-ability, all candidates are acceptable. The Yamaha HD mini-keys are more synth- and organ-like, and are good for legato (especially organ). The Korg Natural Touch mini-keys are more piano-like — good for striking, not quite as good as Yamaha HD for legato. Unlike Microkey Air 49, the other candidates are 37 keys and are too short for unfettered play.
                           Key dimensions
                        --------------------
    Instrument          Width  Length  Depth
    ------------------  -----  ------  -----
    Reface HD            19mm    88mm    9mm
    Korg Natural Touch   20mm    80mm    8mm
    MODX                 21mm   133mm   10mm
    Genos FSX            22mm   133mm   10mm
Check out these related blog posts:
- Wire Less: Part 1, Korg Microkey Air 49
- Wire Less: Part 2, Belkin RockStar™
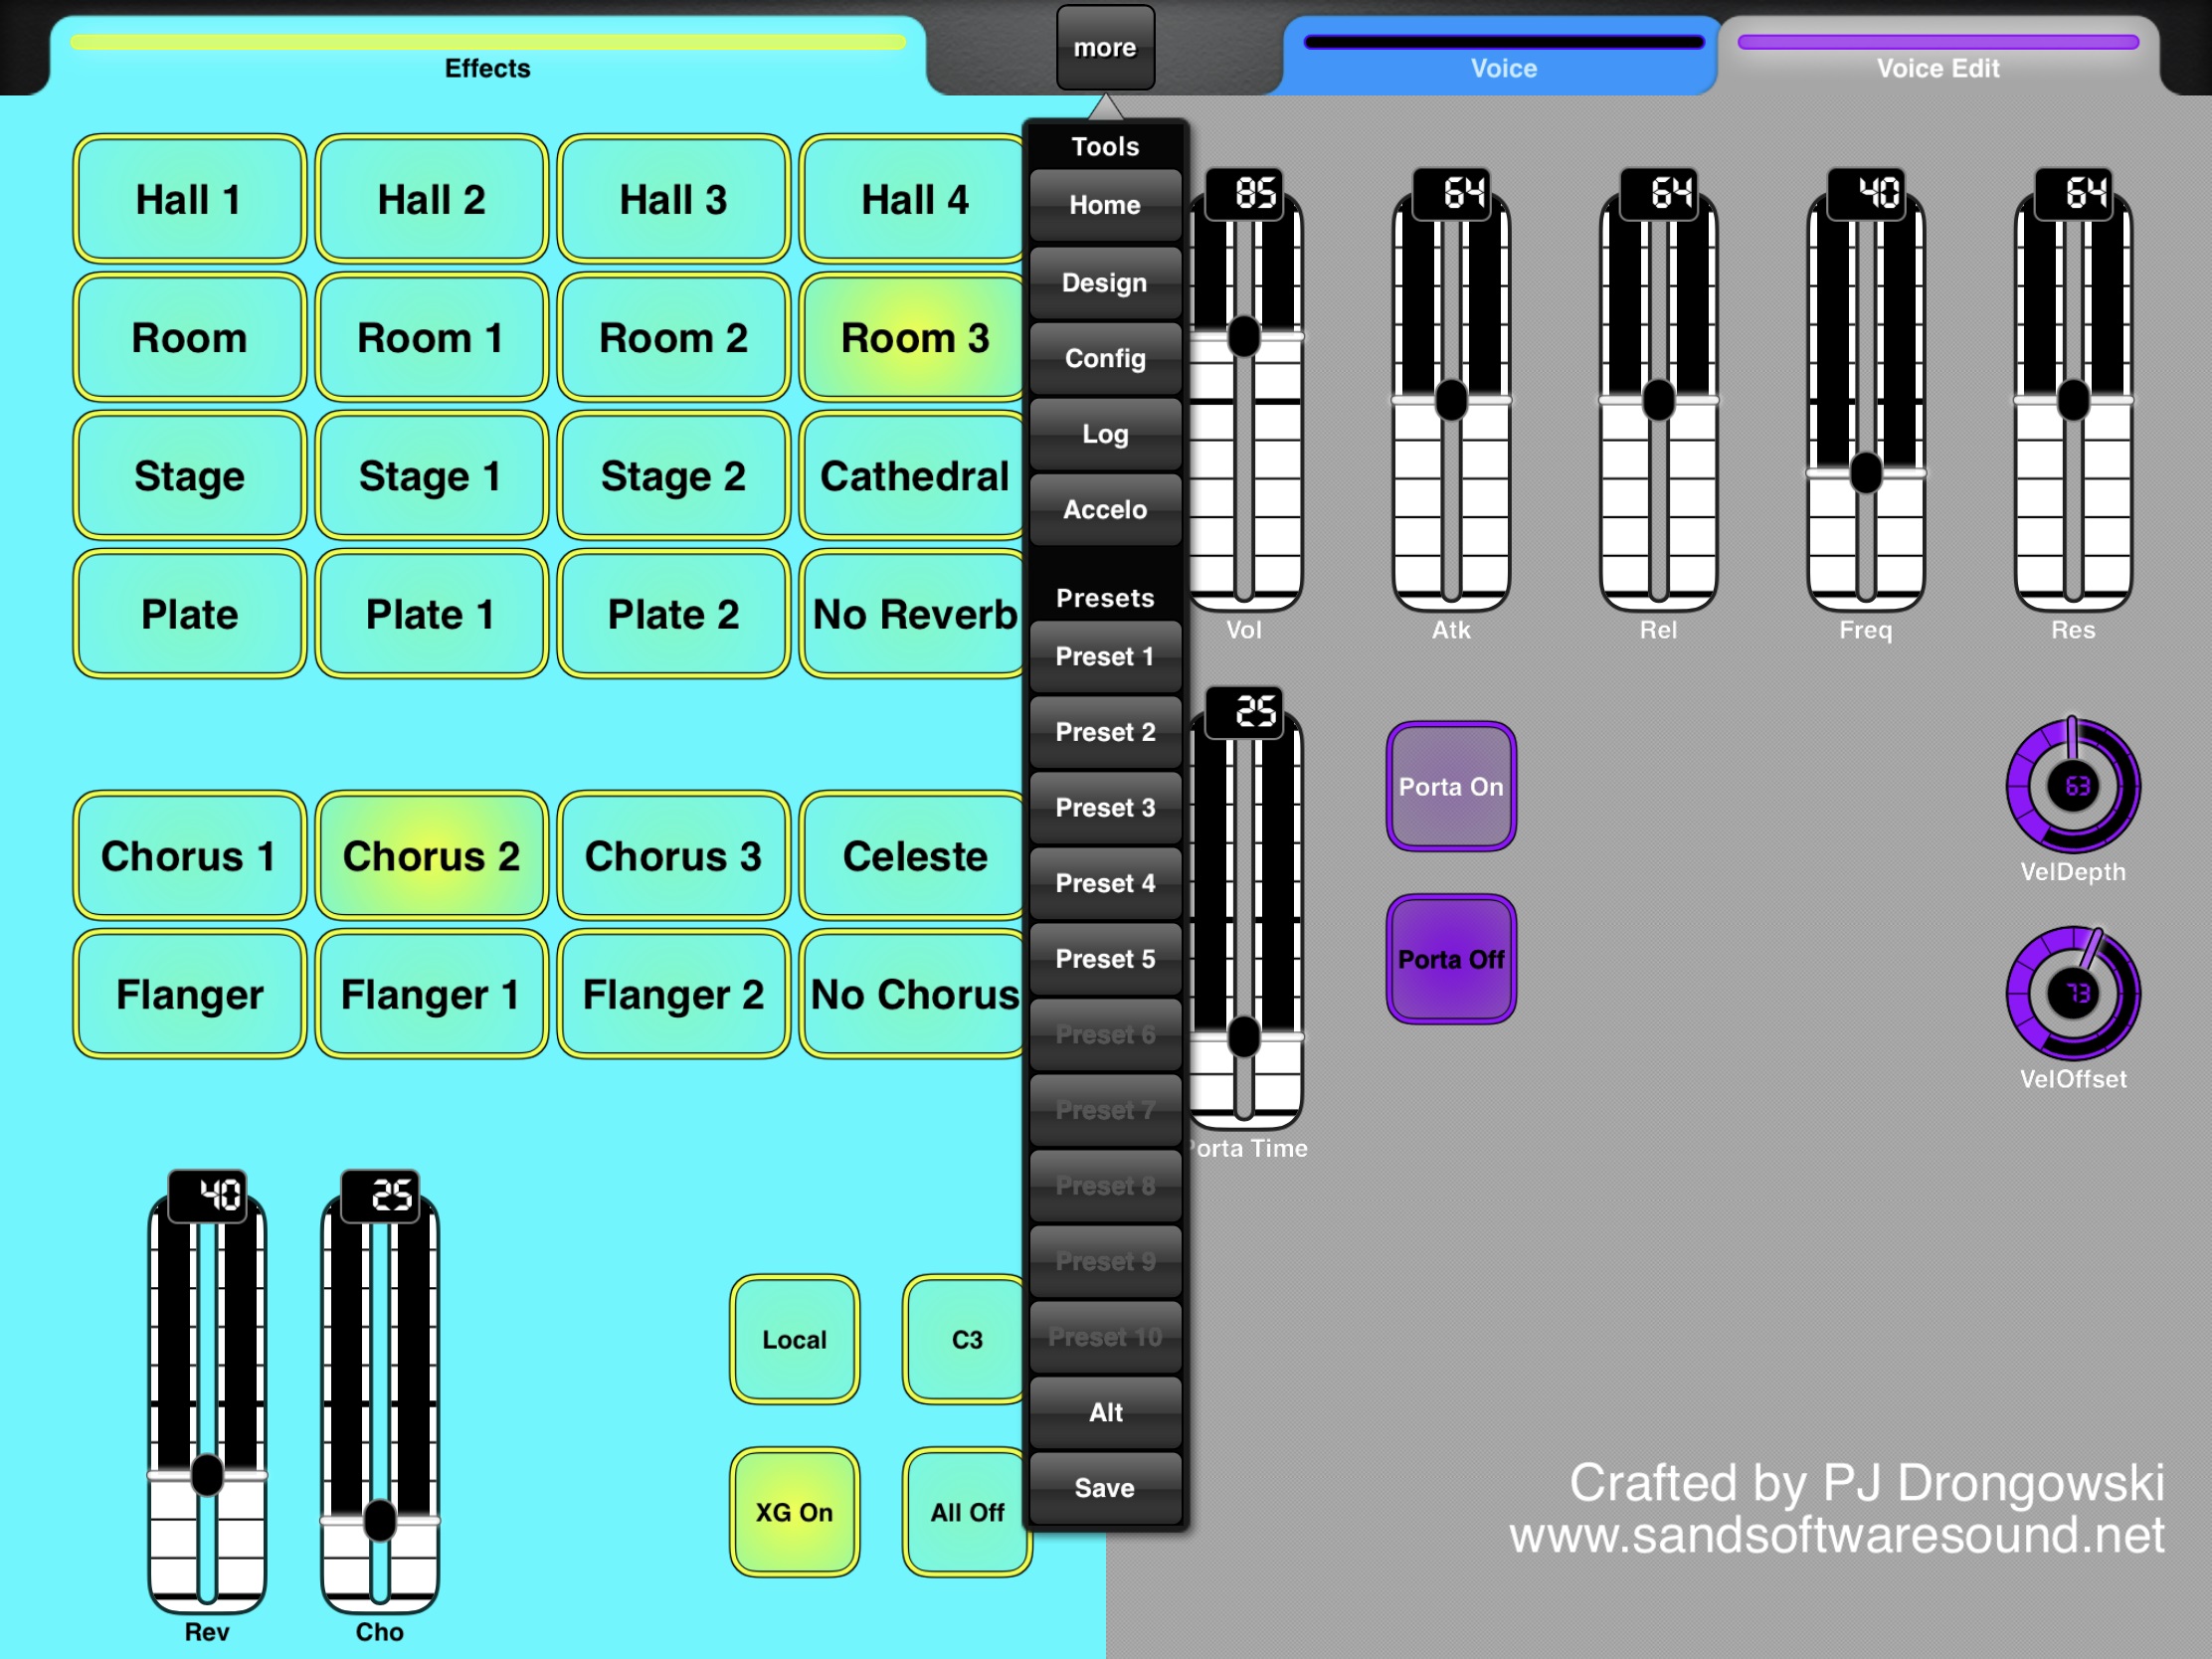
- Mini review: Korg Module
- SampleTank IOS and Miroslav vs. Korg Module Pro
Copyright © 2021 Paul J. Drongowski